Methods of Sanding:
Philip Greenwood talks about how to sand work to a fine finish.
Philip Greenwood talks about how to sand work to a fine finish
For such a simple sounding part of the turning process there is a lot to know about sanding the finished piece. I have seen some well turned pieces which have been let down by bad sanding. Knowing the correct method to sand and also how to sand correctly can improve the finish. Incorrect methods can be dangerous when sanding natural edge work and the inside of vases. One of the main problems I come across is people rushing the process and missing grades out. Sanding need not be a long process if done correctly, and will show that the process has been carried out correctly on your finished piece. Remember when you apply the finish it will show every scratch mark on your item. This article is about the methods I use every day in my workshop. Dust extraction is always needed as well as a dust mask when sanding and any time spent in the workshop.
Speeds and problems
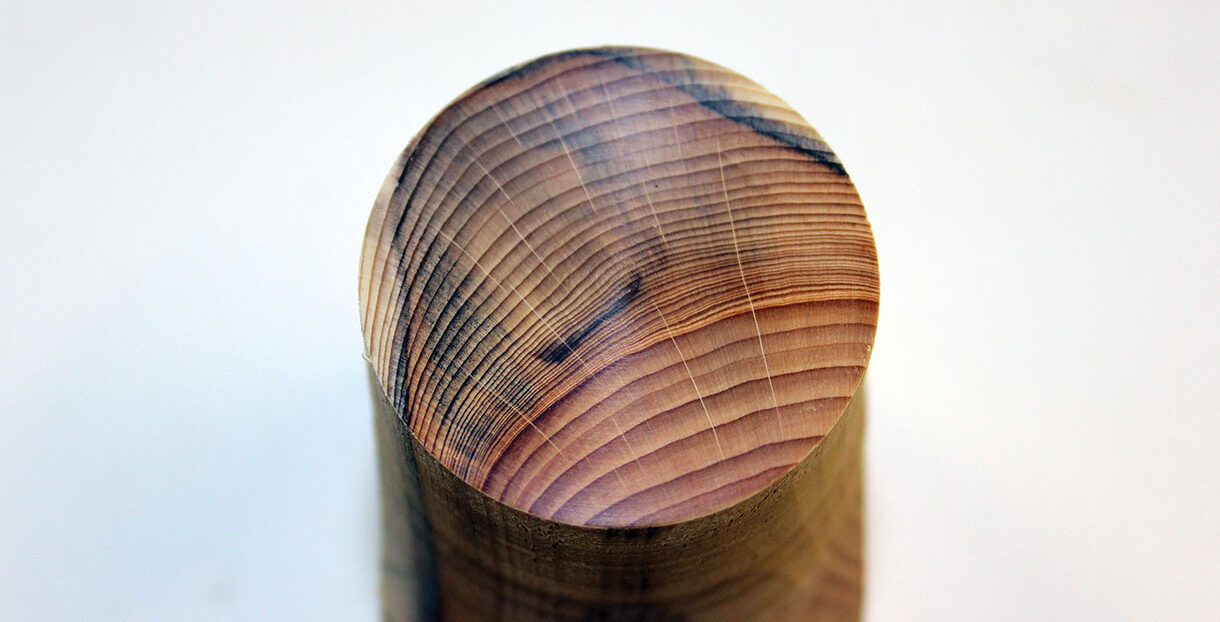
I tend to sand around 500rpm on a 150mm bowl or 800rpm on a 50mm spindle. These are a guide, so if your lathe has fixed speeds choose the nearest. Why a low speed? Fast speeds create more problems. When using abrasives hold it lightly to the surface. You should never feel more than slight warmth coming through, if you feel a lot of heat you are pressing too hard. A problem on the inside is an area on the end grain which still has marks on the surface. This is due to too high a speed and the abrasive not contacting the surface fully if the bowl has moved. A common problem on end grain timber is heat check, caused by the timber surface becoming too warm and splitting. This is due to applying too much pressure or sanding for too long (common on dense and exotic timbers). Radial marks are normally caused by rushing through grades and not removing the previous abrasive mark.
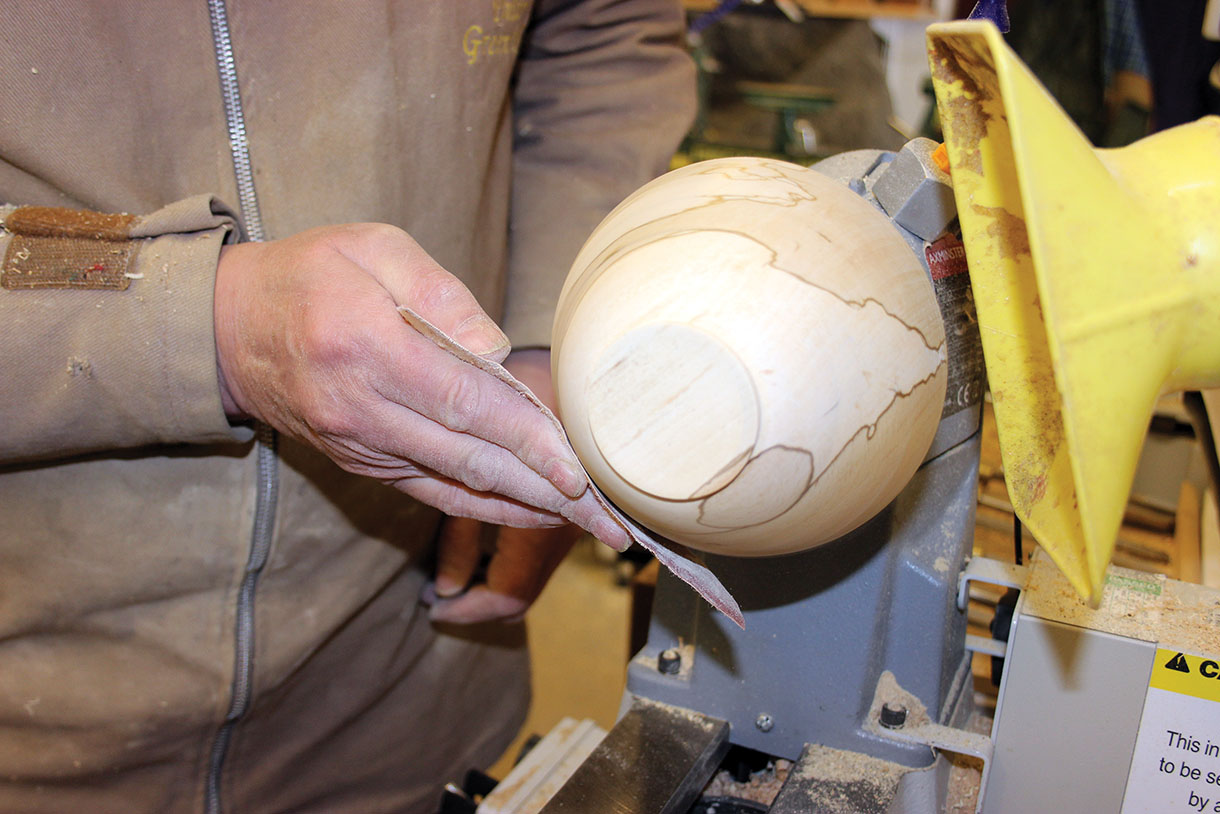
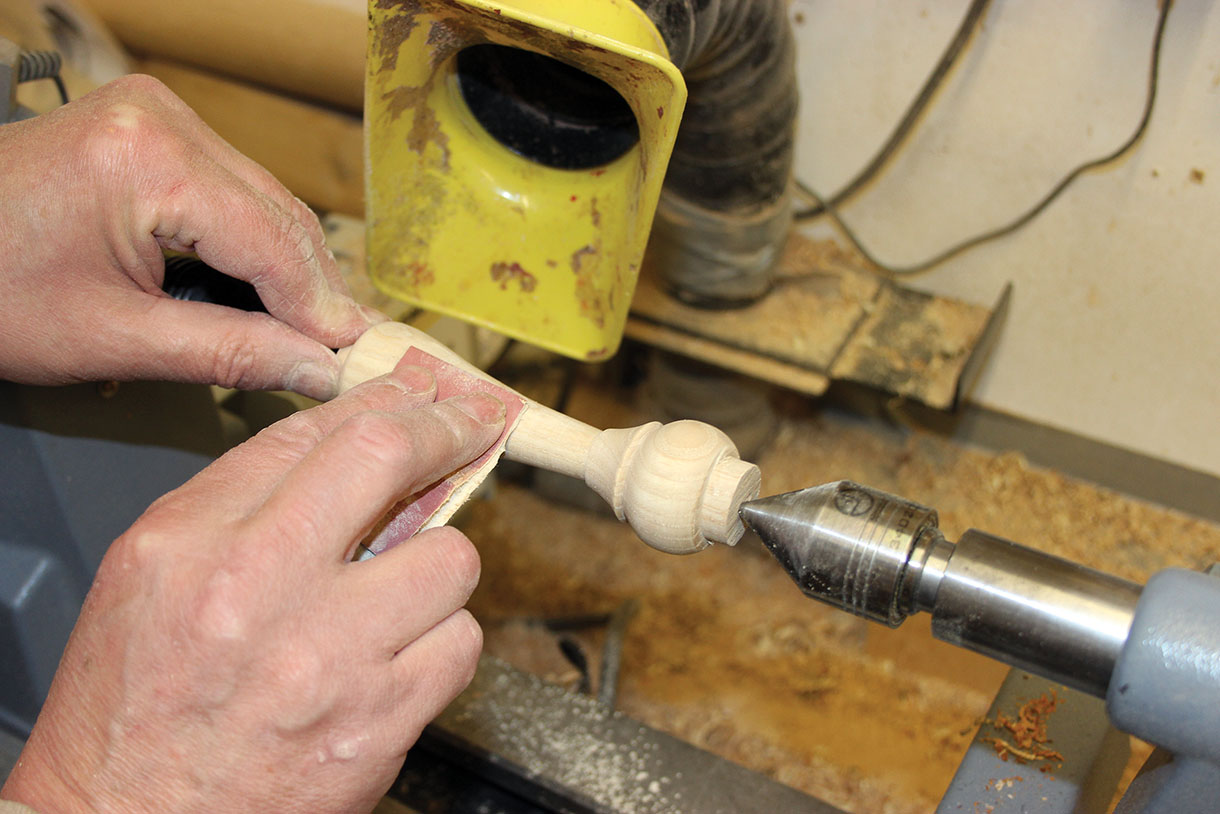
 Freehand
Always go through the grades, as skipping a grade will leave marks from the coarser grades. Start with the only the coarsest grade that is needed, if this is 240 that is fine. Don’t start with 120 as this just means more sanding through the grades. I use 120, 180, 240, 320 and 400 (if needed I go beyond this to as fine a grade as is needed for the item). Sand at around the 7 o’clock position, unless the bottom of the item is close to the lathe bed, then sand at 5 o’clock to avoid any risk of fingers becoming trapped. On spindle work with the lathe stopped you can always sand by hand with the grain between grades to remove any radial marks. Check the finish after the first grade for tool marks before moving onto the next grade.
Using a dust extractor
Positions for sanding
Sanding with the grain
Drill with sanding arbors
One method that is very good for sanding the inside of bowls is with a cordless drill and a sanding arbor. This is a quick method of sanding and will not leave you with radial marks. I use the right side of the pad on the right side of the bowl and the left side of the pad on the left; this means the pad is rotating in the opposite direction to the bowl rotation. Have the lathe running at around 500rpm for a small bowl with the drill running at full speed. Go through all the grades as normal.

Sanding arbor for a drill
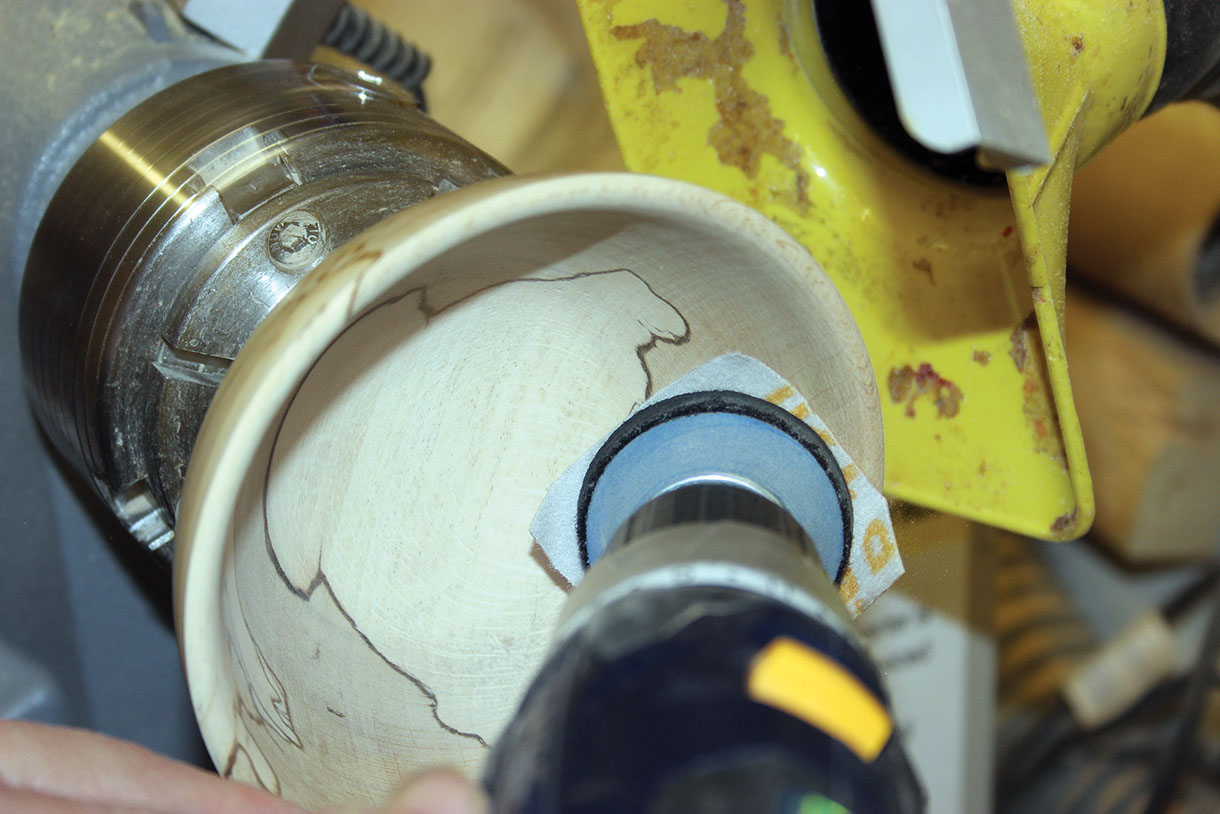
Sanding the inside of the bowl
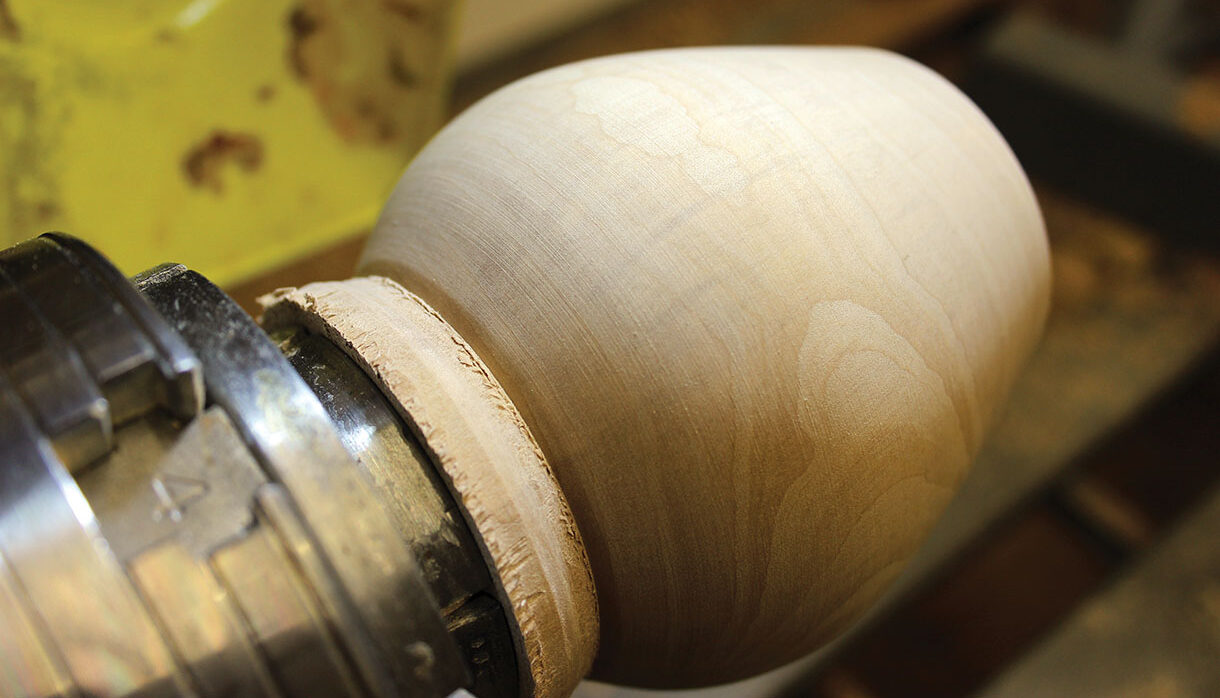
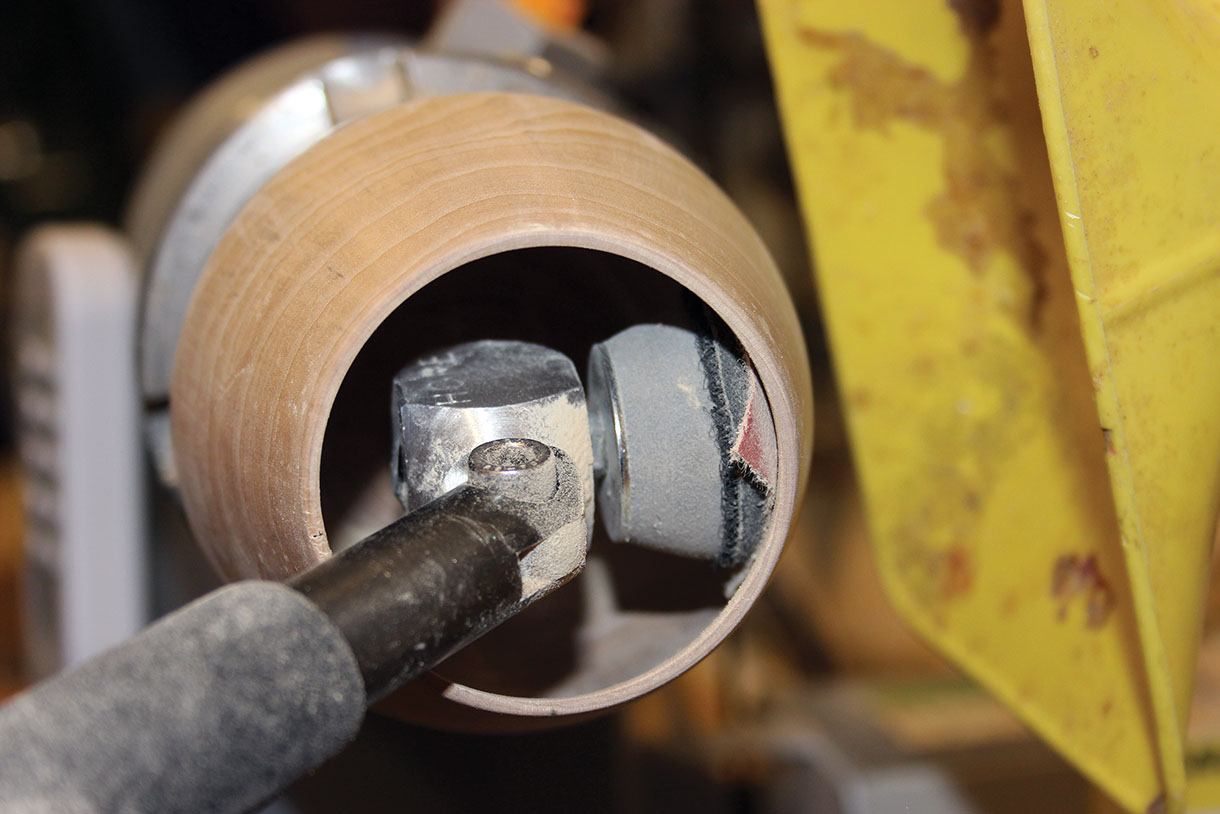
Rotary sanding (Simon Hope type)
This type of sanding uses an arbor held in a bearing, which relies on the arbor. Loaded with abrasive, this is presented at a sheer angle which causes the arbor to rotate freely against the work. This I find best on vases, bowls and spindles with little detail. The speed needs to be higher so the head will rotate, especially near the centre of a bowl. On the outside press the pad onto the rotating item so the point of contact on the pad is just off centre so the pad will spin. Like any sanding go through all the grades needed. This type also means your hands and fingers never go inside the vase when sanding.
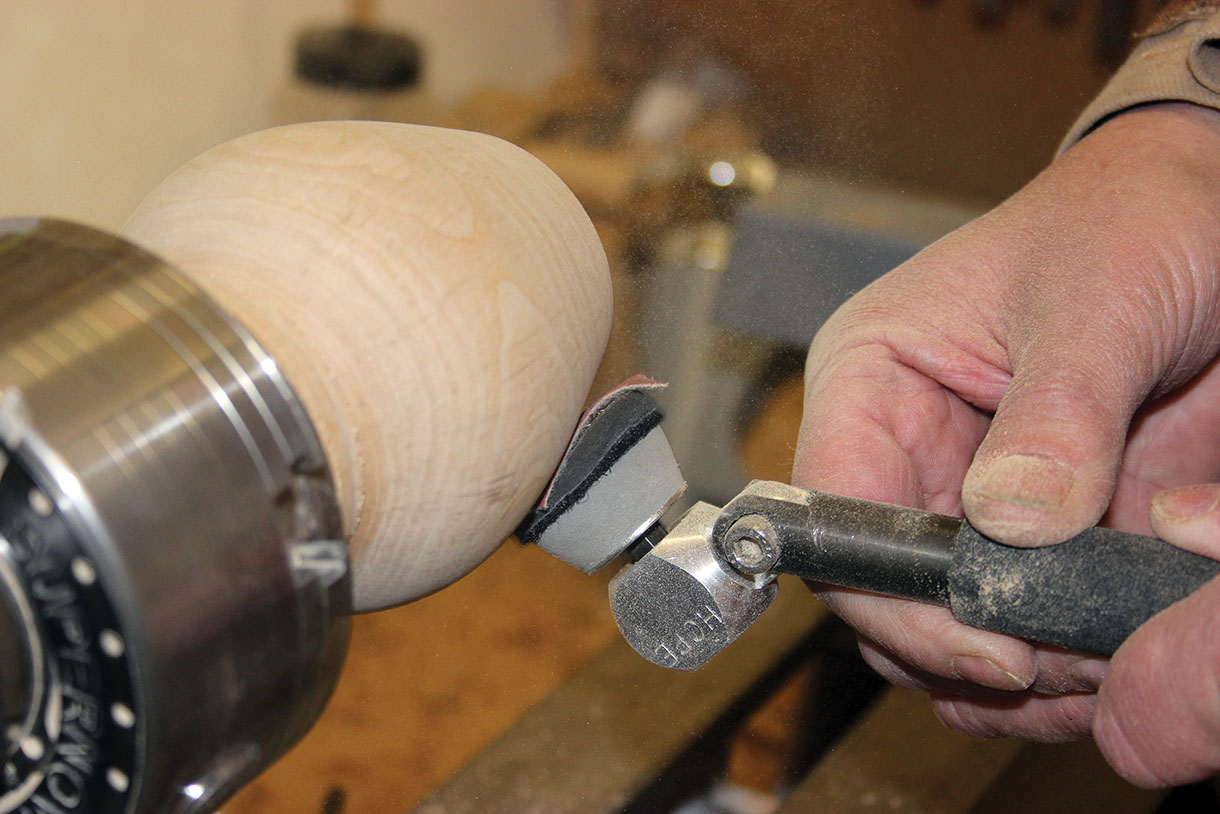
Presentation angle
Sanding inside a vase
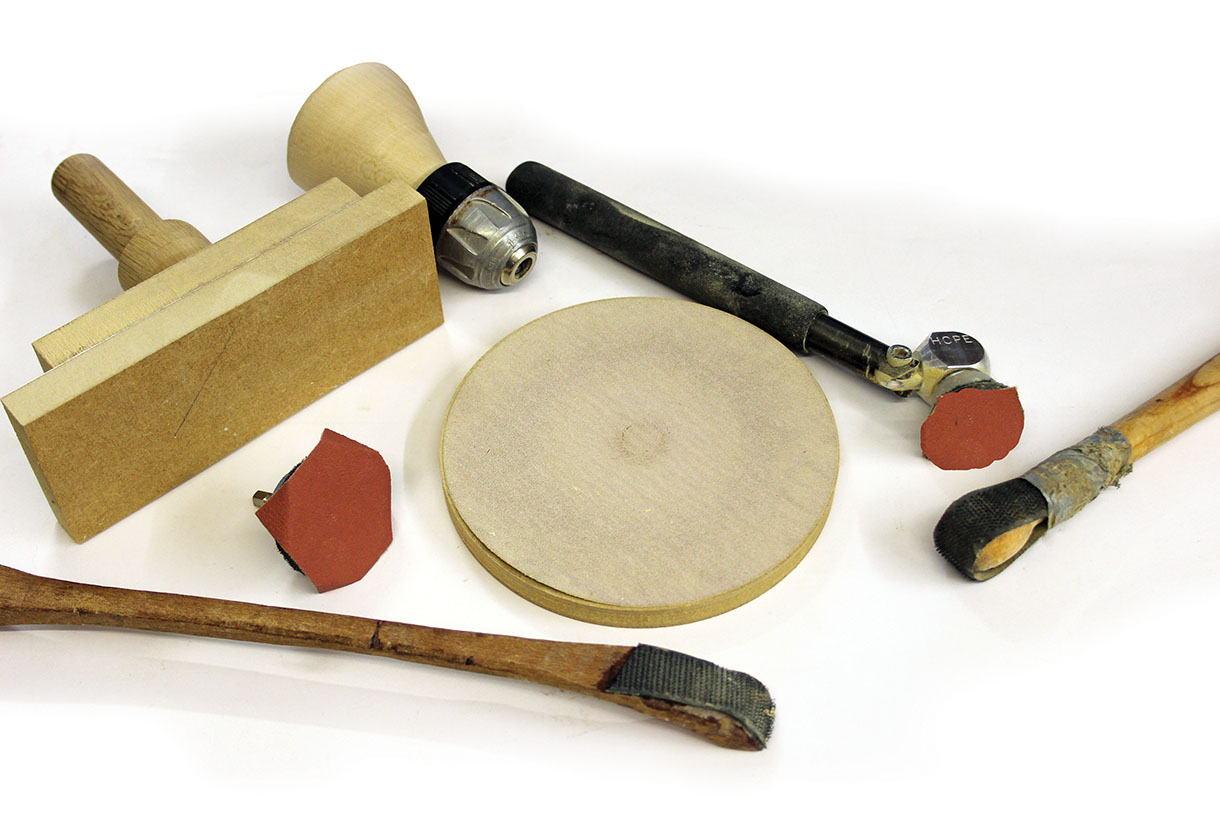
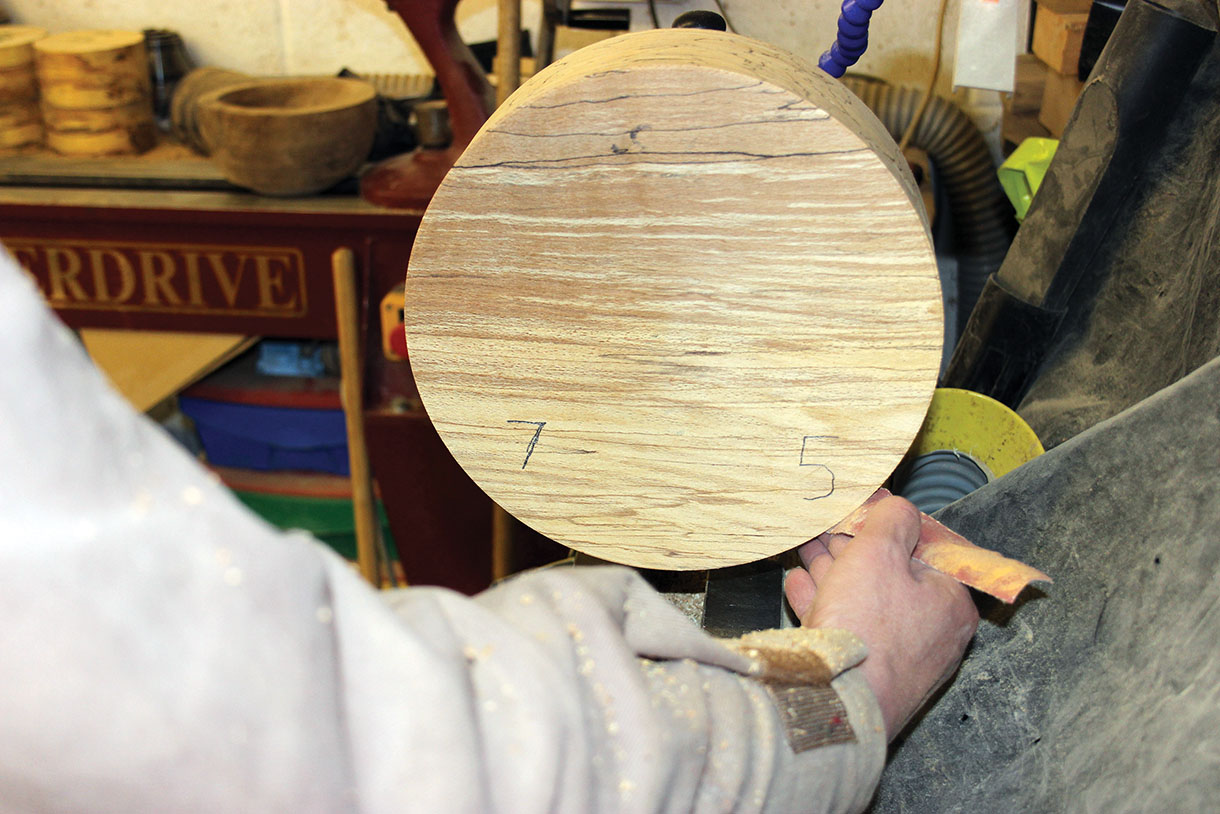
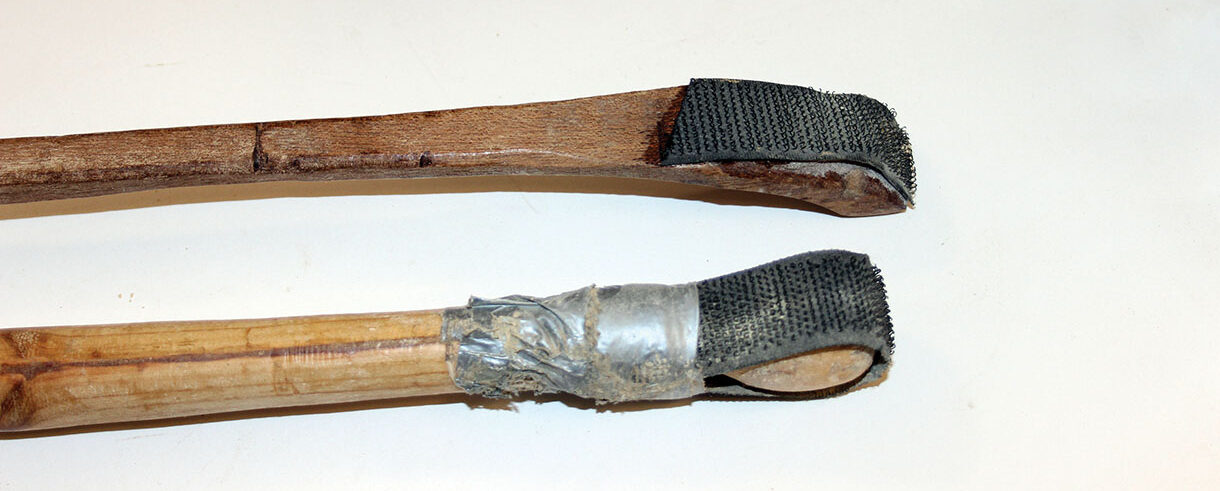
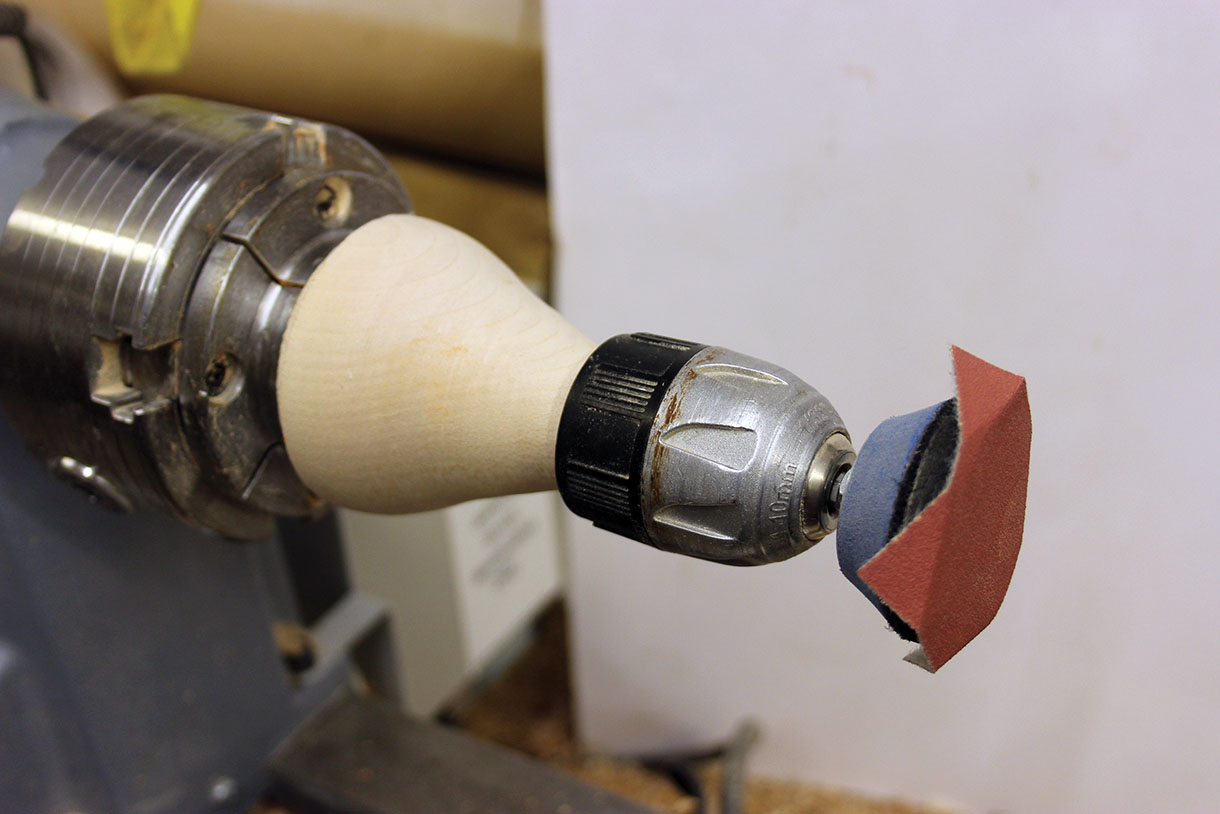
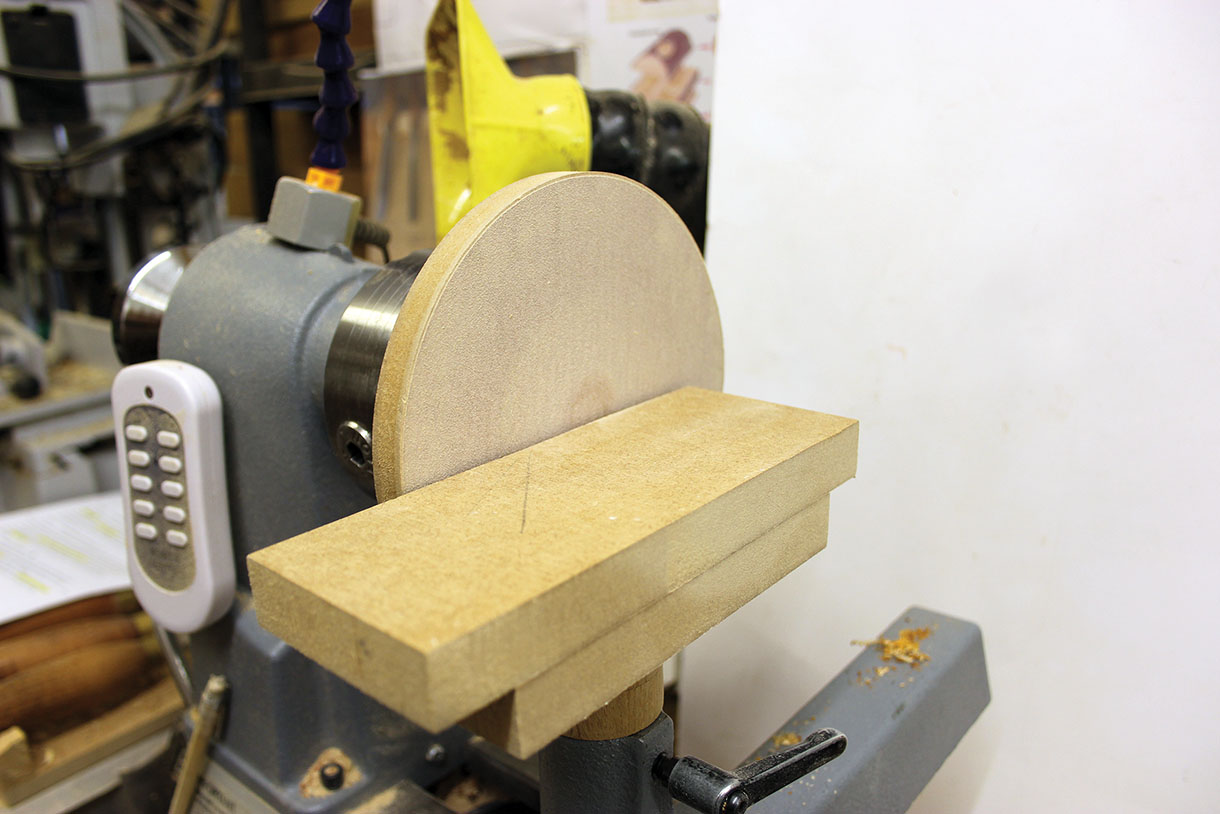
Accessories for sanding
Sometime I use other accessories when sanding. One is a piece of timber with Velcro stuck on the end to hold the abrasives for sanding inside a vessel. One that I use a lot for natural edge work is a drill chuck mounted in the chuck so I have both hands free to hold the item. This is also useful for finishing the base of a bowl. A useful item if you don’t have a disc sander is a piece of MDF with a self-adhesive disc stuck on, and a homemade sanding table which fits on the toolrest assembly. This is ideal for sanding edges of items or shaping components.
Home-made sanding jigs
Drill chuck with an arbor
Sanding table
")

