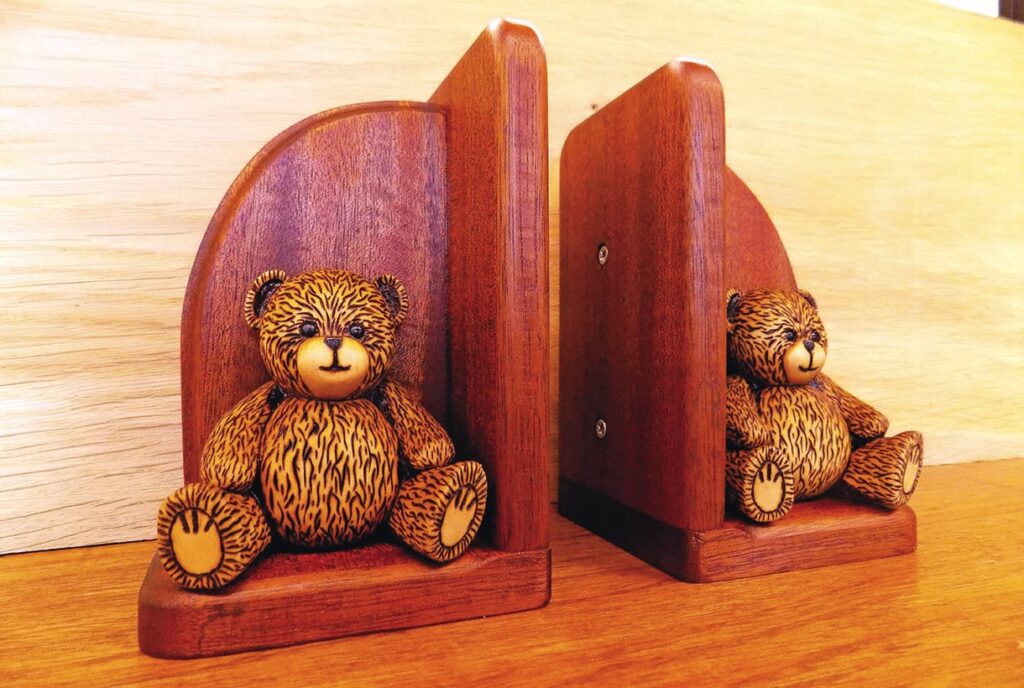
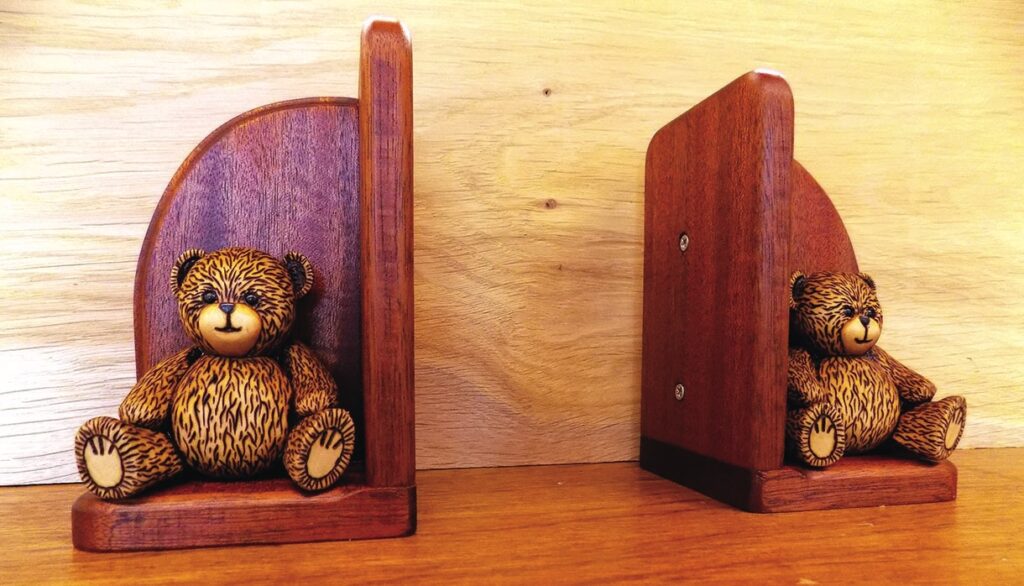
Terry Nokes shows how to carve some fun-to-make bookends
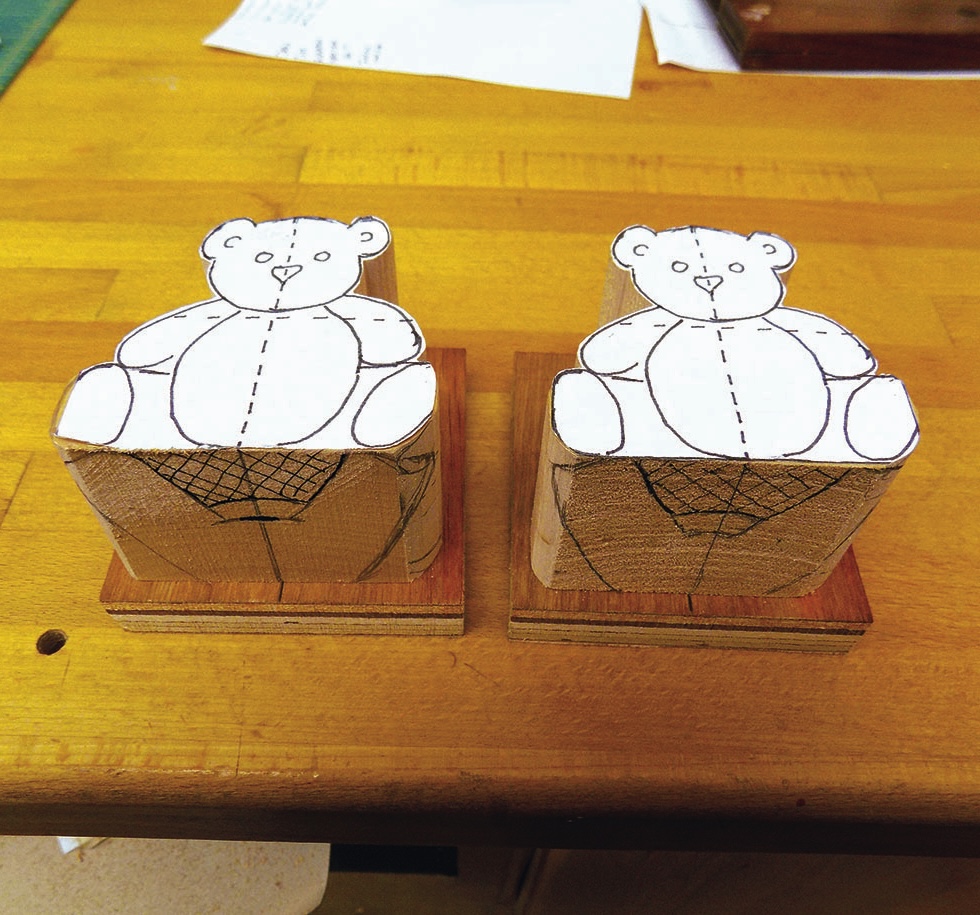
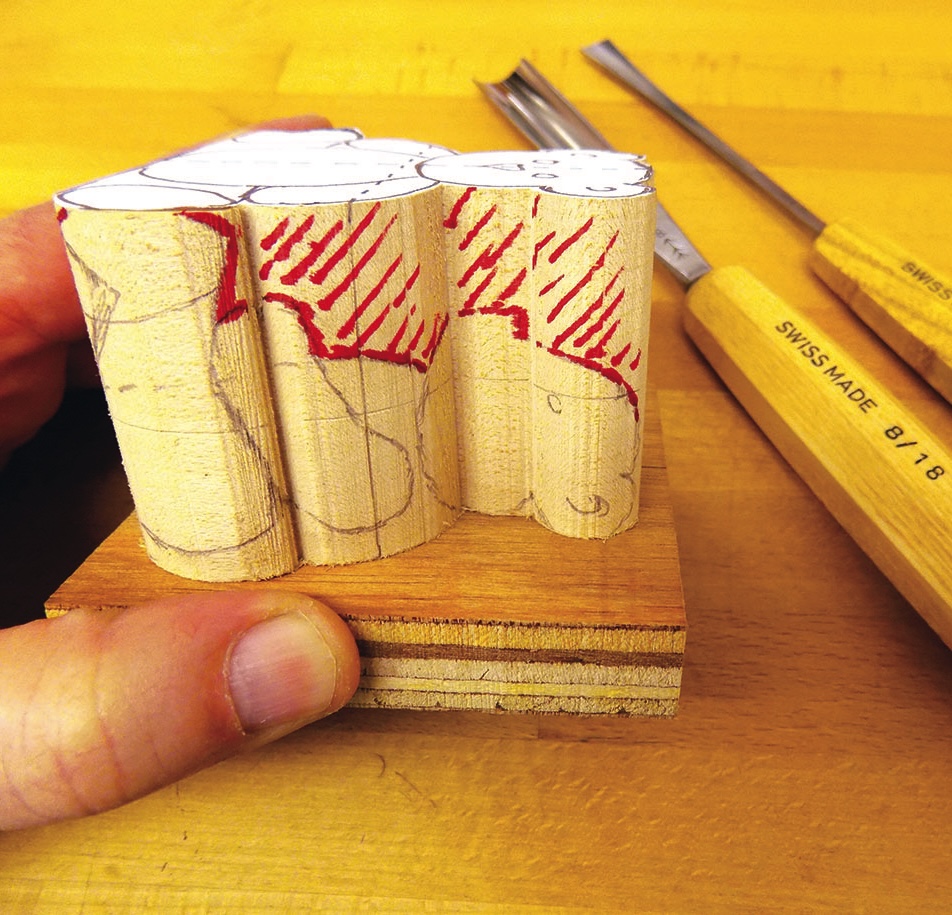
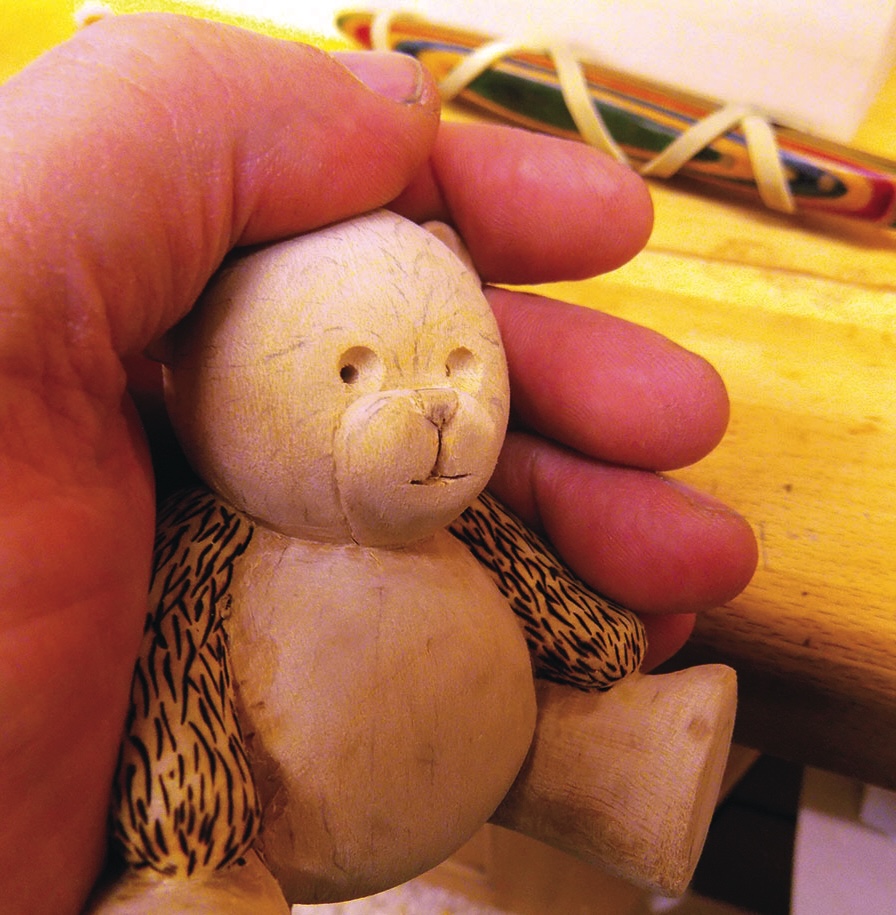
The wood selected for this tutorial project is basswood (Tilia Americana), which is very similar to our lime (Tilia x Europaea), and once the bulk is roughed out it’s soft enough to work without a mallet. This wood is available in the UK in small lengths of 50 x 75mm from large craft outlets. The reason for the flat back is to maximise to overall size on these small bookends. The carving tools used for this project are all Swiss-made Pfeil tools so the sizes mentioned are the Swiss sizes and types which are a little different from the Sheffield list.
Remember you don’t need to follow these instructions or tools exactly – make changes to slightly alter its design and use the tool you have. Think about how you could adjust things, such as: would the legs look better if closer together, or if I raise one arm? I also spent some time drawing in different eye positions – this can dramatically change its appearance so you make it your own. Perhaps use paint instead of burning and use the tools you have to make the cuts accordingly.
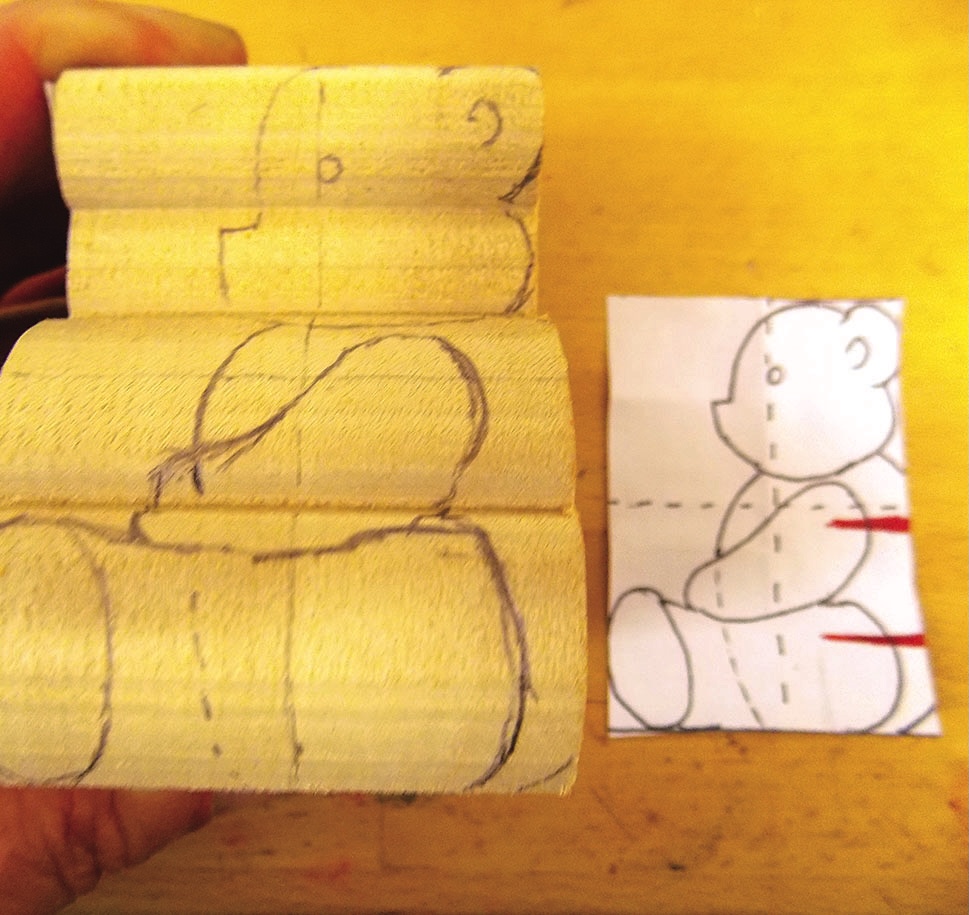
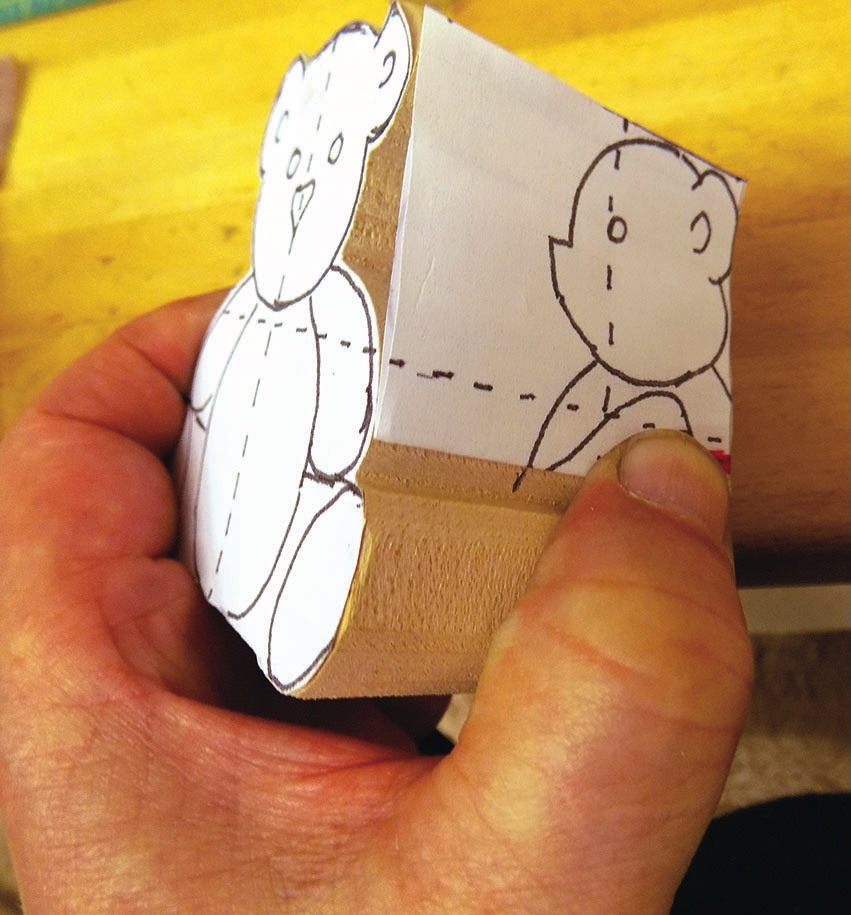
Many thanks to Janet Robinson, who supplied the original teddy bear template.
Things you will need
Tools:
• Personal and respiratory equipment (PPE & RPE)
• Bandsaw
• Electric/pillar drill, 2 and 4mm drill bit and countersink
• No.1, 14mm fishtail double-bevel chisel
• No.3, 12mm fishtail
• No.5, 14mm fishtail
• No.8, 18mm straight
• Carving/whittling knife
• Rotary carving unit
• 4mm or small diamond rotary ball-ended burr
• Pyrography machine
• Router with small round-over and ogee bits
• Carpenter’s square/rule/pointed bradawl
Materials:
• 2x basswood sections of timber 50 x 75 x 80mm
• Hardwood board 15 x 100 x 800mm
• Glue stick/template/pencil
• Plywood 18mm
• Sanding block
• Abrasives down to 320 grit
• Black glass eyes (on wire)
• Adhesive
• Black nail polish
• Danish oil
• Brush
• Screwdriver and No.6 screws, 32mm
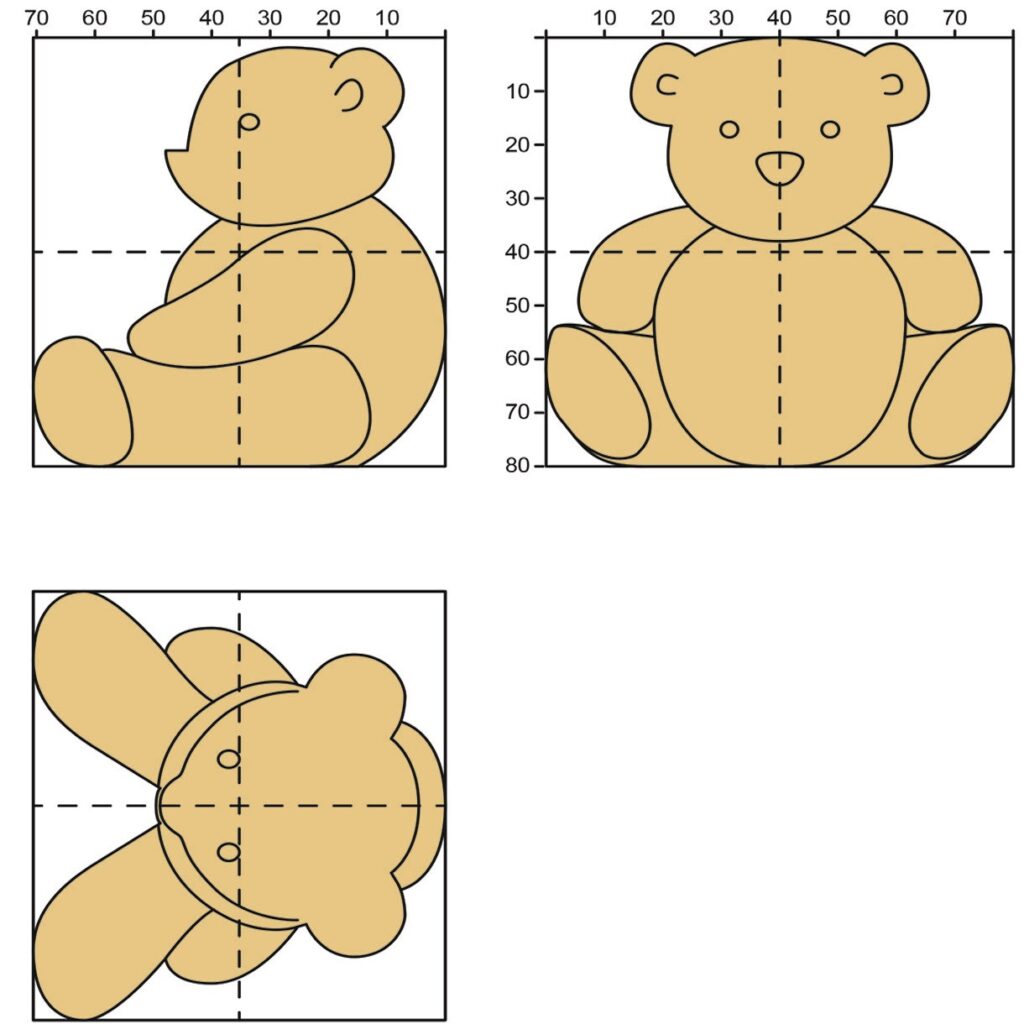
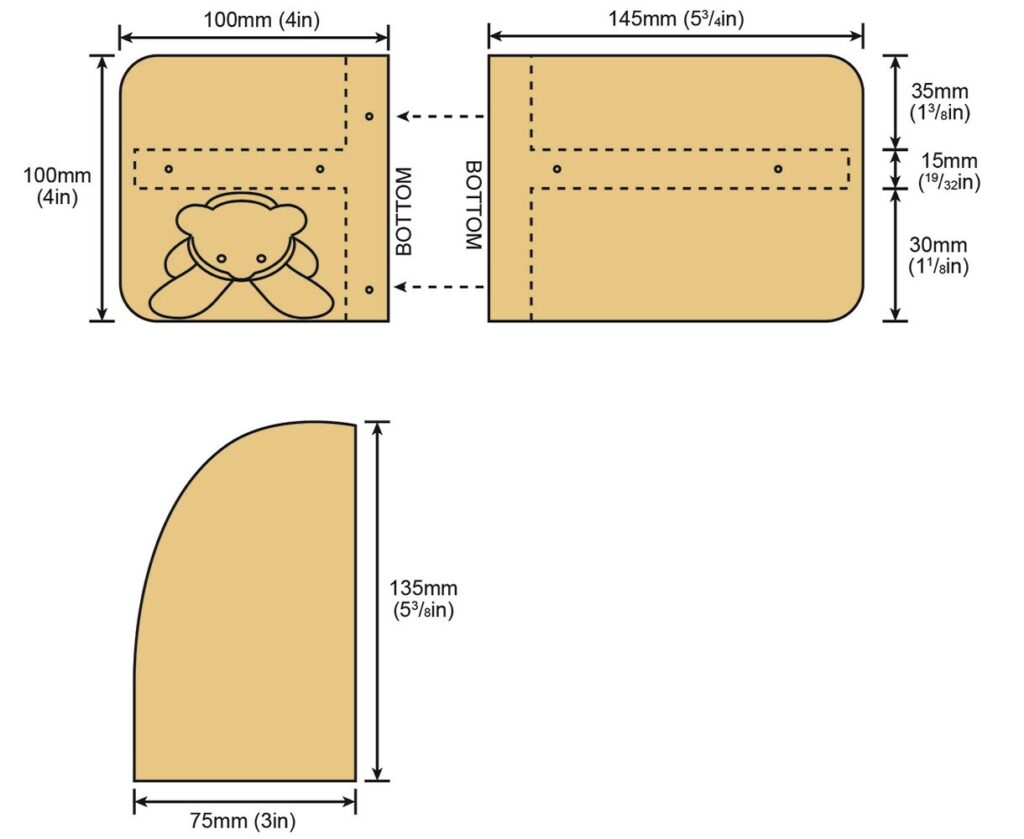
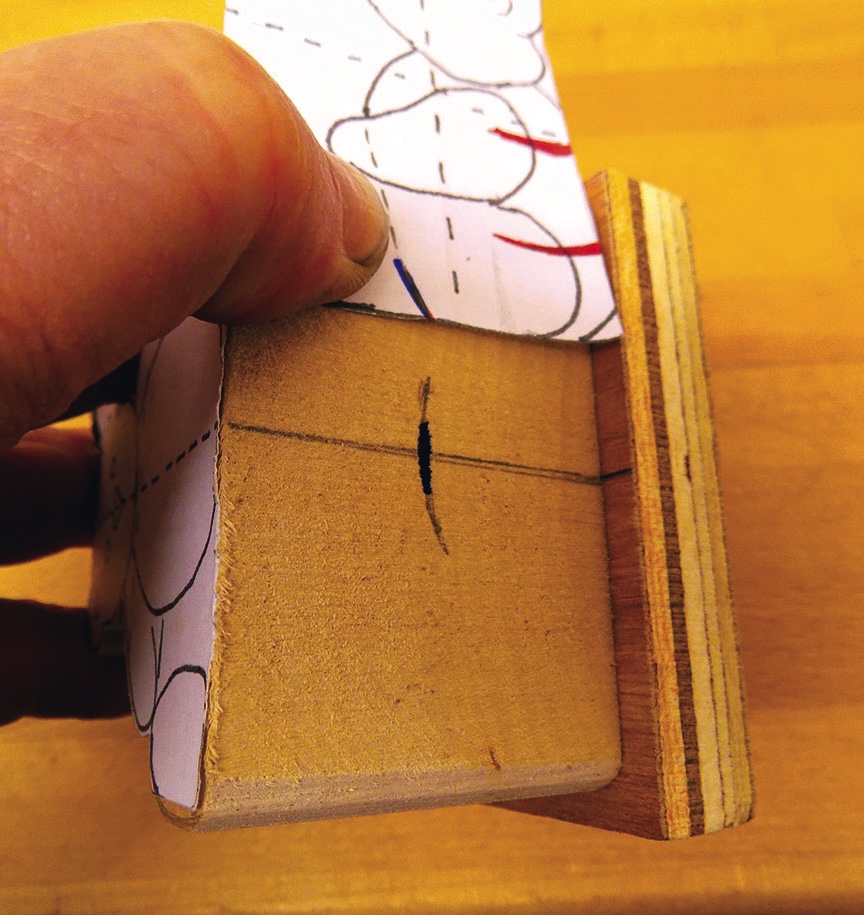
Drawings
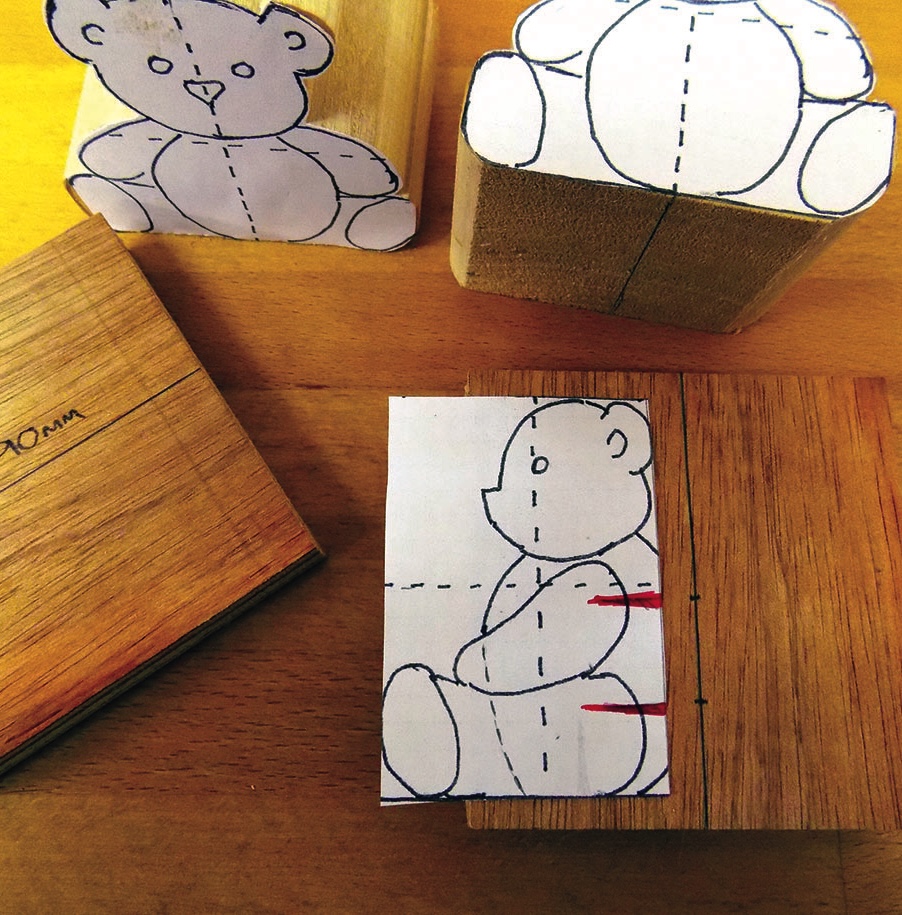
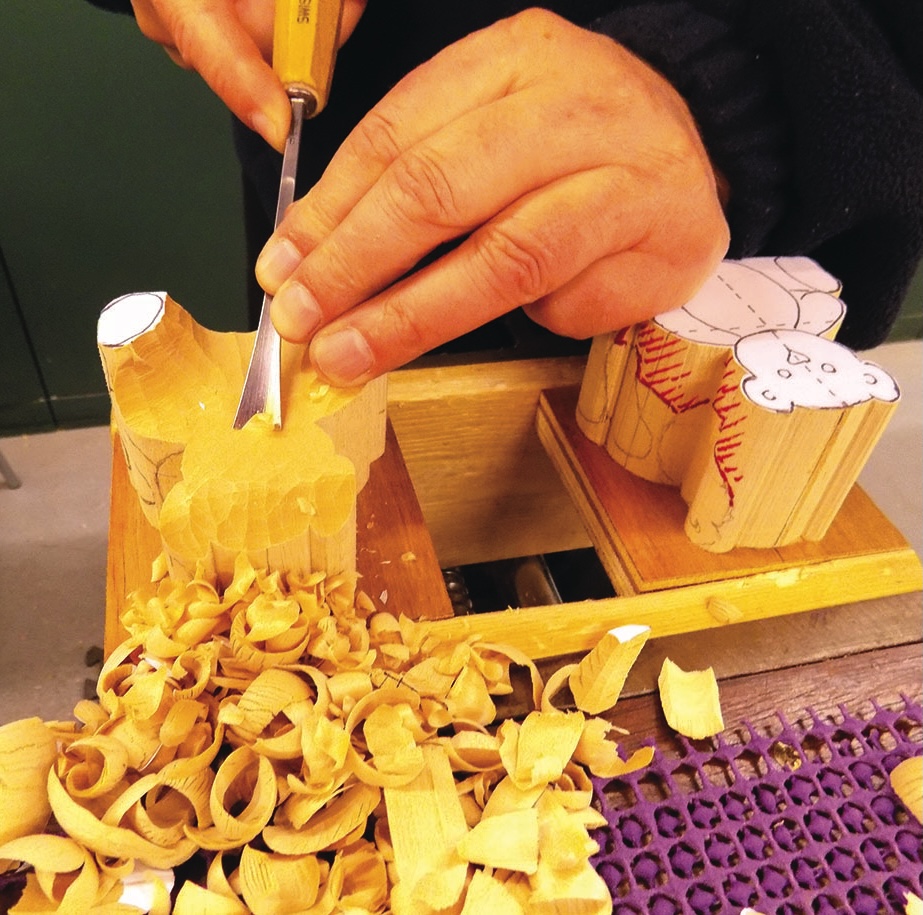
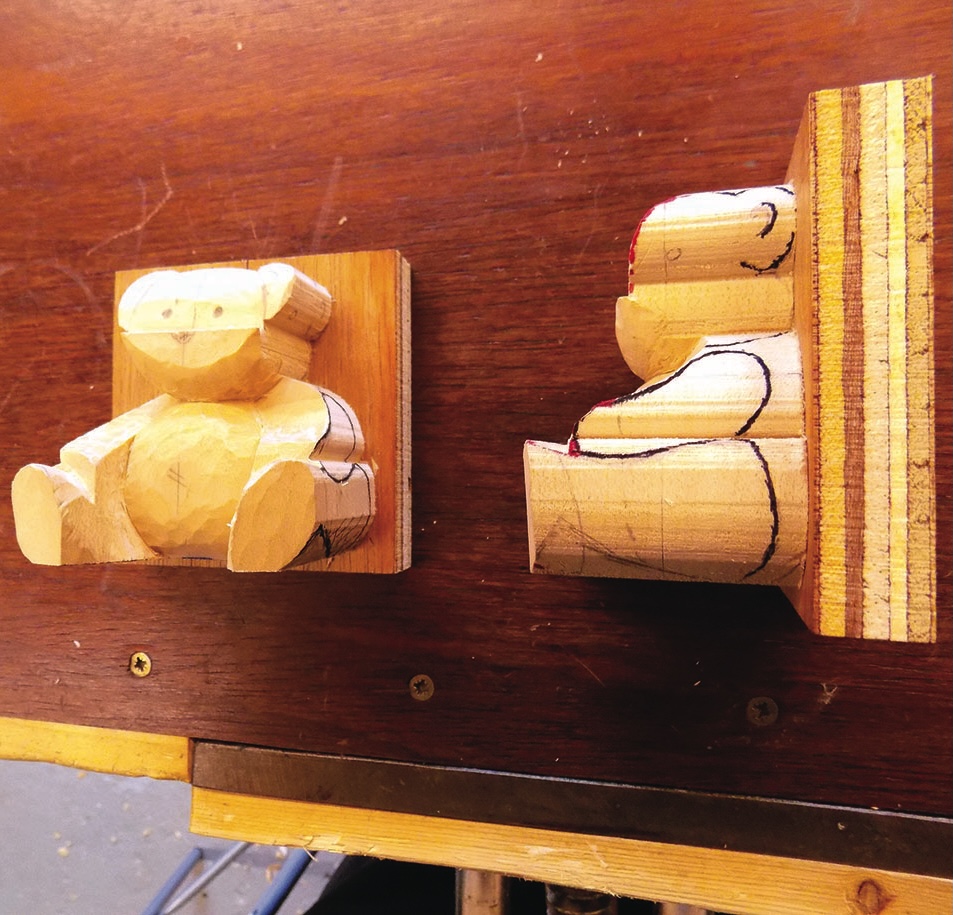
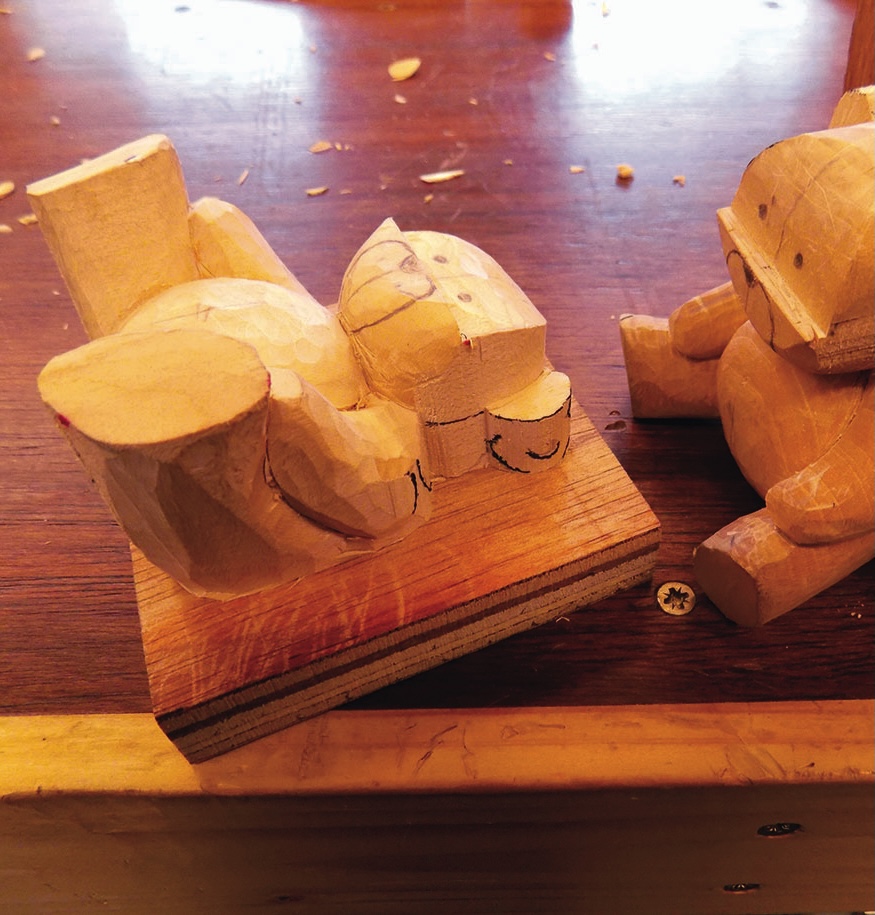
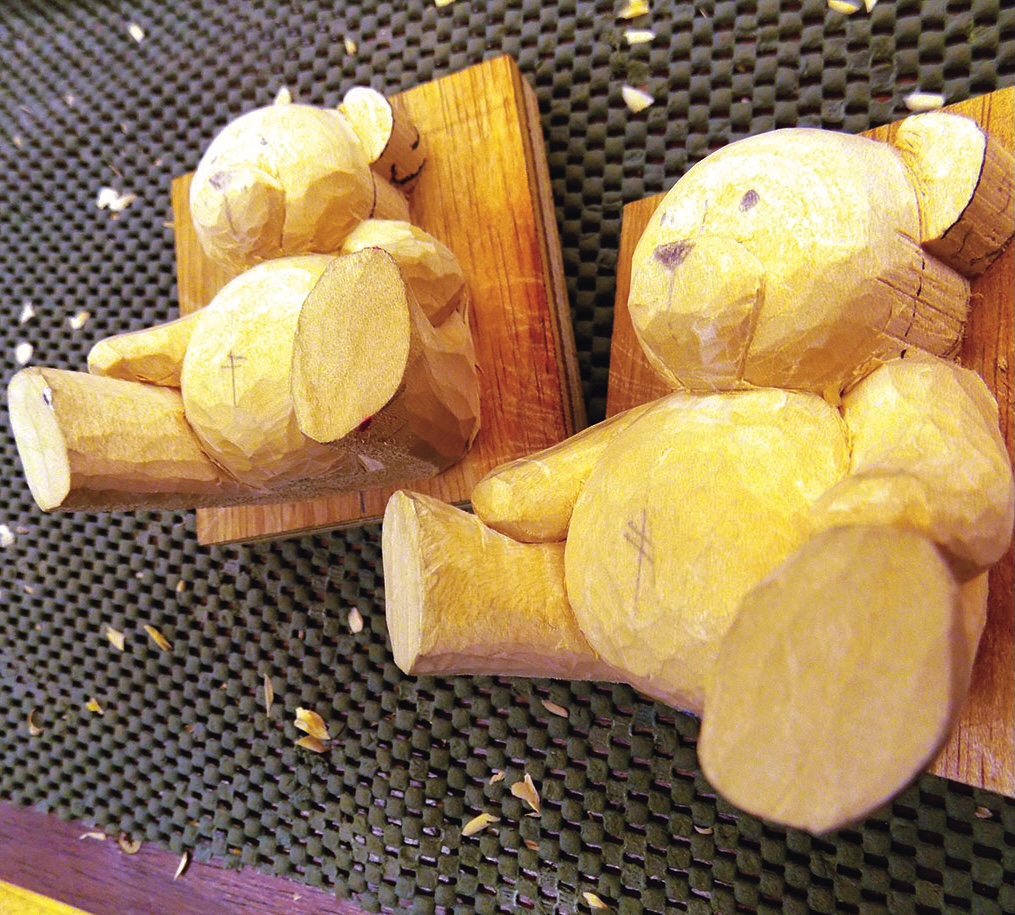
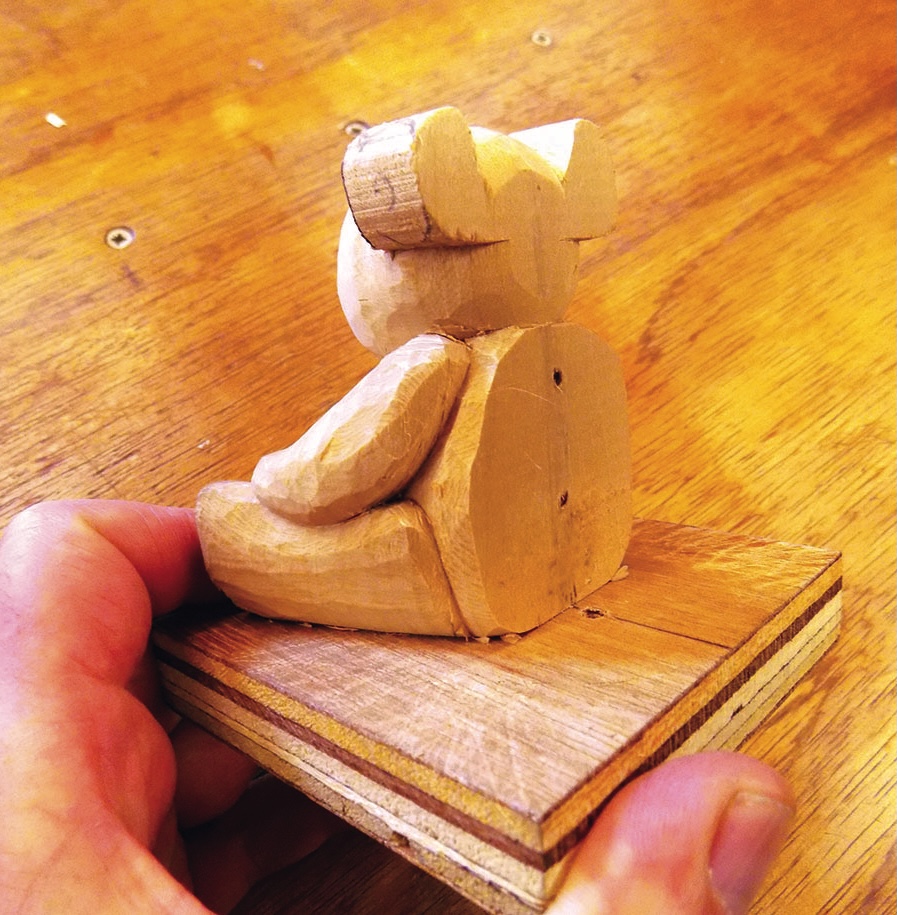
Preparation of blanks
Top tip:
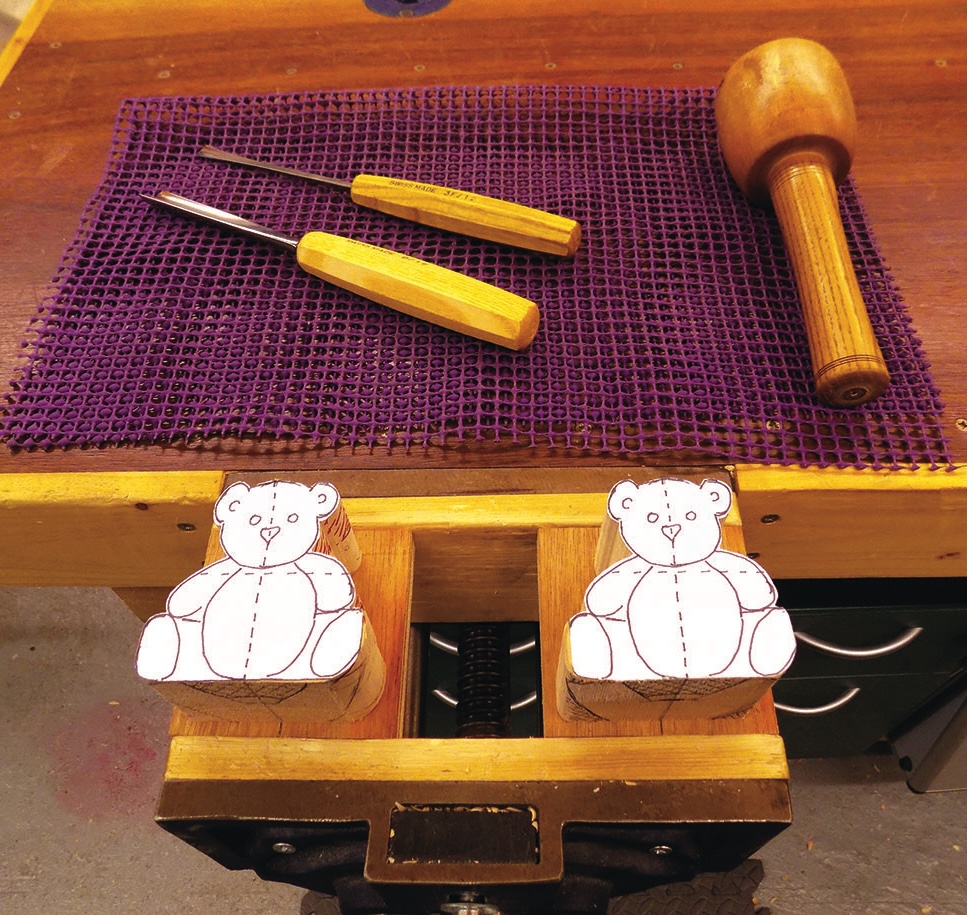
If you don’t have a vice simply screw the carving blanks on to a larger board of ply and G clamp to your work surface. Placing anti-slip matting in between will also assist.
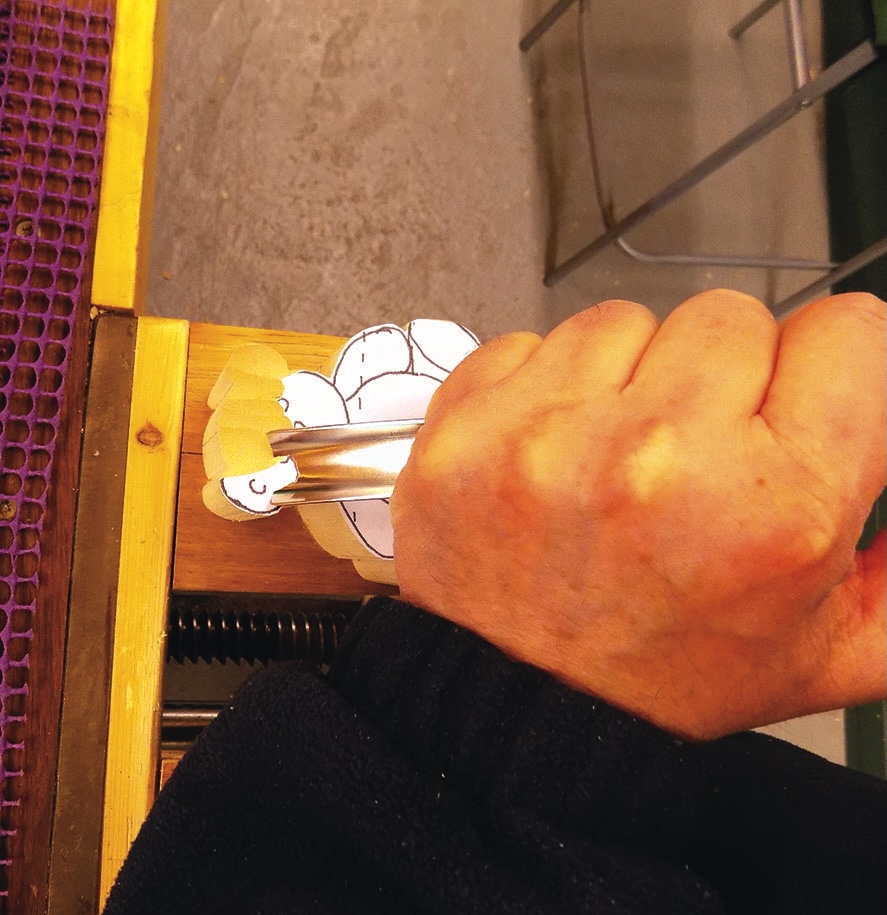
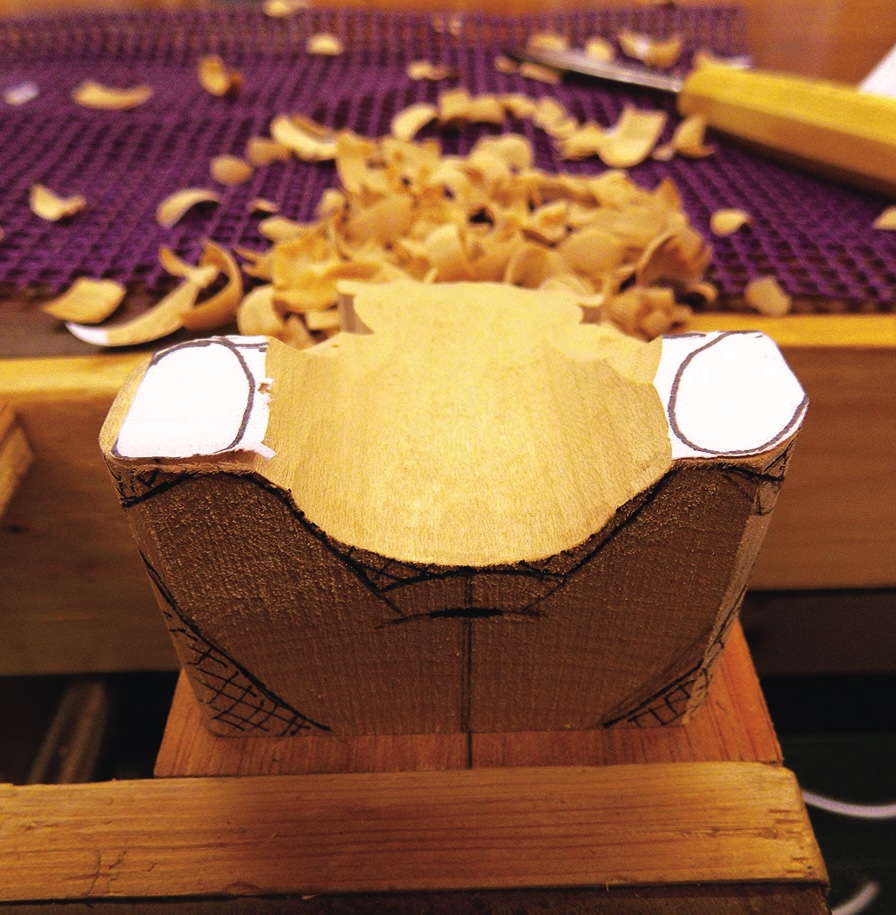
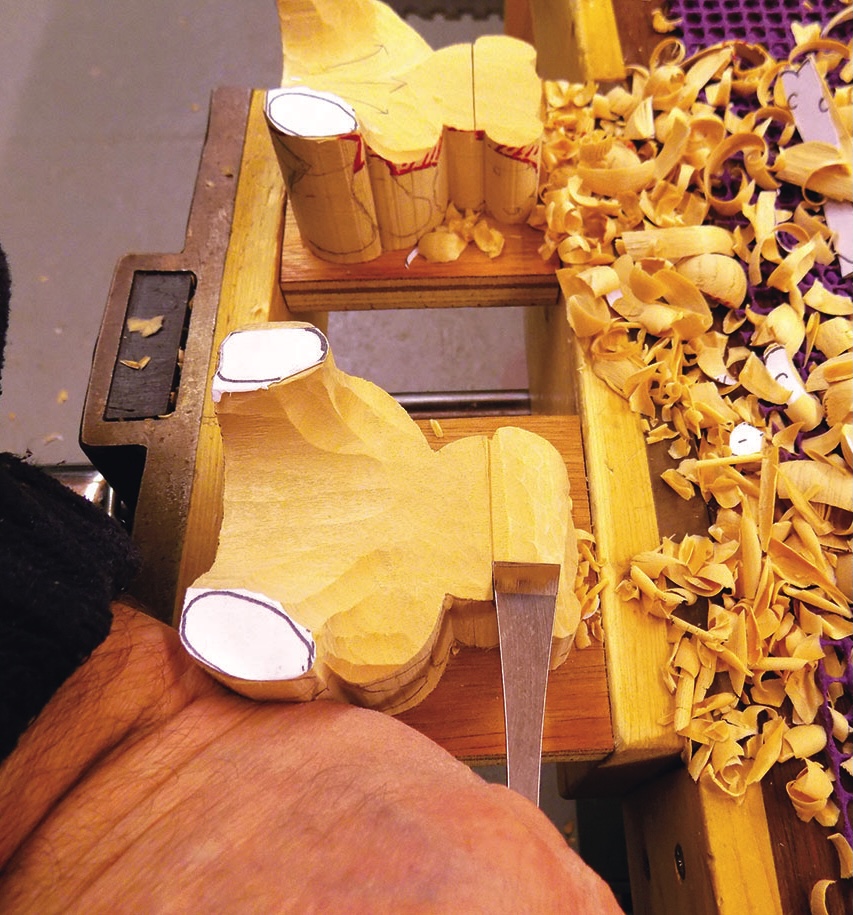
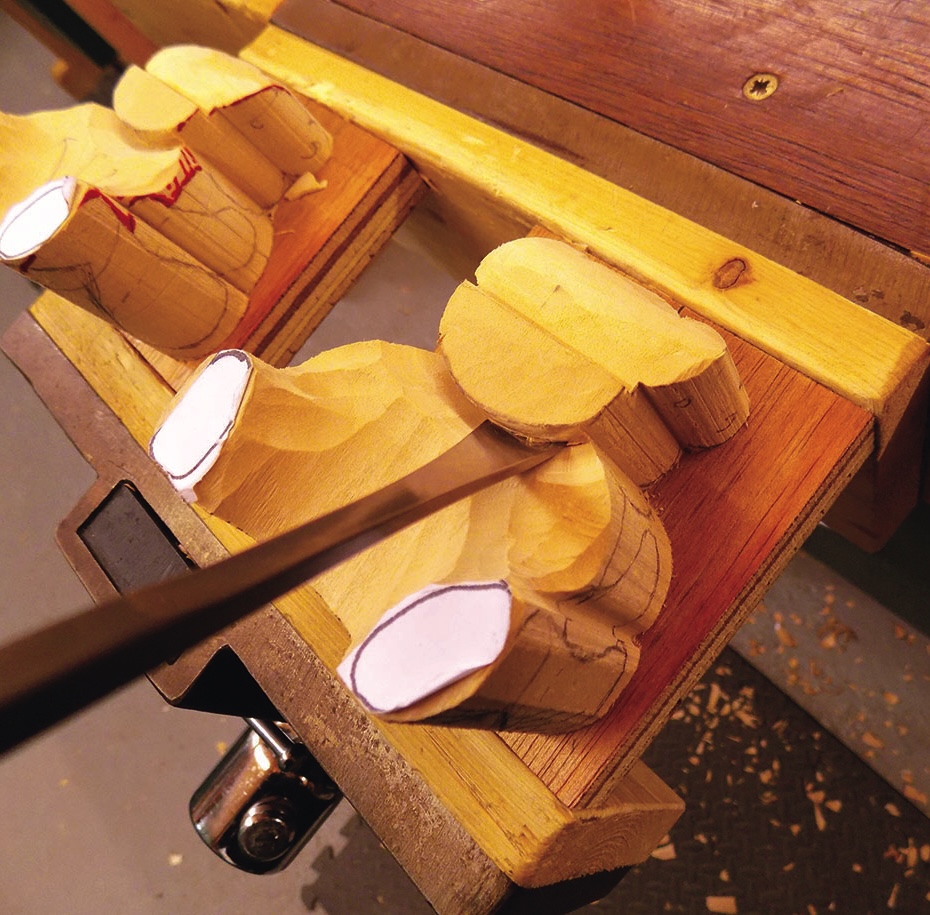
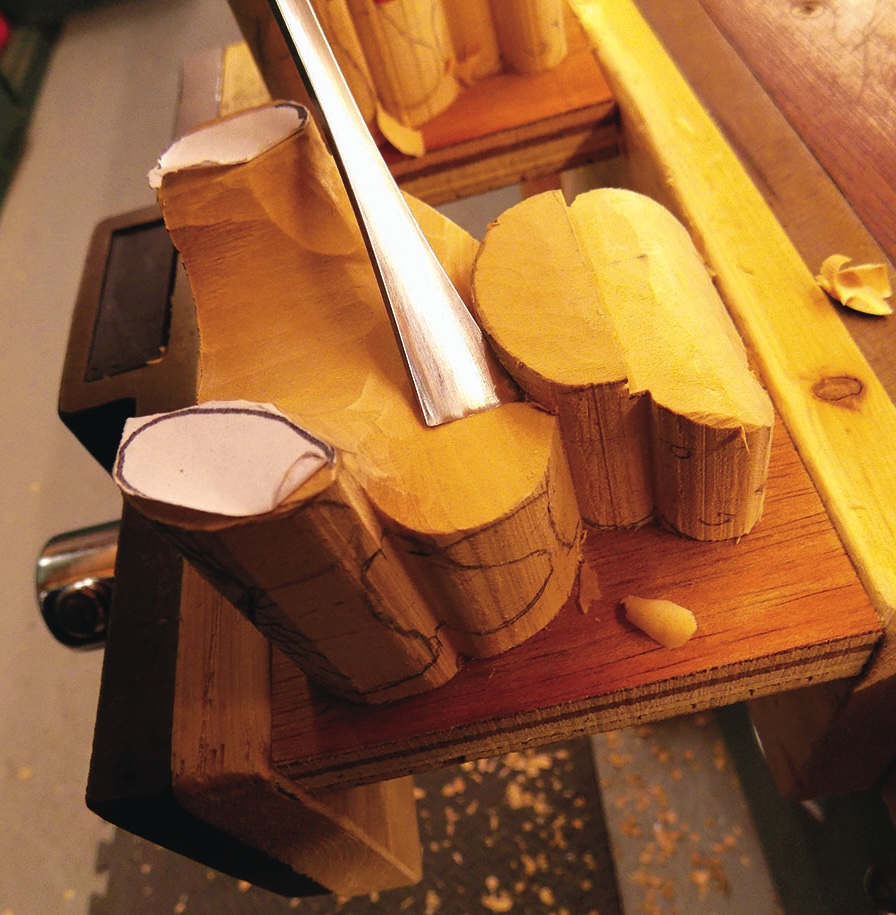
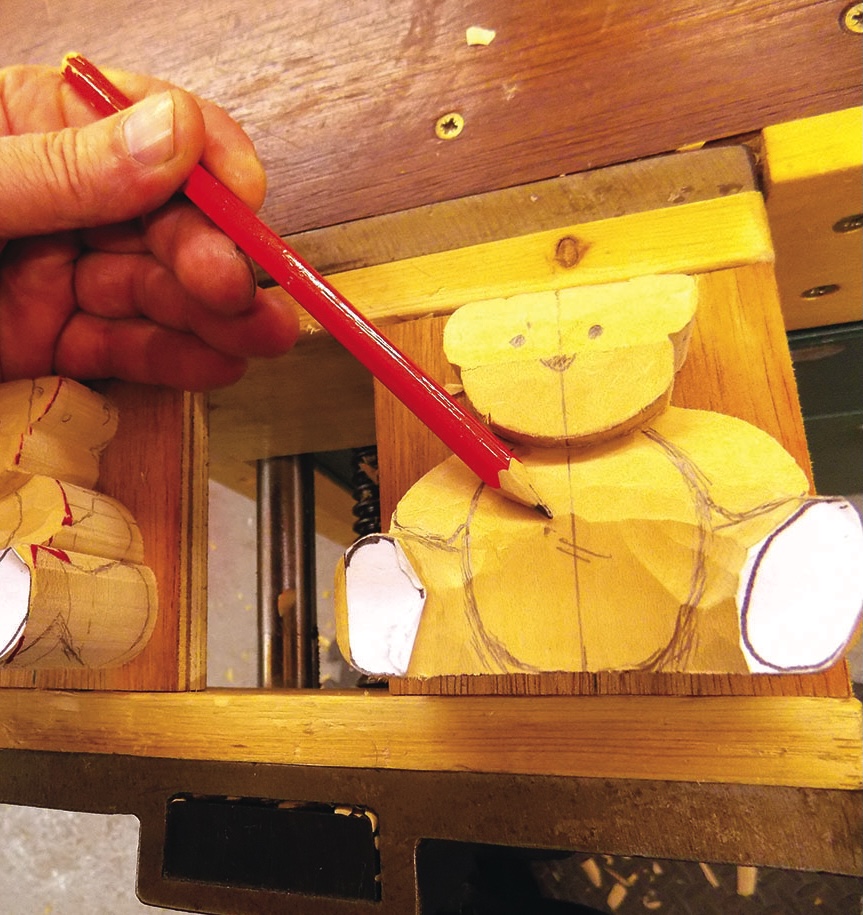
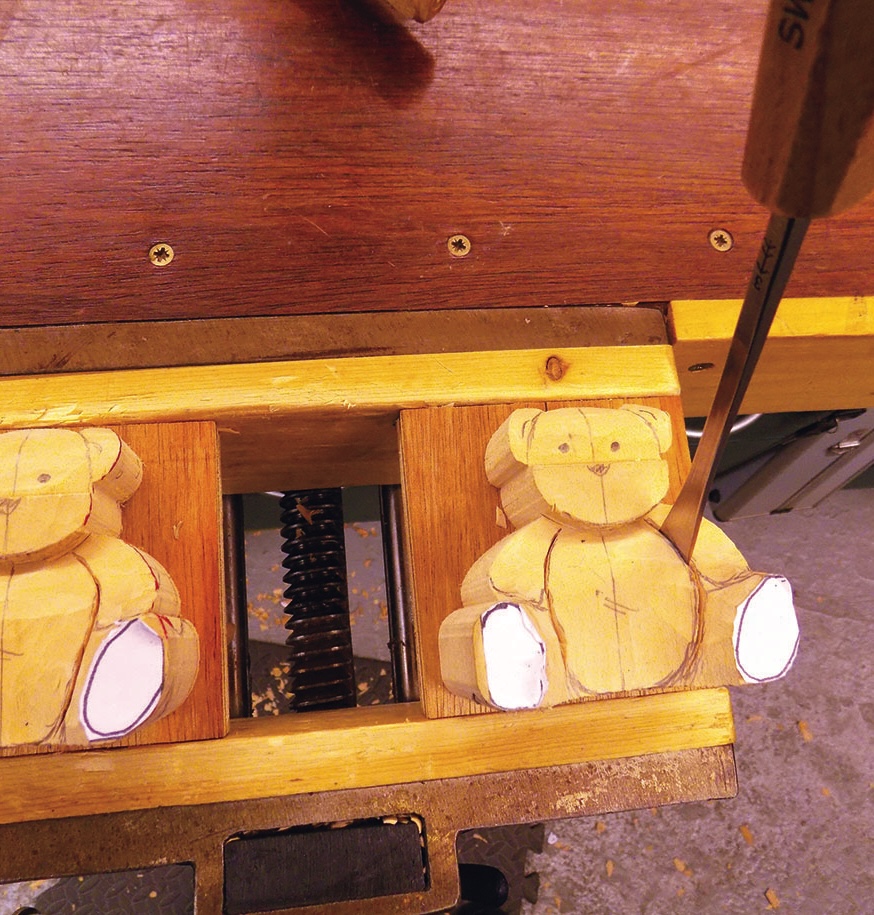
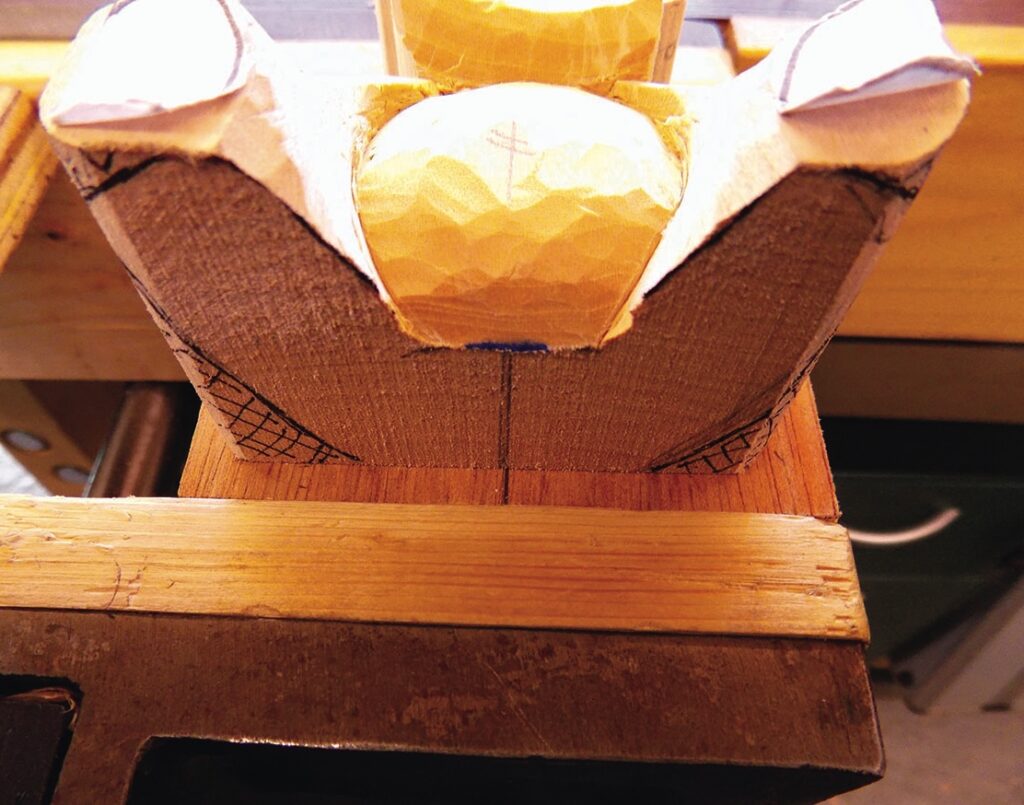
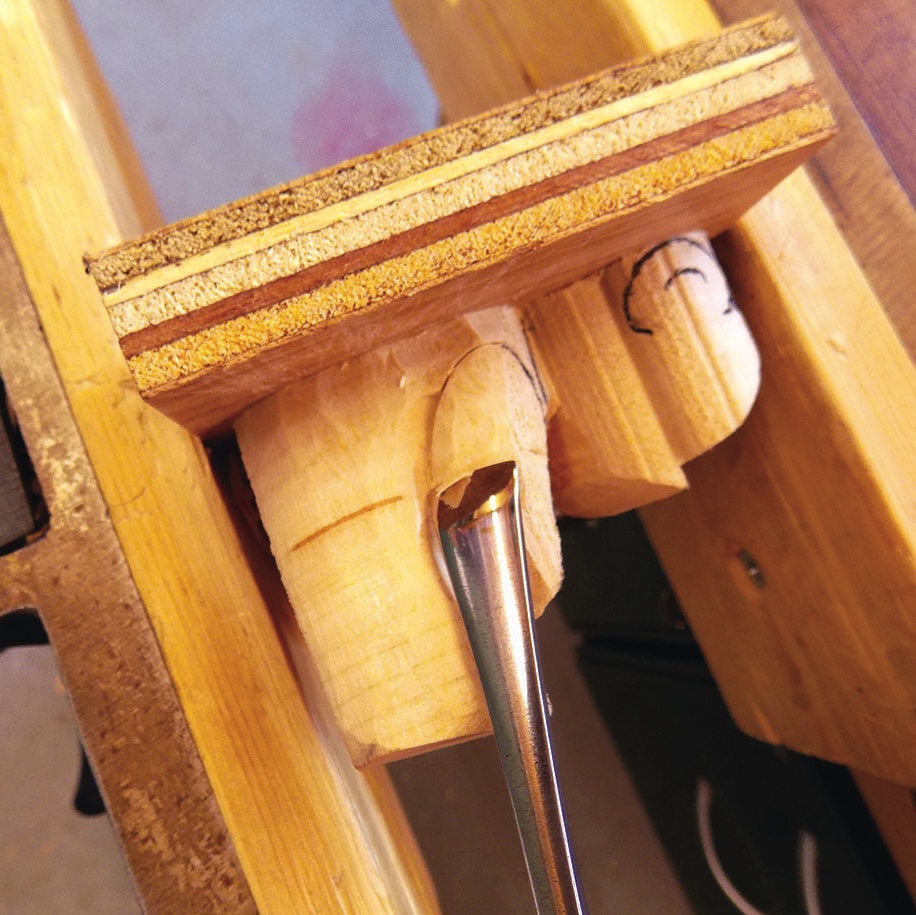
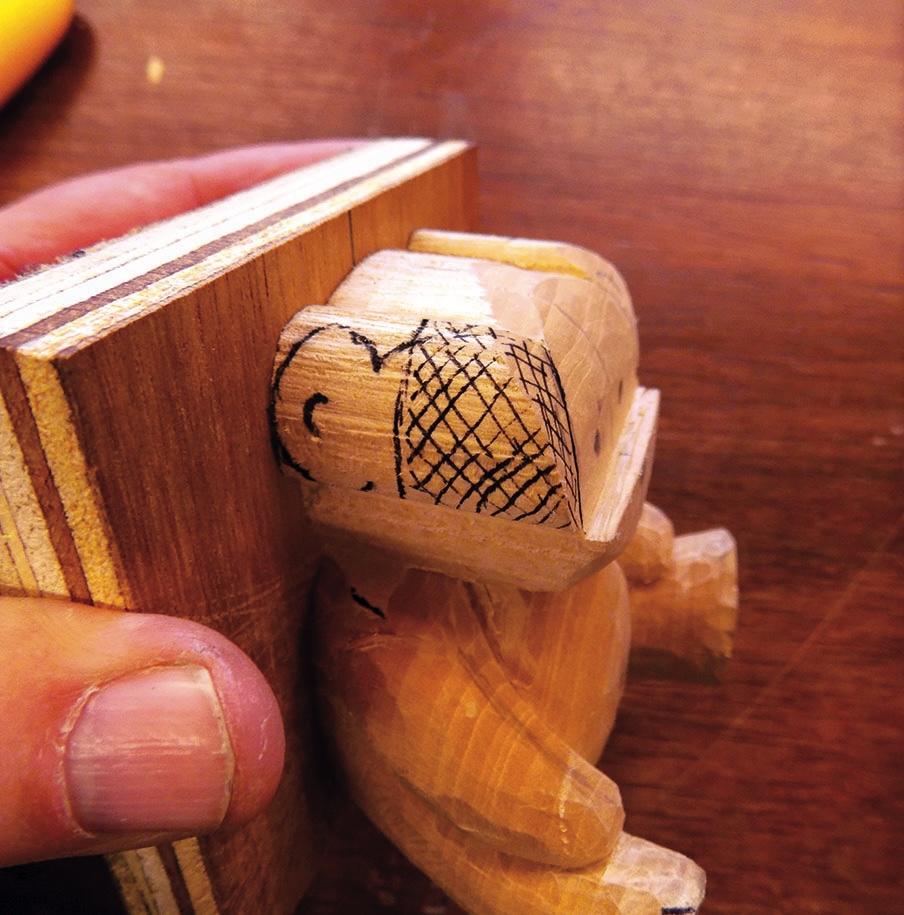
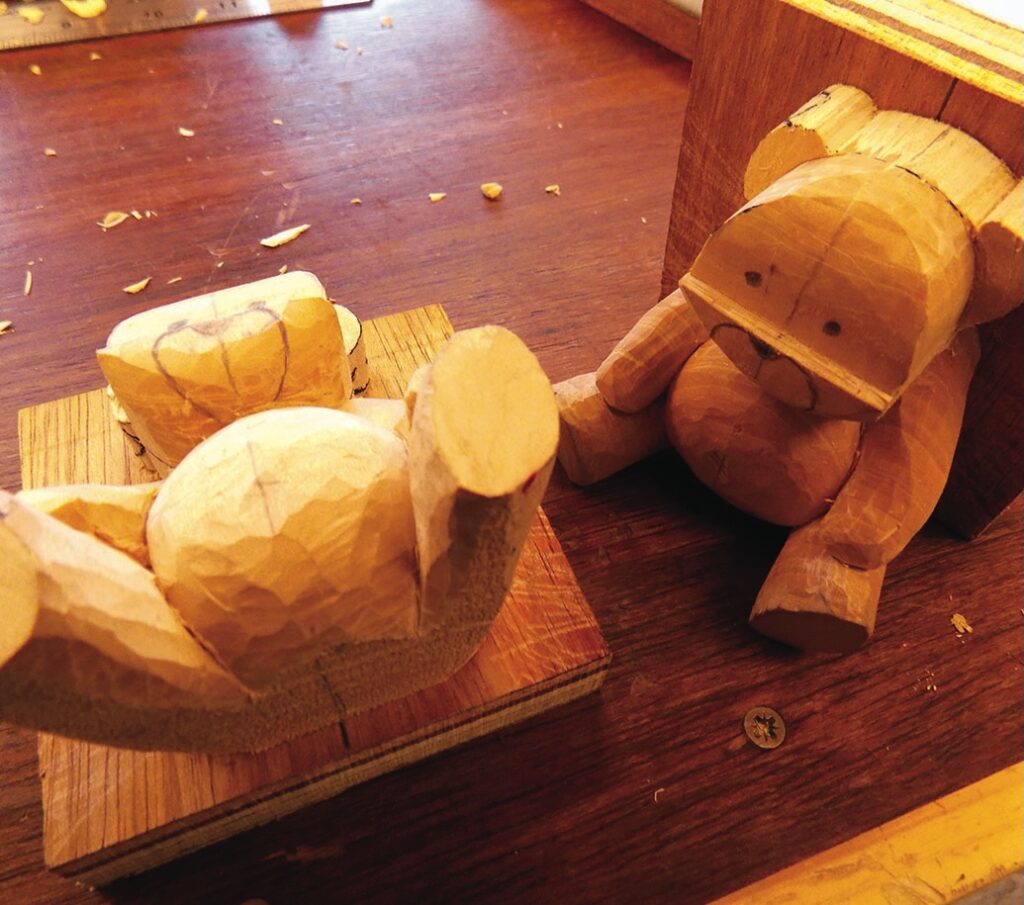
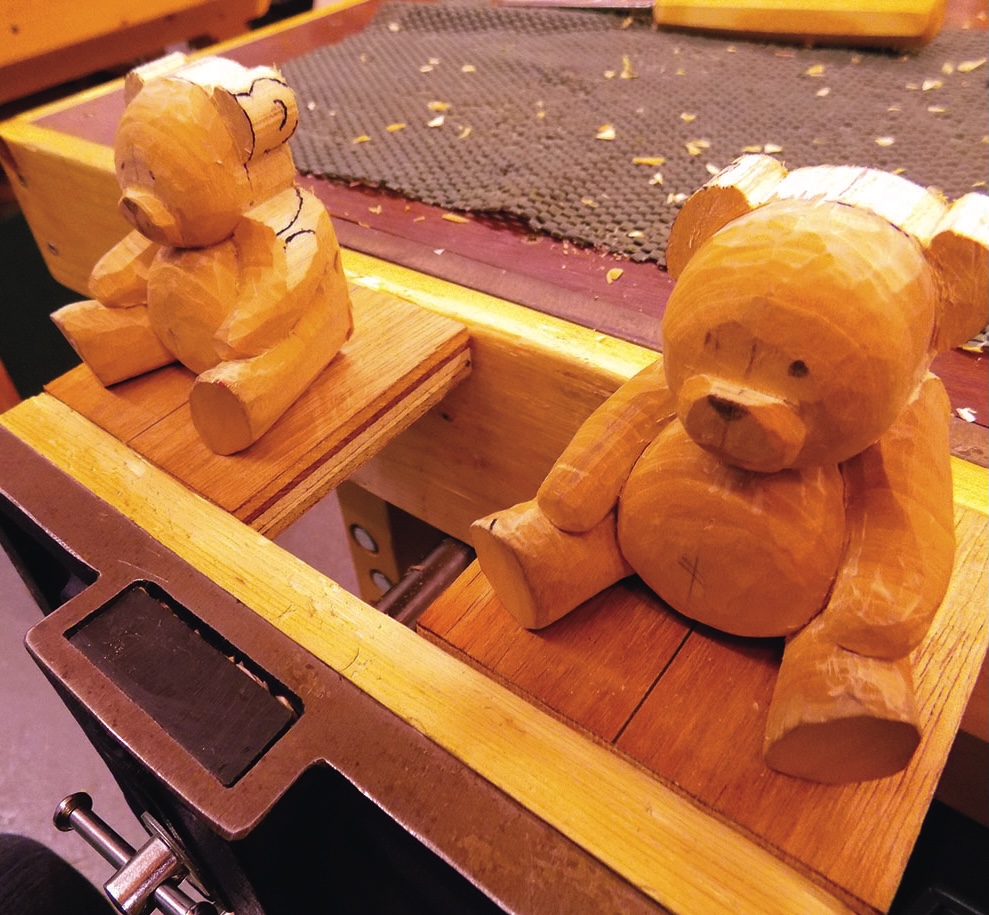
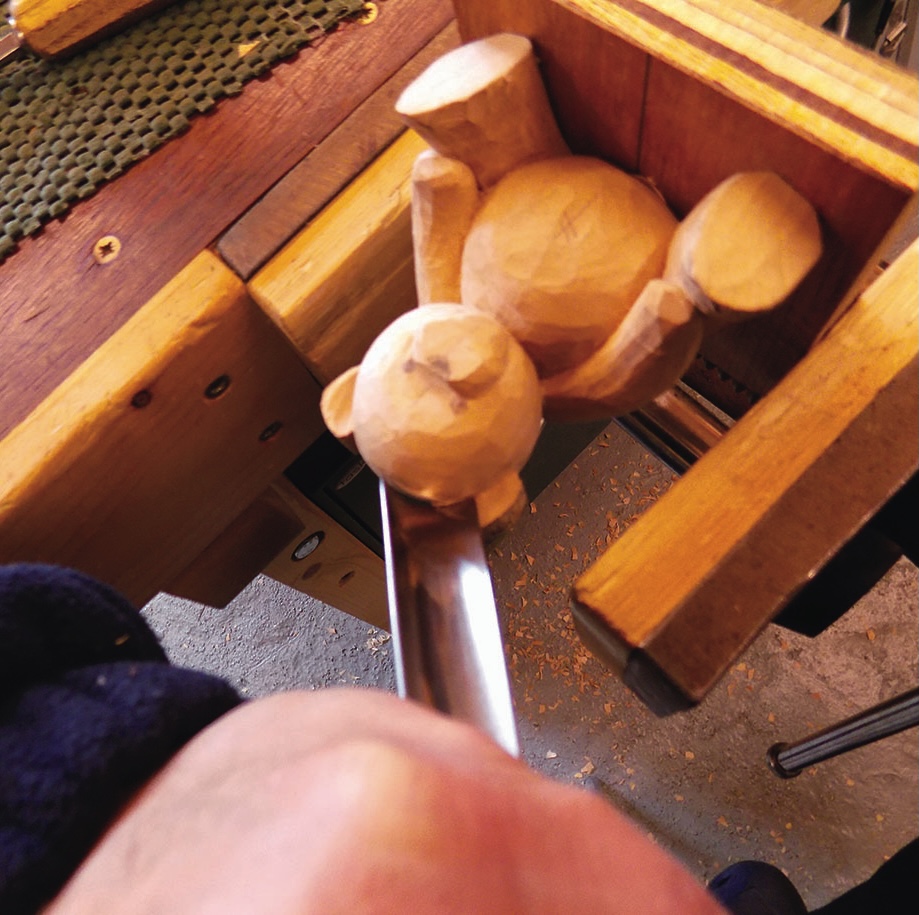
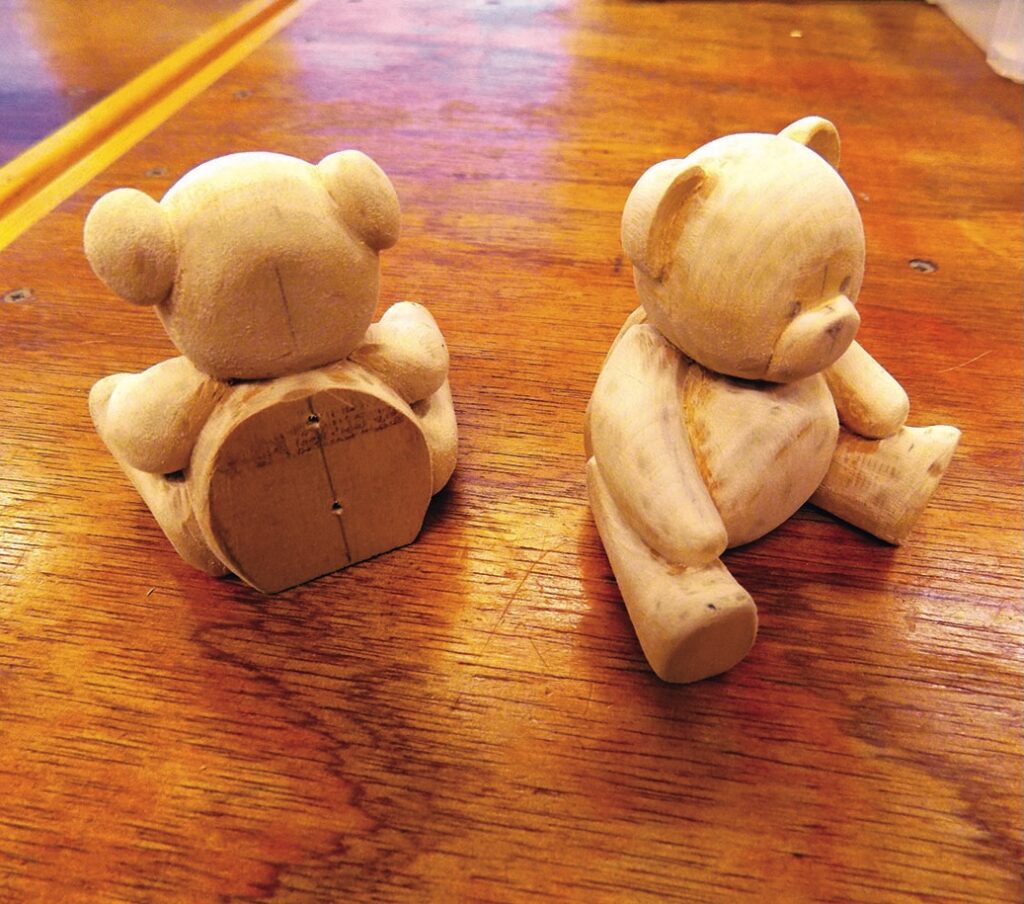
The carving process

Top tip:
Holding work effectively and in the right position while carving is essential. There are may devices and clamping systems available to help with this. Likewise, as with this project, a scrap of plywood and a woodworker’s bench vice is ideal. Whatever your project, work out what is the best way to suit your needs and your budget.
Top tip:
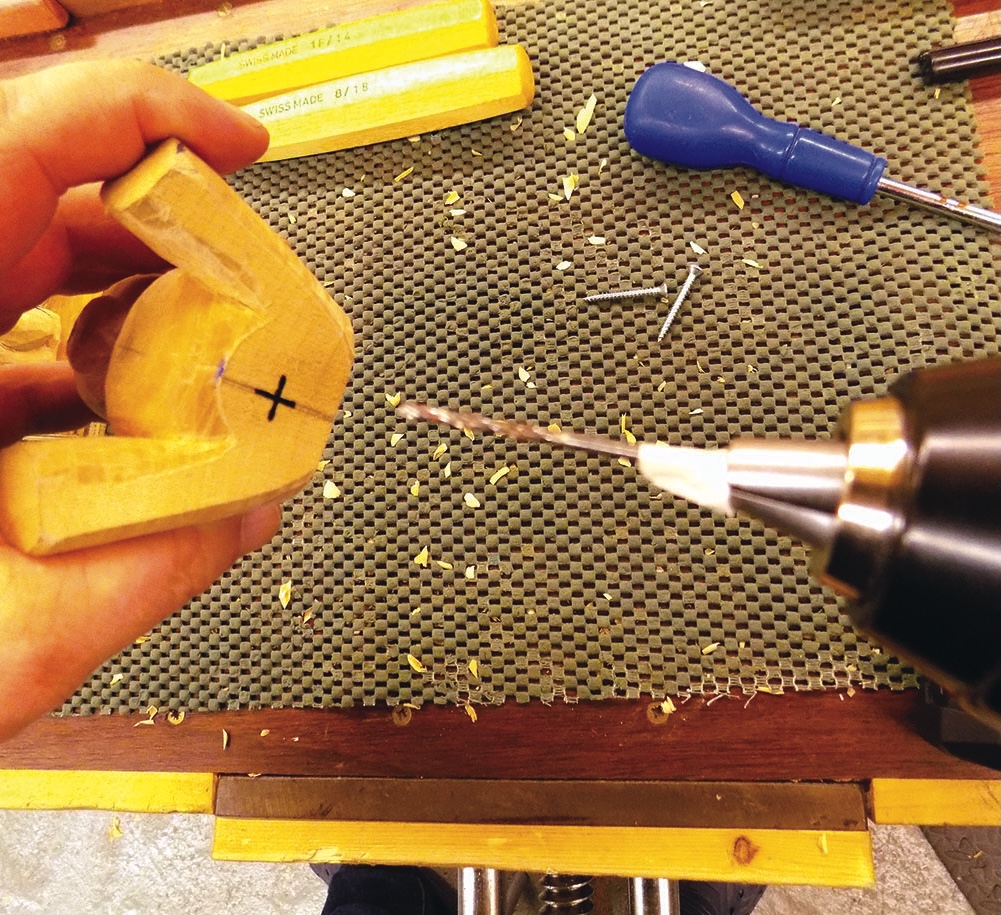
Rubbing candle wax on screw threads acts like a lubricant.
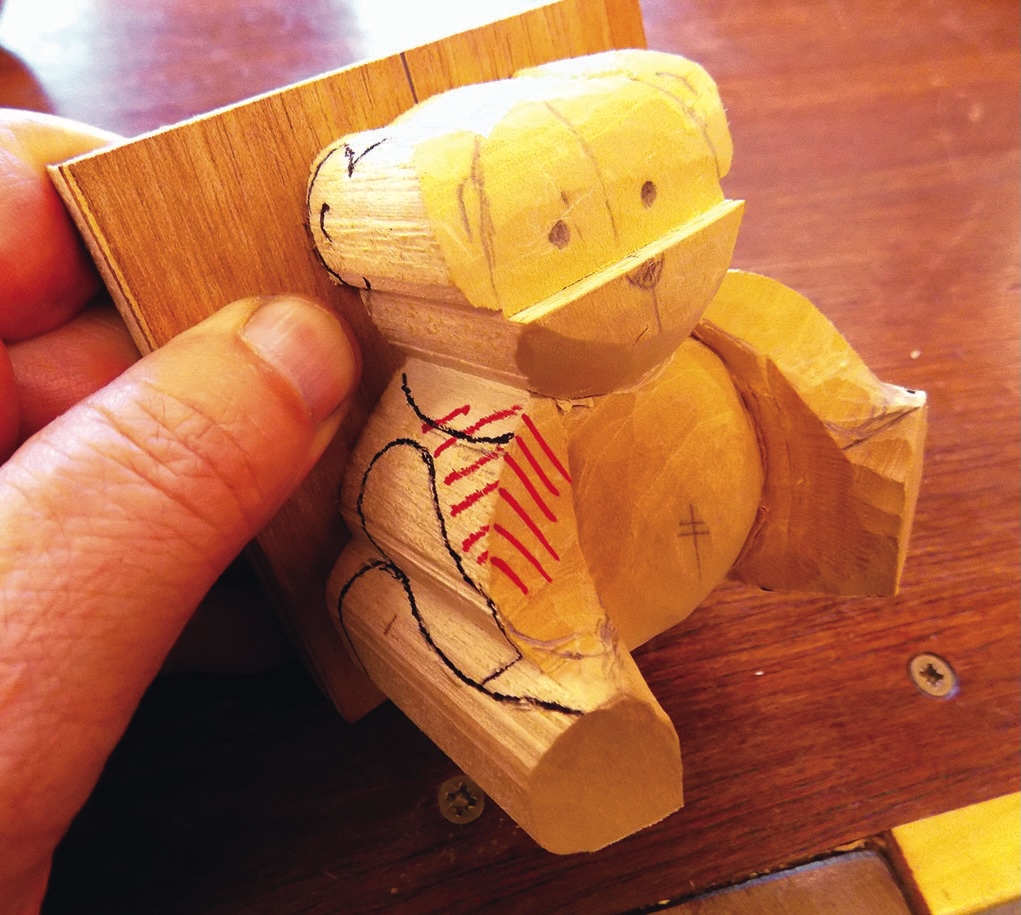
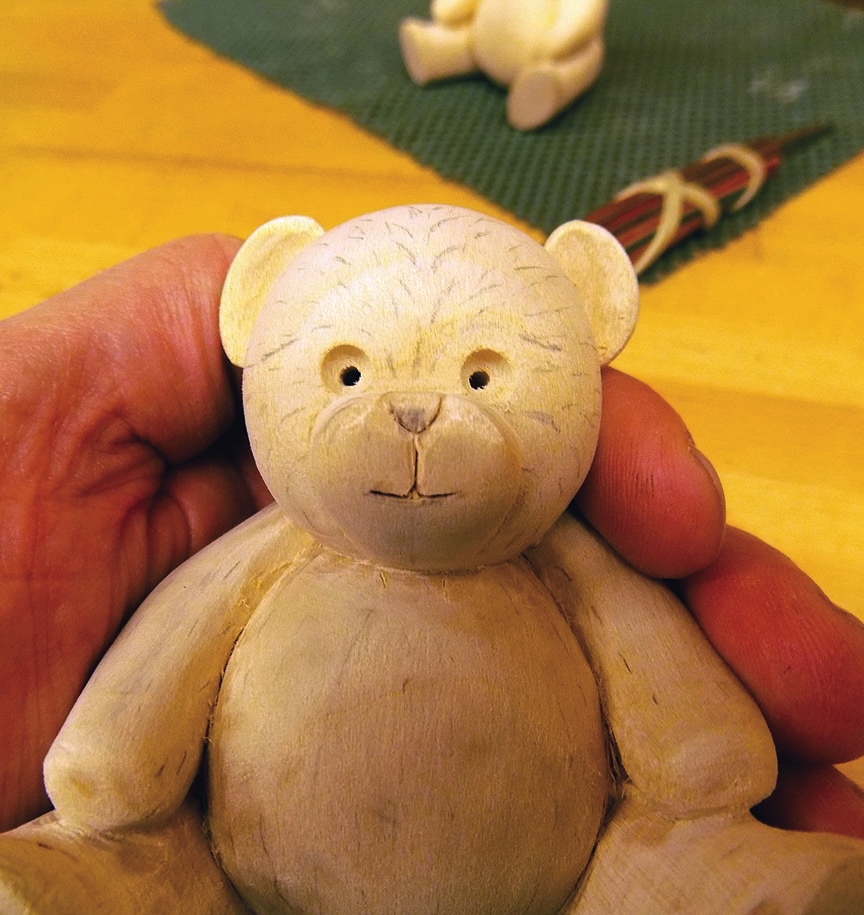
Finishing touches
Top tip:
Follow all the router manufacturer’s instructions carefully, secure your workpiece, wear safety glasses/goggles and a dusk mask. w