Workshop Tips:
Kurt Hertzog gives some top tips on safety and efficiency in the workshop.
Kurt Hertzog gives some top tips on safety and efficiency in the workshop
Over the years turners usually gather a host of tips and tricks for the ’shop. Some of these are learned from others, some are invented out of need and some by accident. This month is dedicated to sharing some of the basic tips and tricks for the workshop that I’ve gathered up to this point. Some of these points are by other people, some are from books and club members, or I’ve simply stumbled upon them myself. Probably not invented or really original, but tips I’ve managed to create, which help me to solve an issue or need. While these are not all inclusive, they are presented to help make workshop time more efficient and maximise the ‘chip creation’ time. Please accept them as things that work for me and as points you
can consider to implement in your workshop.
Safety
My eyesight is poor enough that I’m forced to wear glasses from the moment I wake up until the moment I go to bed. When I go in to the ’shop I already have my safety glasses on, but for those who don’t, store your safety glasses in a spot that forces you to put them on when you enter the ’shop. If you make it rote, you will be able to use any of the ’shop tools knowing your eyes are protected.
If additional measures are required then keep your faceshields, feather specs with side shields, or other eye protection wear immediately at hand. I hang all of these in the floor joists directly overhead of my lathe. They are never more than a couple of feet away, for easy reach and use. Do the same with your breathing equipment and hand protection. I keep two boxes of safety gloves attached to my lathe cart; there are polyethylene food service gloves for nuisance protection and nitrile gloves for chemical protection. Being only one step away makes them too convenient to not use when they are needed. Purchased by the box, the unit cost is very low, so single use and their disposal of afterwards has a minimal cost.
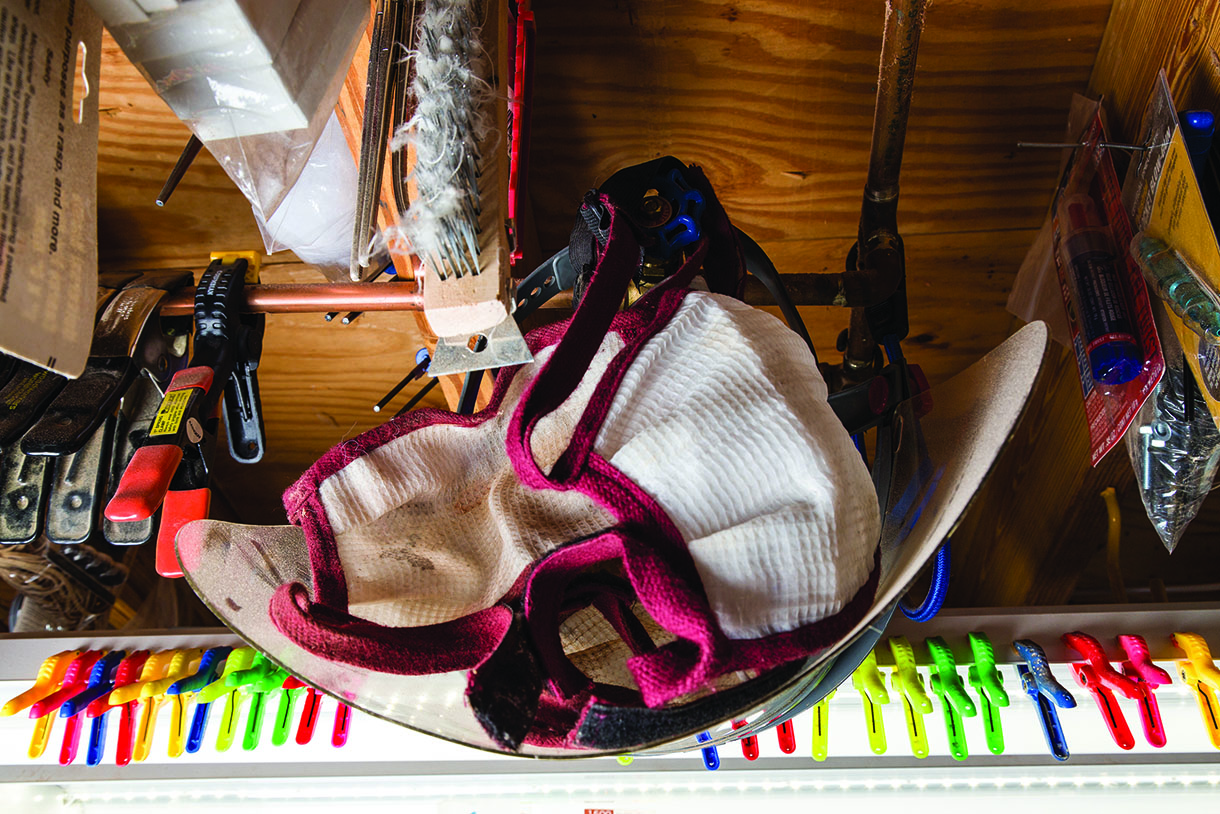
If your dusk masks and faceshield are hanging directly overhead or at another convenient location then you’ll always use them
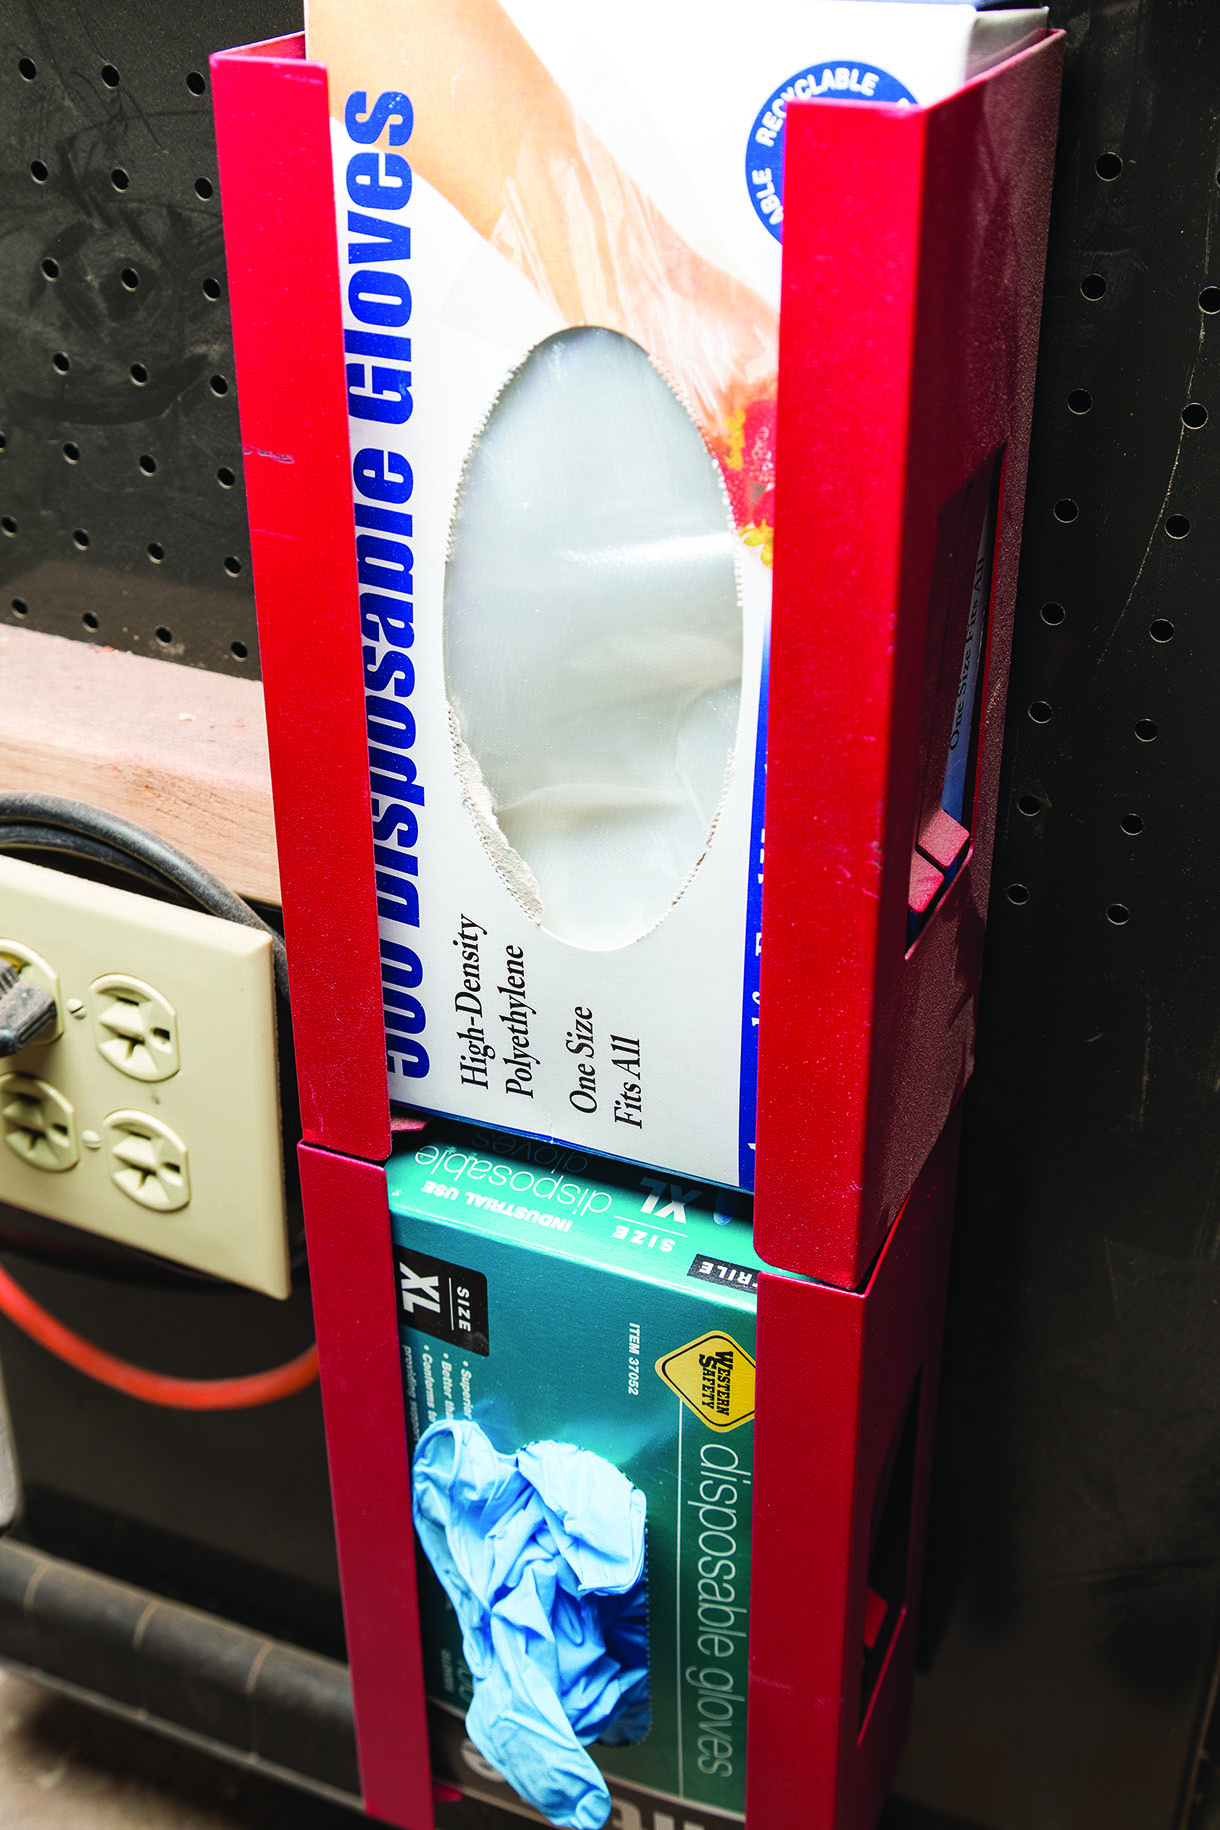
Both nuisance and chemical protection gloves are fastened to the cart to make them extremely convenient
Since nearly all of us use chemicals ranging from water to serious solvents, I recommend decanting your commonly used chemicals into small chemical lab containers. These containers all have caps to prevent evaporation. Being small and designed for precise dispensing, you can use them as needed without opening the larger container and spilling during use. You can also store your larger chemical containers in the appropriate place for safety. Be certain that your selection of chemical containers are truly storage containers meant for chemicals, they should be marked correctly and clearly mark any transfer container with the contents. You may remember what is in there or you may not, but mark it so you (or anyone else) will know the contents quickly and for certain.

Decanting my commonly used solvents makes them handy to keep nearby and precisely dispense as they are needed
Comfort
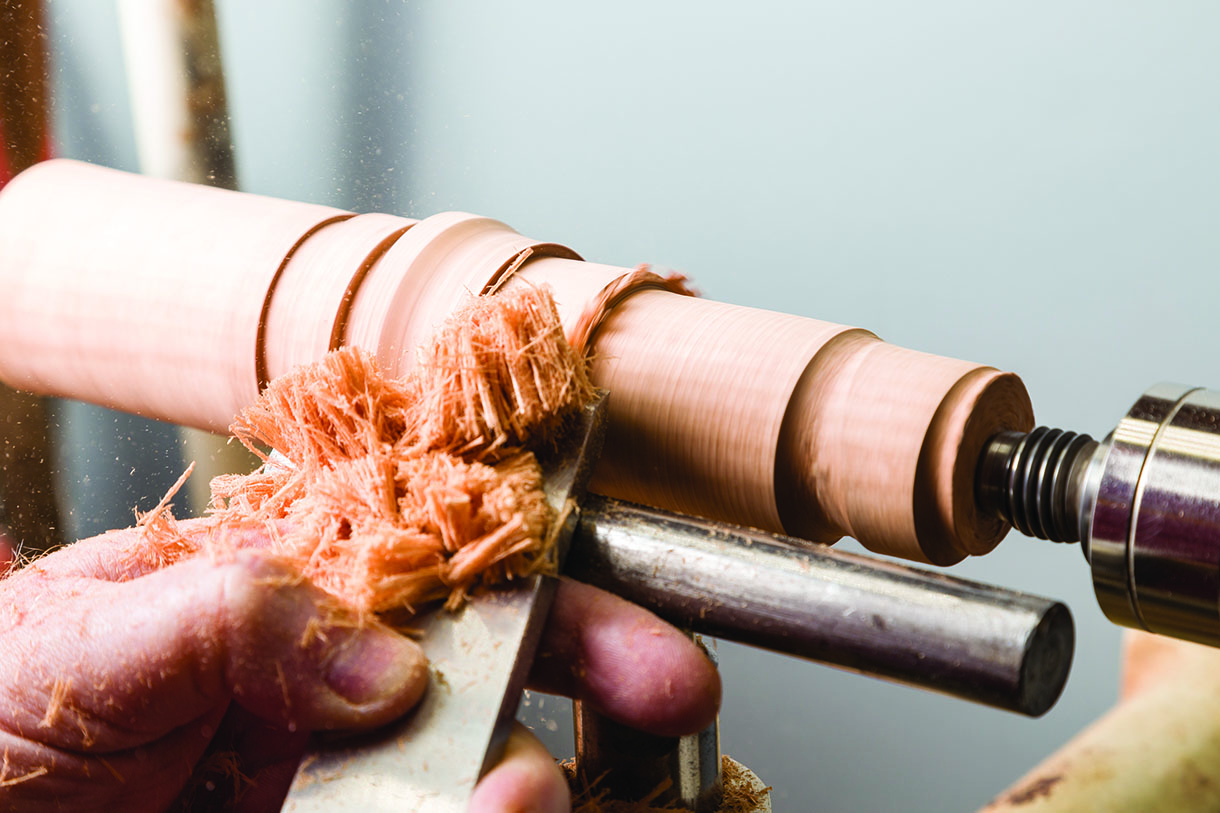
If you spend an extended amount of time at the lathe then you’ll know pretty quickly if the lathe is adjusted properly for your needs. Pains in your back or your neck are indicators that your lathe might need some height adjustment. Most of us have stopped any rapid height growth, so adjusting the lathe for our correct heights should be a one-time task. A good starting point for height, standing on your own anti-fatigue mat(s), is having the centreline of the spindle at the centreline height of your elbow as your arm hangs straight down. By achieving this, you will have your upper body positioned comfortably as you turn, but this is only a starting point. From this ballpark height, you can move the lathe height up or down a fraction of an inch until you achieve the correction position, mainly through trial and error. With the height properly adjusted, you won’t need to arch forward or back to perform your turning. Avoiding any arching and standing will remove a lot of the fatigue you feel with extended turning sessions. Good anti-fatigue mats are a must, but effective mats are not cheap. You need to seek out and use mats that will isolate you from the hard floor and help make your standing hours more enjoyable. My search for mats took several iterations, but I finally have the most effective mats that I’ve come across so far. My time at the lathe, while tiring, is far more enjoyable because of the mats I currently use.
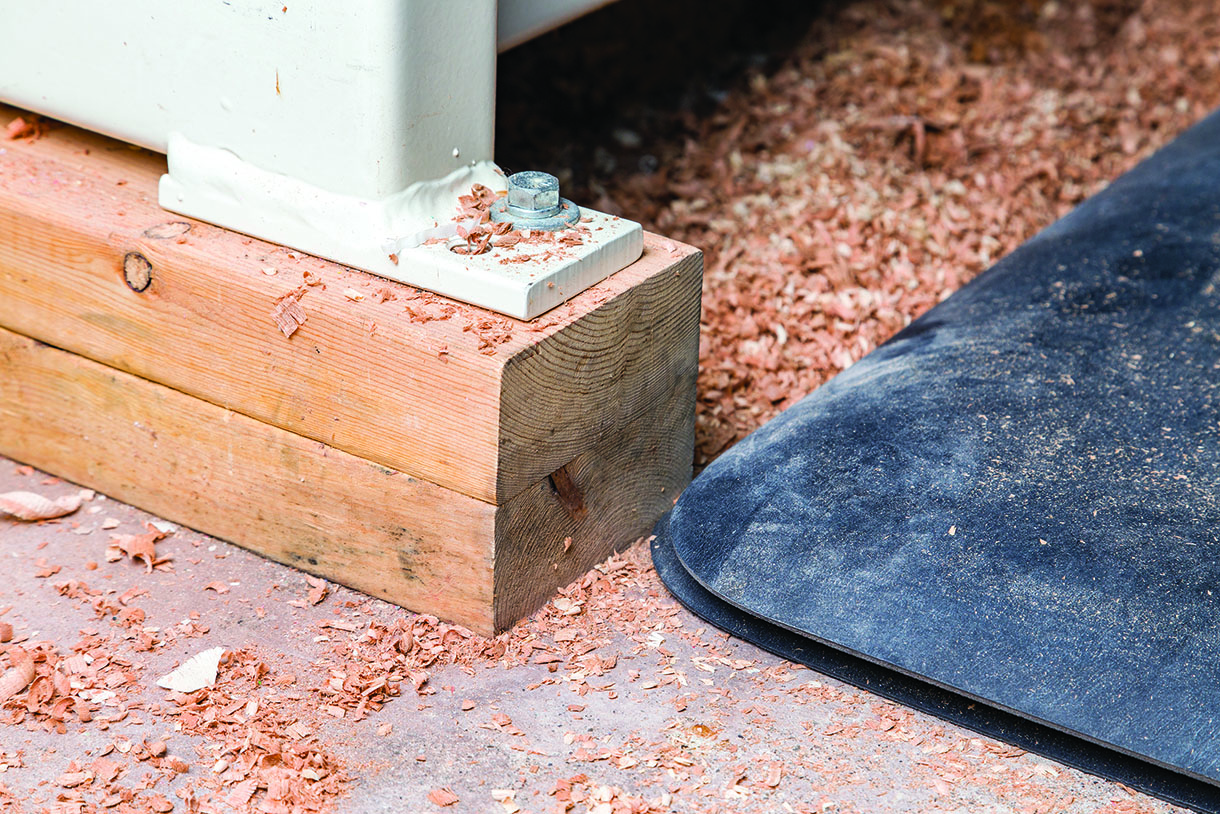
With your anti-fatigue mats in place, get your lathe height adjusted as needed
Lighting
Lighting over your lathe and task lighting will go a long way to helping your turning in the long run. Perhaps a little overkill, but I hold the opinion that there is never too much lighting in your workshop. Directly over the bed of each of my lathes, running parallel to the ways, are two 4ft dual element fluorescent fixtures. Recently, I removed each one of these fixtures and replaced with LED fixtures of the same size and configuration. These LED fixtures provide far more light at a fraction of the electric power and generate virtually no heat. Instant on and off regardless of the ambient temperature with plenty of light, these fixtures are currently being installed at every overhead light location in both of my workshops. While these lights provide a tremendous amount of light, there are many instances when you need task lighting to illuminate areas of your work. I have several types of gooseneck lamps for this purpose. Some of these lamps are attached to the back of the lathe, and some of them have magnetic bases that can be fastened to the lathe as needed. With goosenecks, the light can be positioned as they are needed, but it can also be kept out of the way for unimpeded turning access.
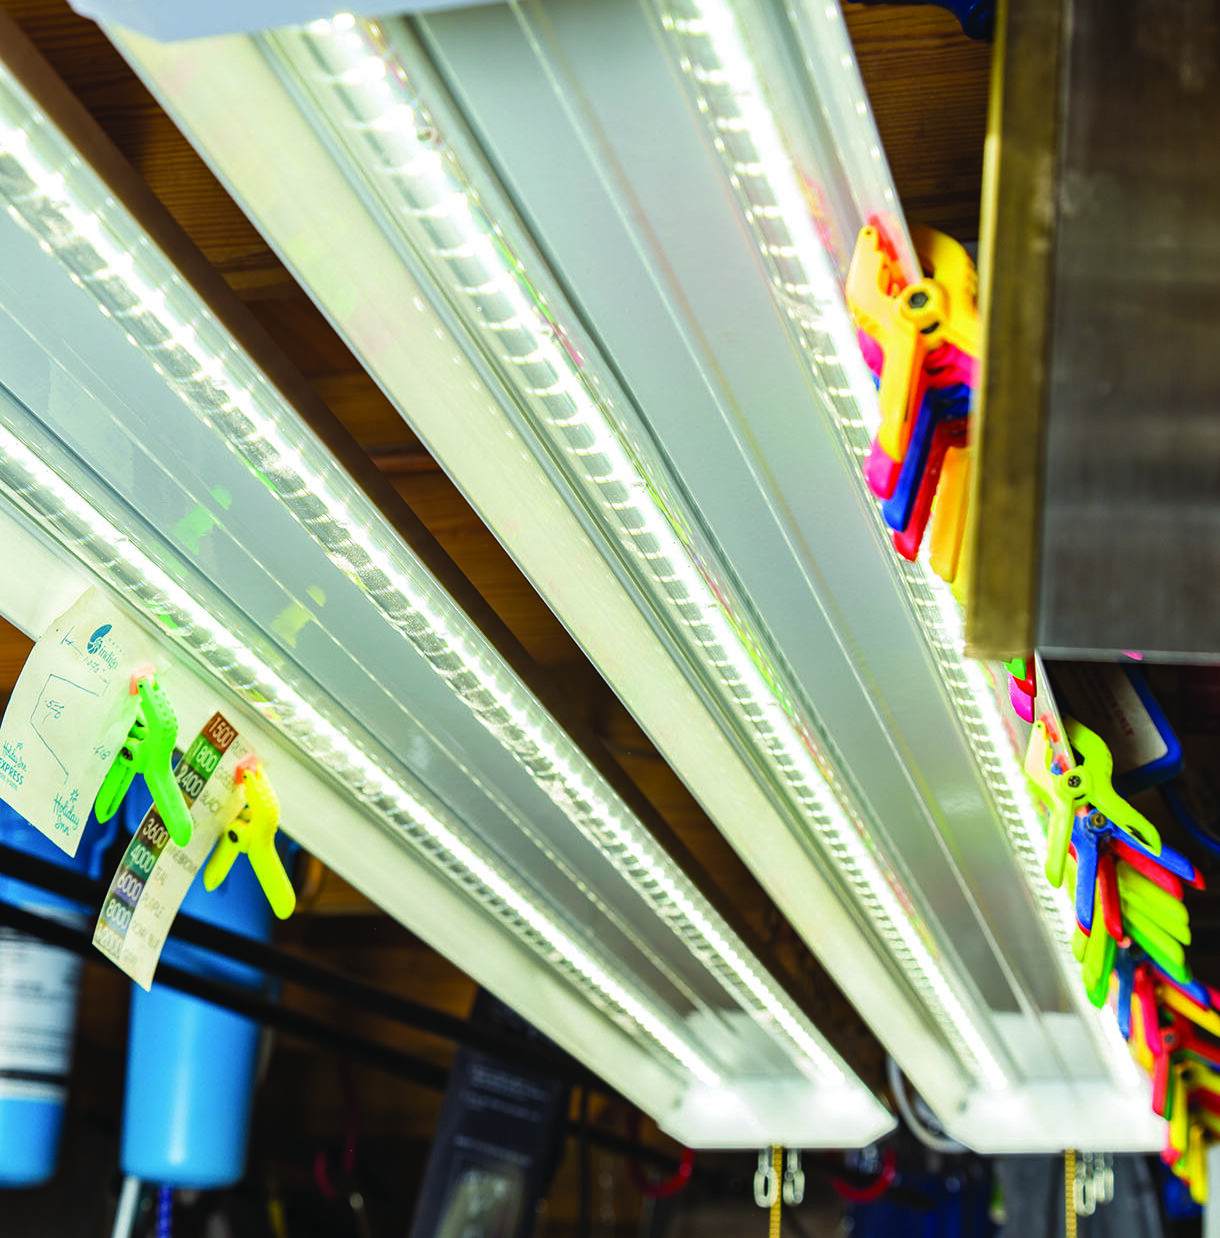
Get as much lighting as you can, located directly overhead along with any task lighting you might need
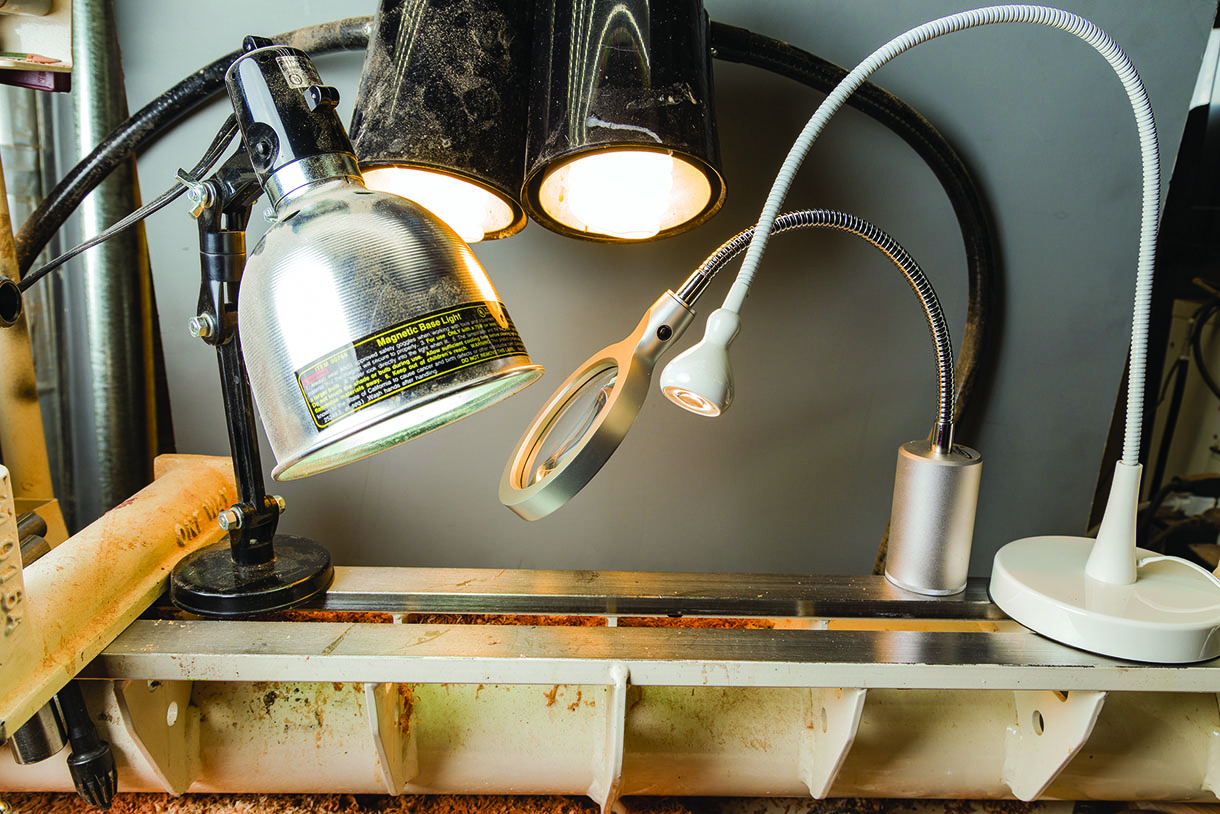
Just some examples of the available task lighting you can select for your workshop
Convenience
When I am turning, any interruption to fetch an item I need is quite bothersome to me. Perhaps a bit more unsightly than your ’shop, but I tend to surround myself with just about anything I may need to be within arm’s reach. I use a roll around multi-drawer cabinet that holds chucks, tailcentres, drive spurs, vacuum items and other lathe hardware. On top of the cabinet is my grinder and tool rack. The cabinet gets rolled up to the end of my lathe so all these items are within three feet of where I stand while I’m turning.
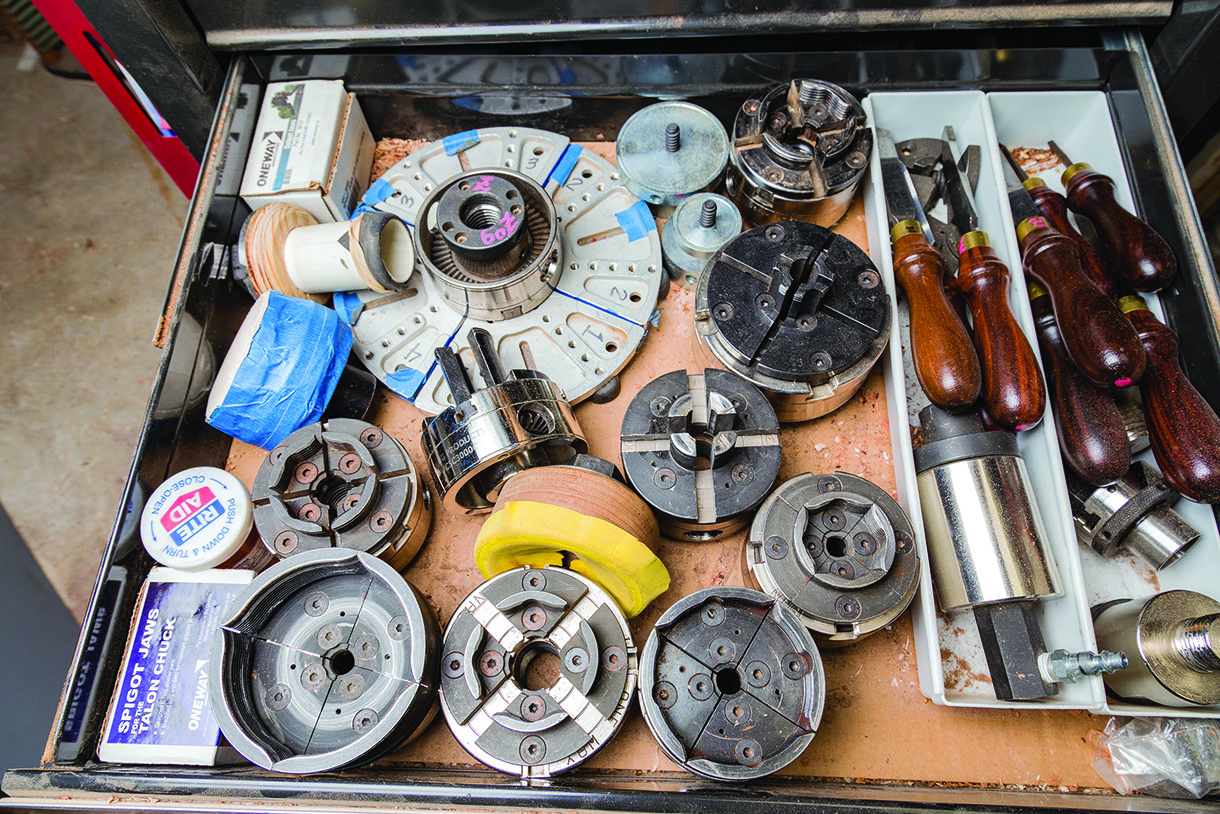
My roll-around turning cart has lathe supplies stored and readily available when they are needed
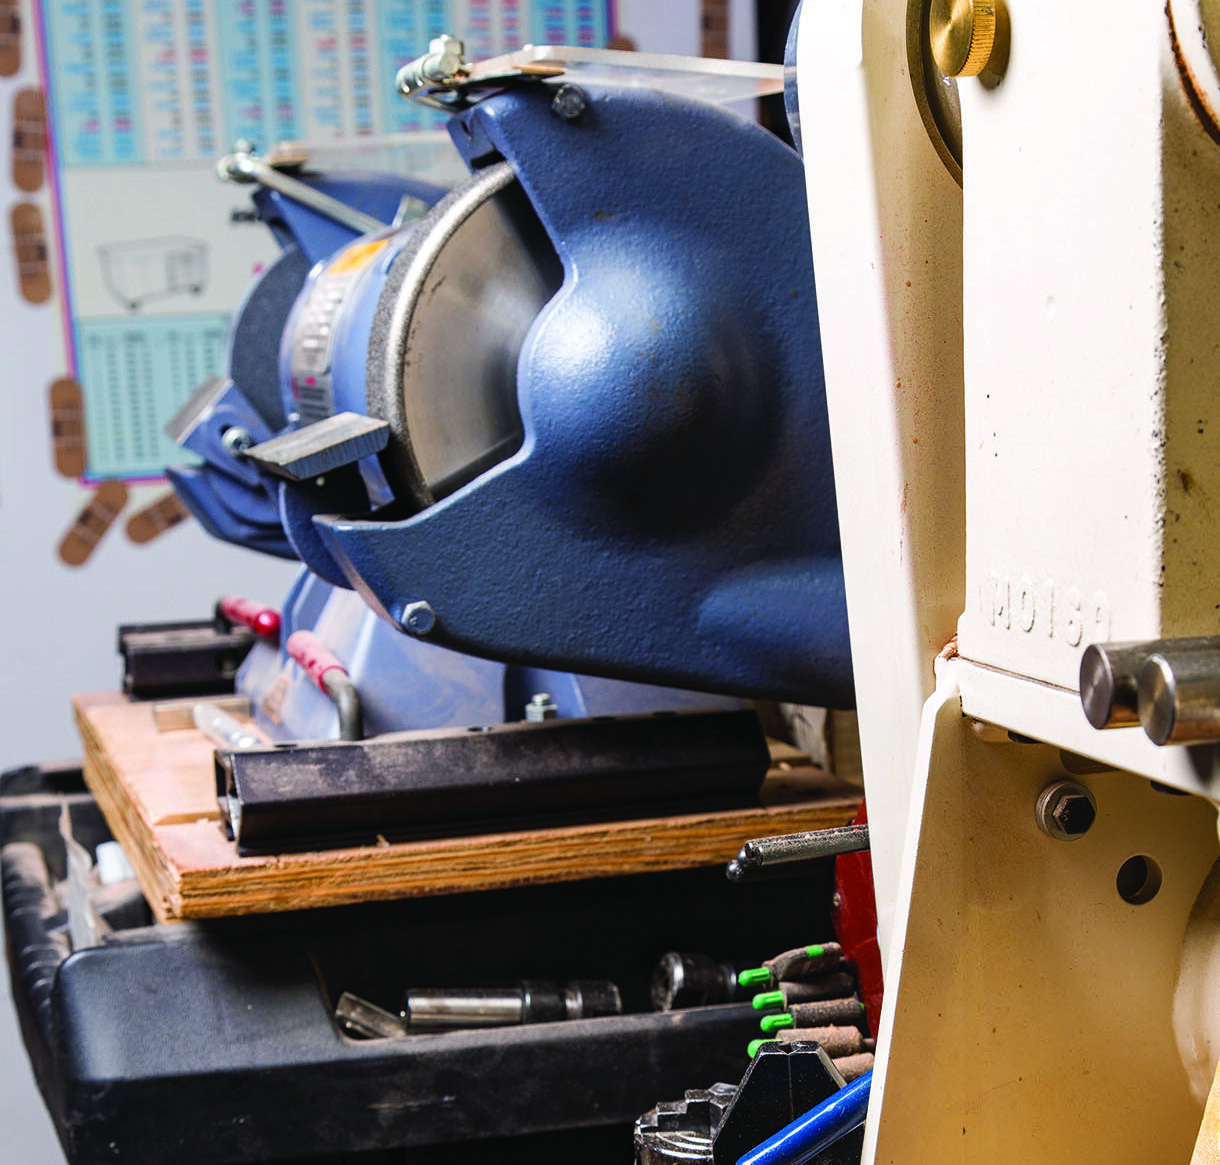
My rollup cart lets me put my grinder within feet of where I am standing while turning
Overhead, the floor joists are a maze of other handy items on nails or hooks, including a variety of rolls of tape, tape measures and other measuring tools such as callipers, depth gauges, diamond hones, T-handle wrenches, adhesives and more. On the magnets attached to the metal cabinet of the overhead air filter at the tailstock end of the lathe, there are additional handy items such as a 150mm scale, scratch awl, individual power sanding pads, each with its own grit, a tin can filled with sharpened pencils and magic markers, handheld fibre optic lights, along with other items that are easily held by a magnet. I use welder’s layup magnets because of their size and strength. Attached to the metal frame or shell of each piece of ’shop equipment or the HVAC ductwork in the floor joists, these become convenient storage areas at each of the different workstations.
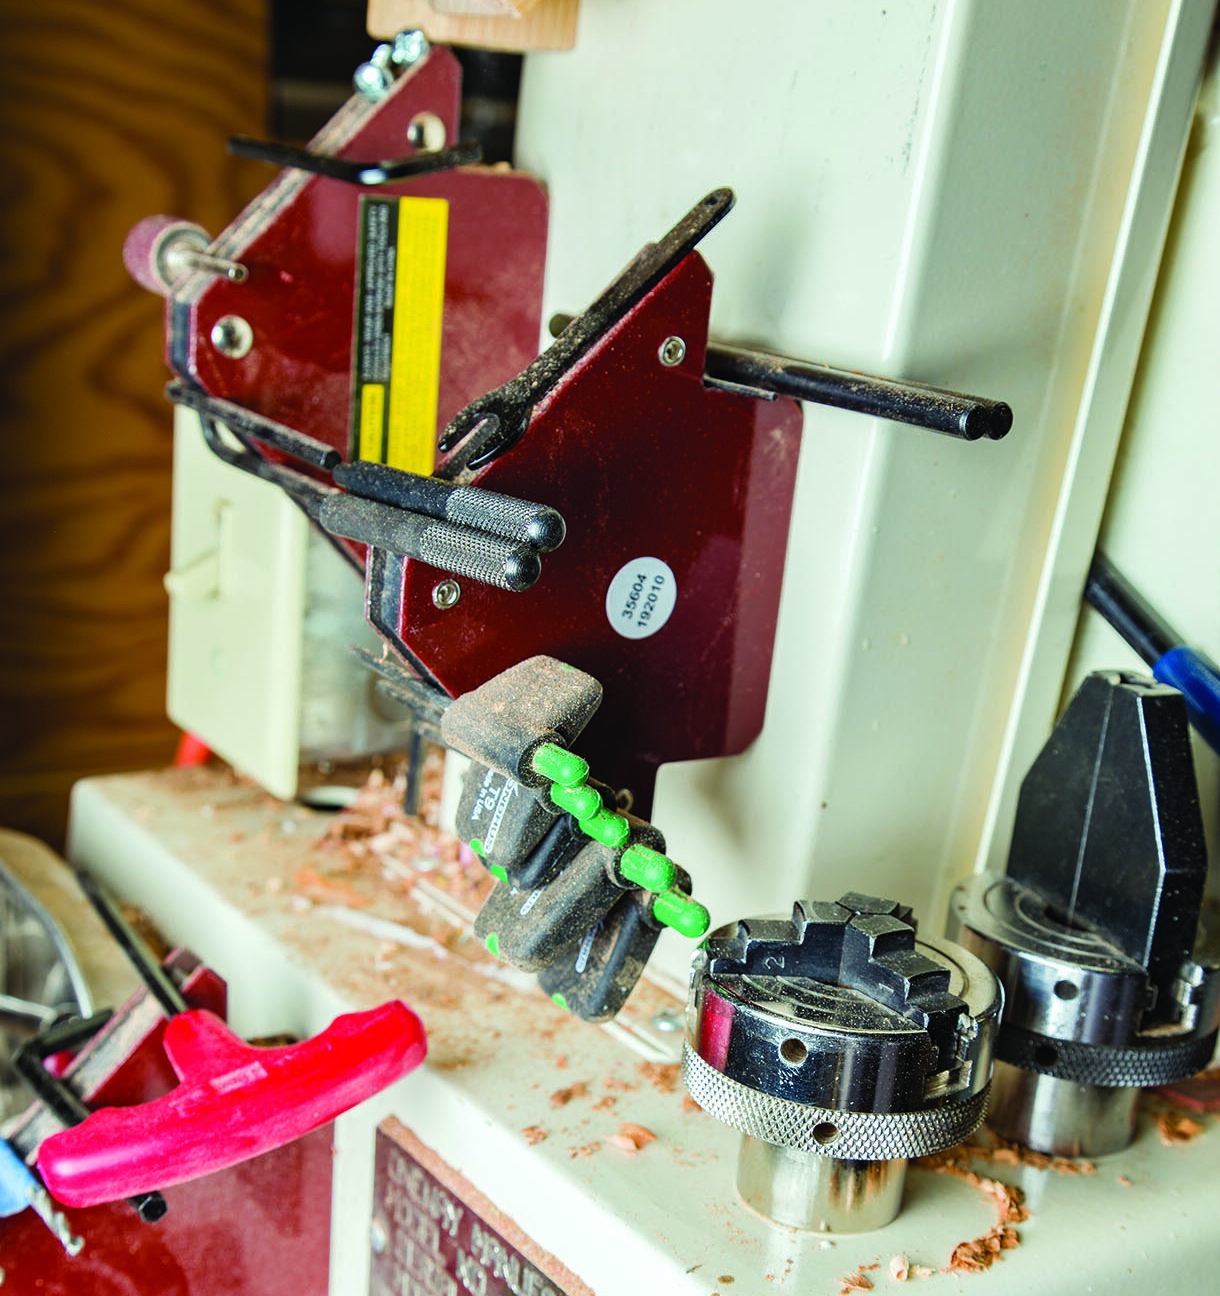
Welder’s layup magnets work well to keep the needed drills, wrenches and other metal items at hand
At the drillpress, there are commonly used drills, sanding pads, scratch awls, tin cups with pencils, and magic markers are positioned on the upper frame of the saw within easy reach. One of the secret weapons in my ’shop is painter’s low tack masking tape. I mount rolls of this tape on every hook I can find in the ’shop – the myriad of uses makes it indispensable. Used as a marker or with a magic marker writing on it, I find the tape useful throughout the workshop. Just a few uses of this is marking rattle paint cans with the colour; once the lid has been thrown away I install spray handles marking the desired drilling depth on a drill; masking off items to prevent overspray and padding items for gripping in a chuck covering tool tips when packing tools in a duffle bag; temporarily marking ownership of personal items in a group environment using multiple strips as a mixing pad for mixing adhesives and many more.
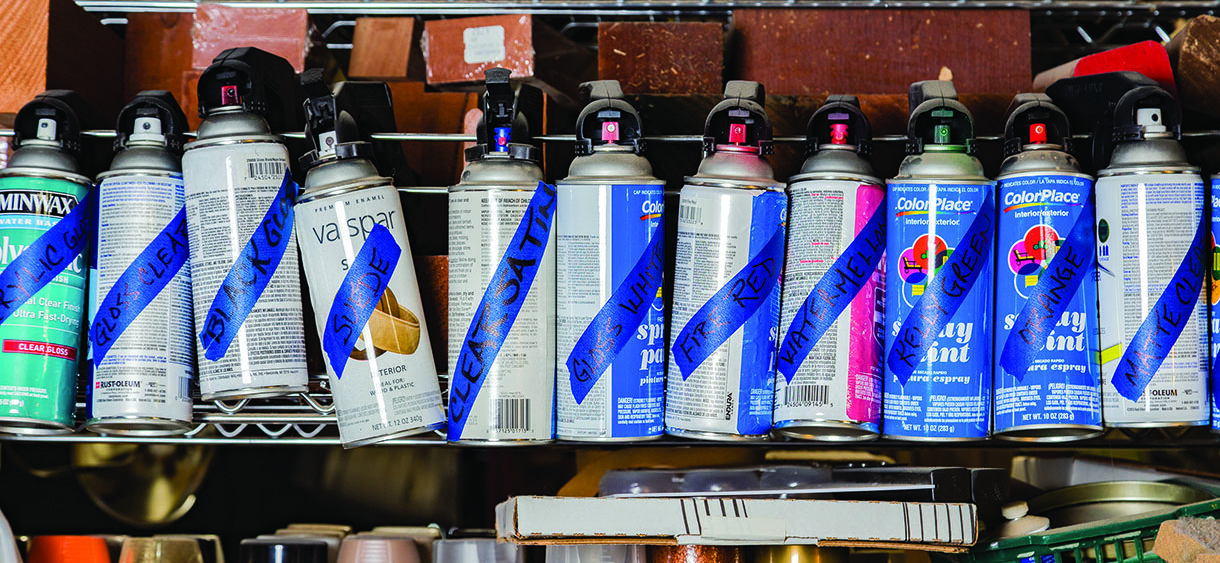
Marking the colour on open spray cans makes finding the correct colour much faster in my workshop
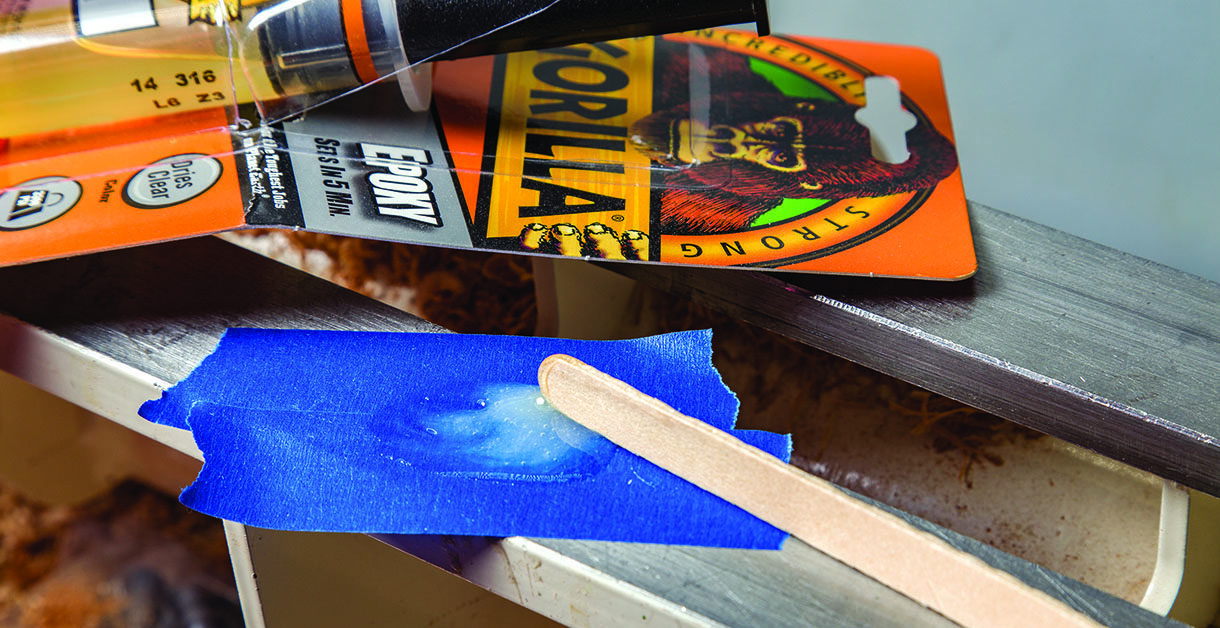
Just one of the many uses for painter’s tape. A couple of strips lets you mix adhesives anywhere with an easy clean up
Calibration
For lack of a better term I’ll call this section calibration, or perhaps adjustment and alignment are more appropriate. Regardless, it is impossible to do your highest quality work if your equipment is not adjusted to the best possible alignment. Granted, not every piece of equipment in your ’shop can be made to be spot on perfect in regards to the adjustment, but you can certainly adjust things to be as close as possible.
Being aware that a piece of equipment has some deficiency allows you to make any necessary compensation.
Aligning your lathe so the headstock and tailstock are in alignment is a great place to start. A centre with a sharp point in the headstock and tailstock allows you to check the axis alignment of the headstock and tailstock. Nearly all lathes have mounting bolts for the headstock with sufficient ‘slop’ to allow for minor adjustments. Loosening the bolts and shimming, or just realigning and tightening, will let you get as close to perfect alignment as you can. I have lathes that were adjusted to be perfect and others that I could not get quite right. I get those as close as possible and live with the known error.
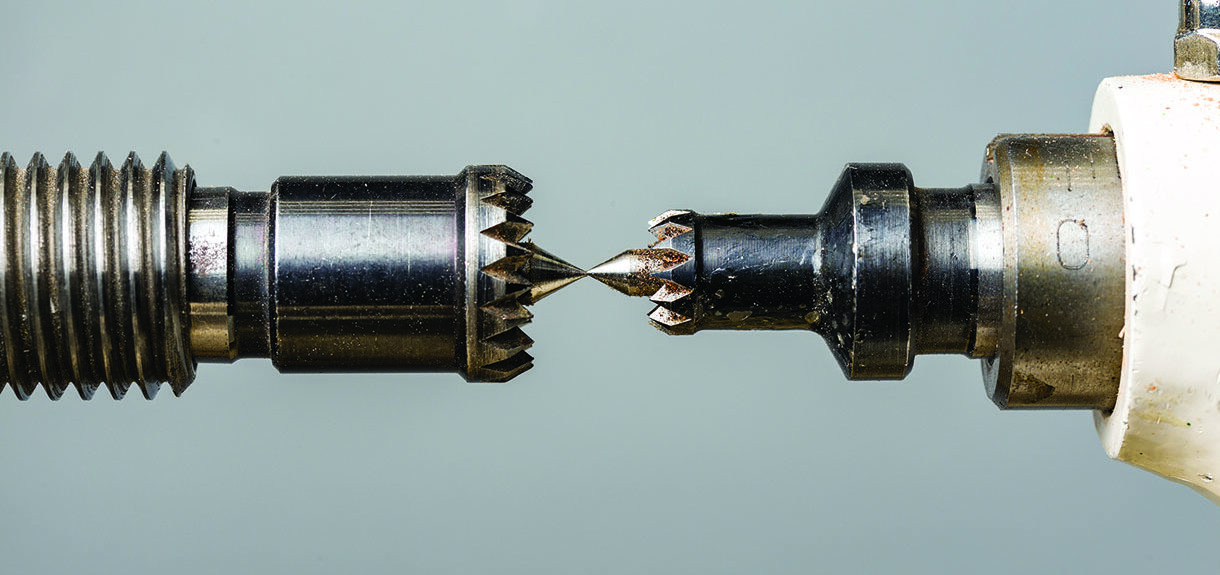
Not perfect, but it is the best I can do on my main lathe. Align the centres of your lathe using the KISS test between your headstock and tailstock
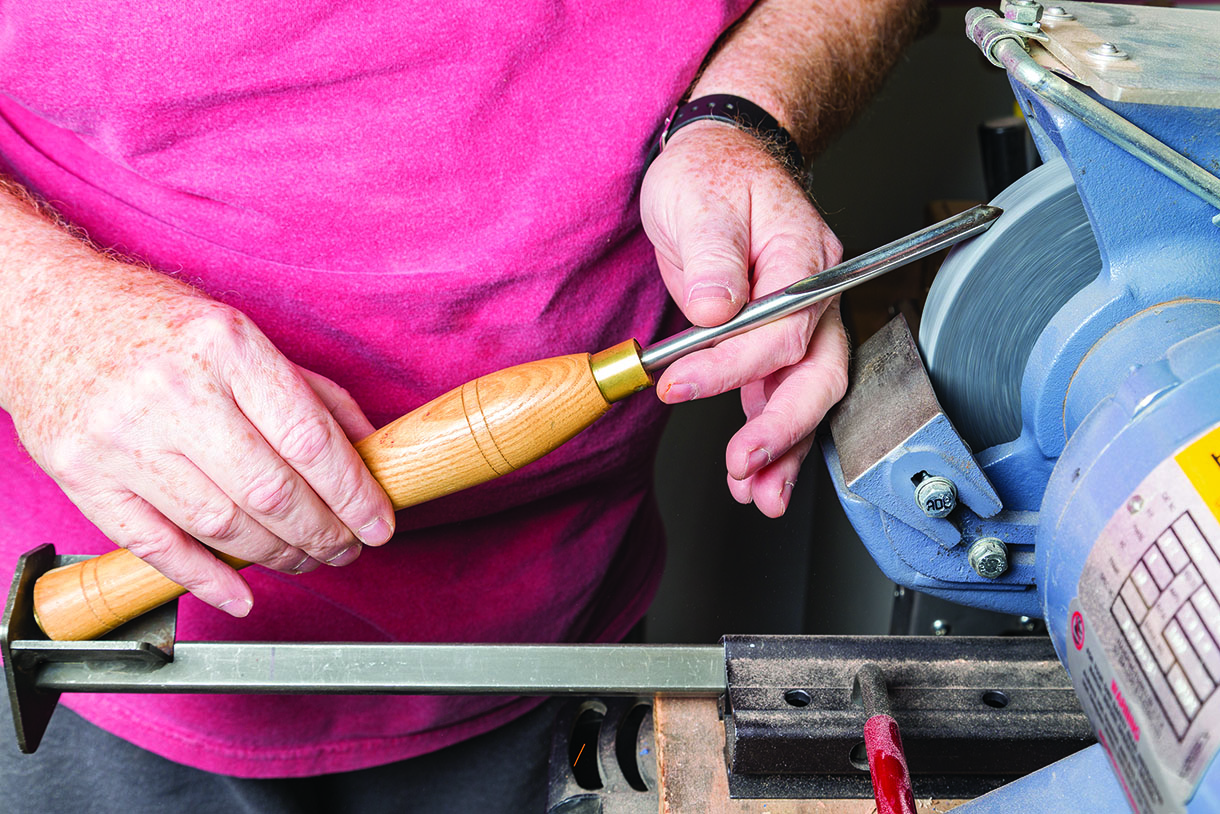
A simple speed square will let you align your bandsaw table so the blade is perpendicular to the table when you want it there. Don’t ever rely on the markings on the table adjustment mechanisms, they are hardly ever accurate. Believe your square on the blade behind the gullets, checking on both sides of the blade. The same is true for your drillpress, install a long drill bit and adjust the table to perpendicular to the drill bit from all sides. If you ever adjust your tablesaw or bandsaw table to a different angle for a special need, be certain you use your speed square to true things up afterwards. It only takes moments and ensures that your cuts and drillings are truly perpendicular to the table. Whether you use an inexpensive speed square or a more expensive machinist’s square, because you’ll be checking all sides with the same face and looking for evening of any gaps, you can count on being accurate enough.
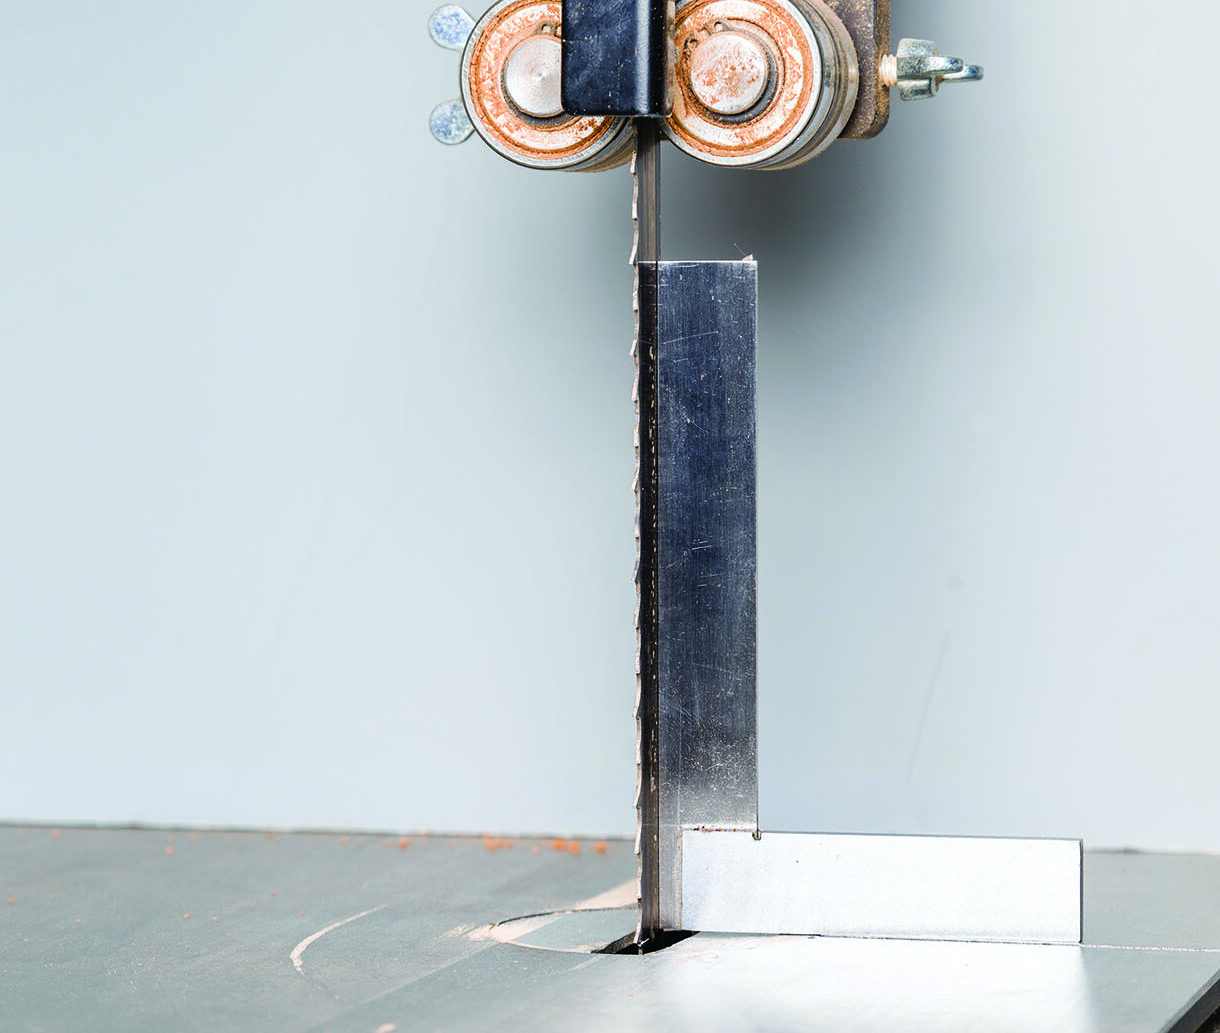
Use a square to ensure that your bandsaw table is truly perpendicular to the blade
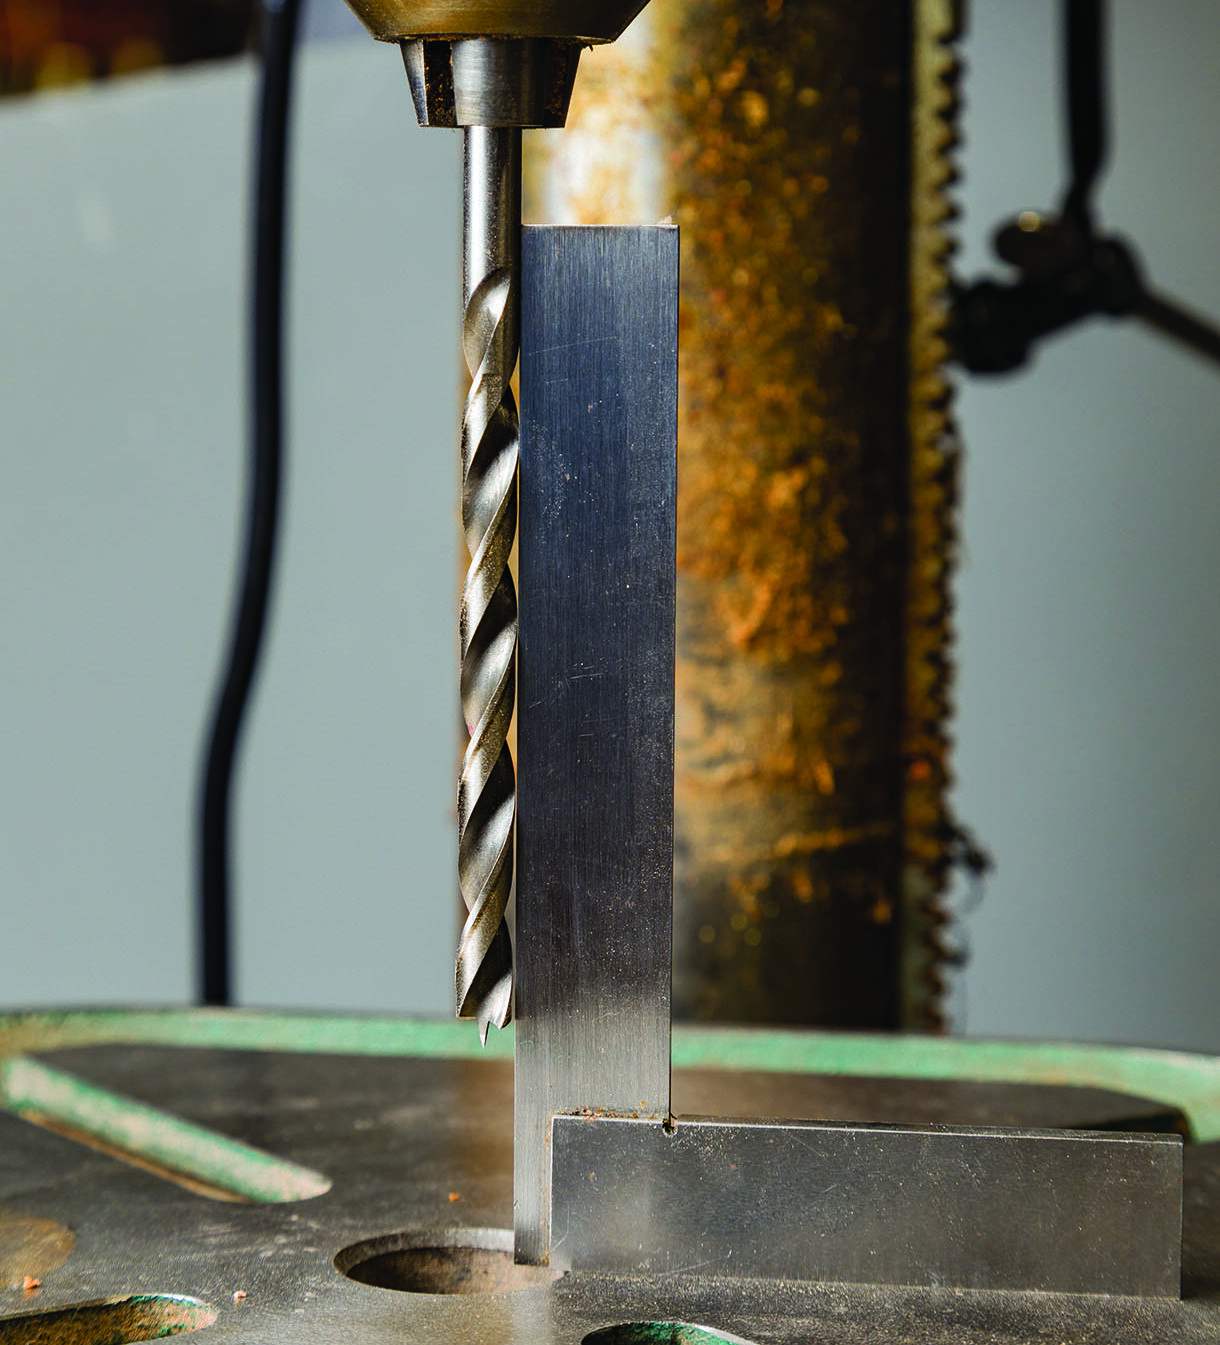
The same technique should be applied to your drillpress using a long drill to aid the process
Other nuggets
Let’s deal with other ideas that don’t have a special place. When I have any special drills for specific applications – pen kits are notorious for this – I mark the application on the shank of the drill with a magic marker. That lets me find them in the miscellaneous box easily when I need to and with no wondering. I put the drill chuck key for the respective drill chuck into the chuck and hand tighten it to keep the proper key with the mating chuck. Whereever possible, chucks keys are permanently mounted easily to hand. I fasten the chuck key to a self-retracting cable mechanism so the key is readily available and will always be safely out of the chuck when it is not being used in my hand. This is not only a convenience, but a key safety item. Any special adjustment wrenches are attached to the application when possible so the needed wrench is at hand the moment it is needed. Any generic fixture, such as a pen mill, gets the proper Allen key size marked on the side with a magic marker, which immediately indicates whether metric or imperial is needed as well as the size.
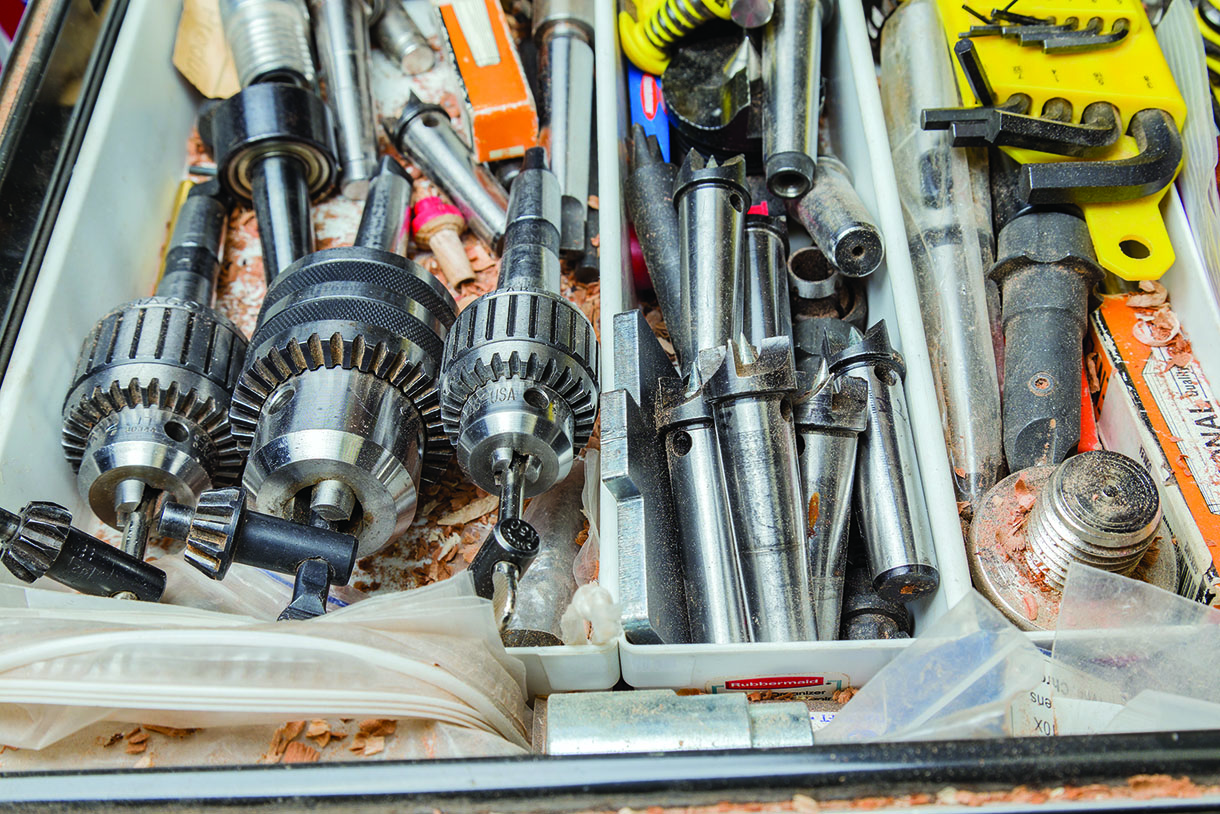
I keep the keys to the drill chucks hand tightened in the jaws of the proper chuck
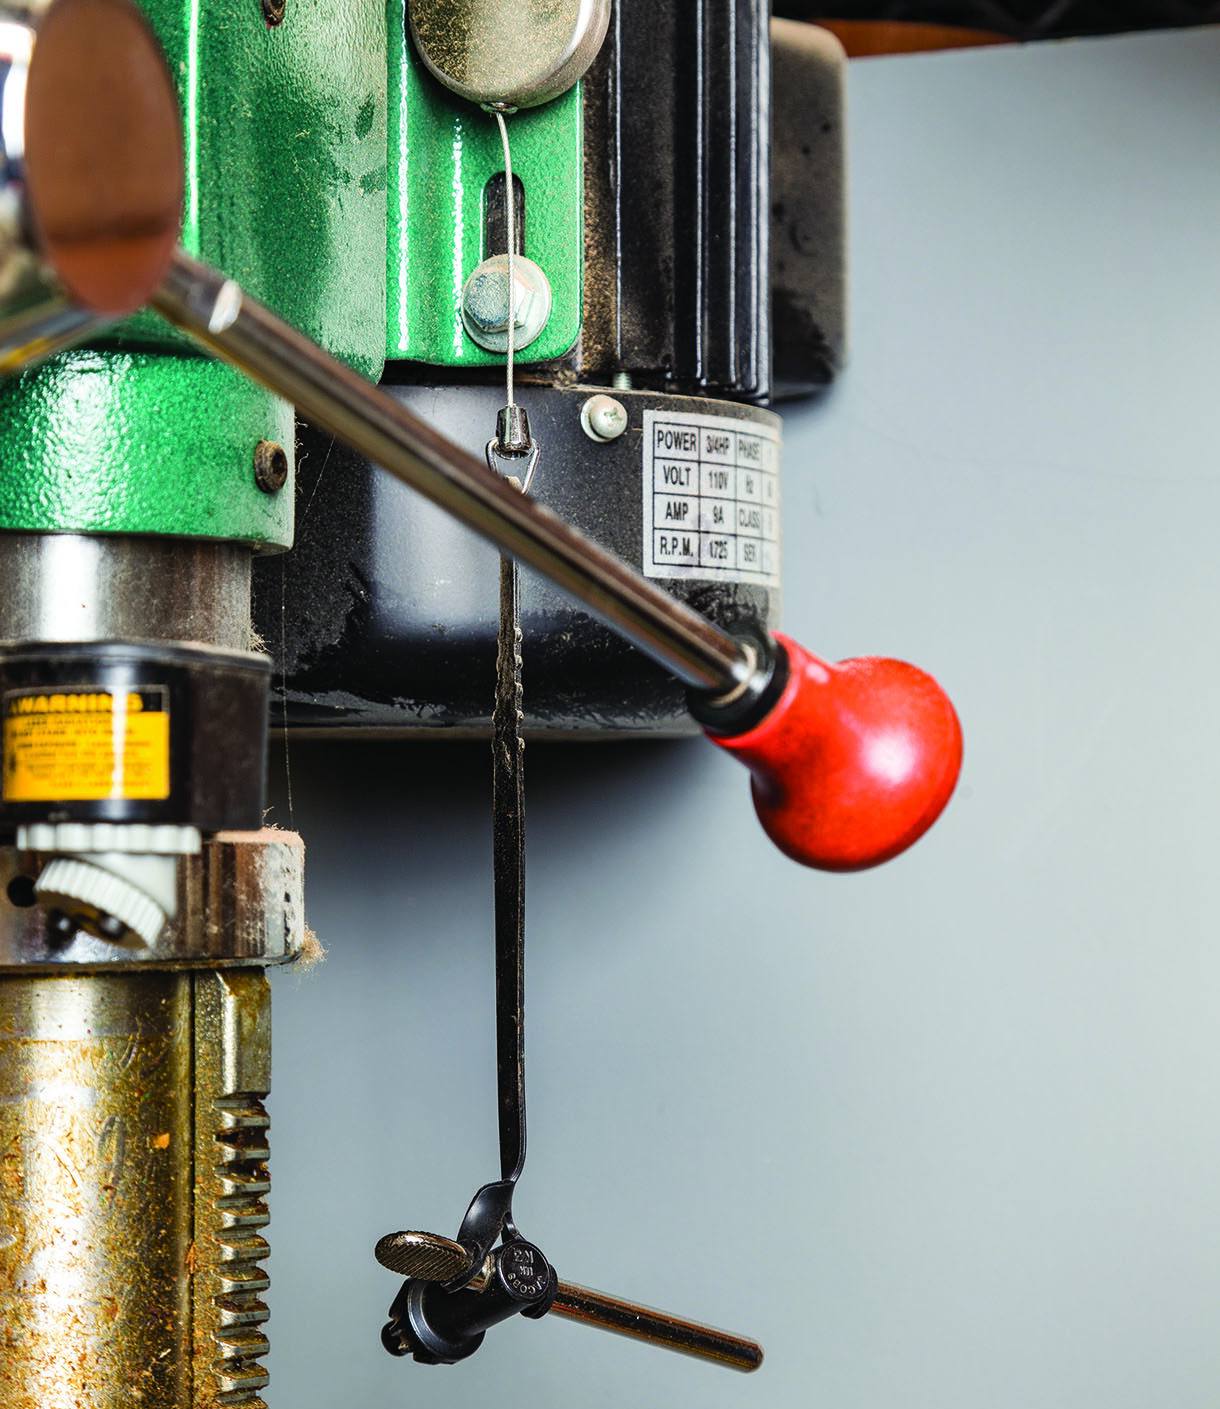
My retractable chuck key mechanism on my drillpress is a convenience, but also a safety feature
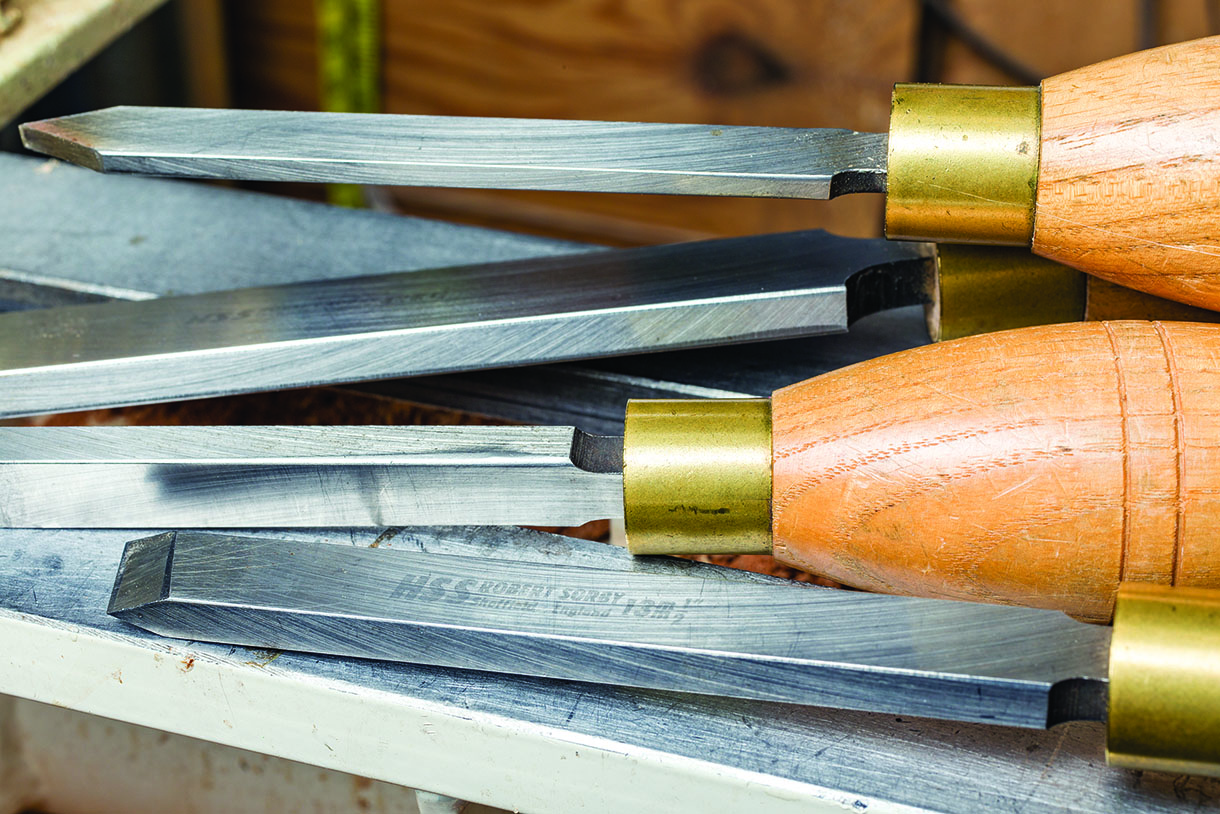
Buy adhesives in modest-sized containers. In my workshop, the large economy sized adhesives always go bad by the time I get halfway through them. Smaller sizes let me use 100% even if it is at a higher unit cost. I try to store adhesive containers tip down so the air rises to the bottom of the container. Be careful and make sure the container is safely sealed! Never put a tool away that needs sharpening. Sharpen it and then put it away so the next time you reach for it, it is ready for use. This goes for drills, turning tools, Forstner bits or any other cutting edges. Besides, if you’ve spent the time to set the Wolverine
(or equivalent) sharpening jig up to sharpen the tool, why not touch it up as the last thing you do before you put it back in the rack, whether it needs it or not? The few moments spent doing this ensure a ready-to-use tool when you next pick it up. Soften the edges on all of your callipers with a file or sandpaper so you don’t mar the wood when you make measurements.
If you can afford it, keep a tailcentre with a centre pin, and a tailcentre with the pin removed. Yes, you can remove the pin as needed but I find having both speeds things up and doesn’t require the pounding to get a well used tailcentre pin loose. Obviously, the tailcentre without the centre pin allows for infinite adjustment of the tailcentre location without the problem of squishing the wood around with the centre pin. Owning an inexpensive set of number, letter and fraction drills will let you have virtually any specific size that you should need for an application. Perform a ’shop clean up at the end of each day. The day may have been long and you’ll be tired, but I can assure you the morning look will be far cheerier walking into a clean workshop than one that is filthy from your previous session.
If you took the time to set up the jig, why not touch up the tool before returning it to the rack?
Break the sharp corners on all of the tool shaft corners that will come in contact with your toolrest
Conclusion
Individually, none of these ideas are earth shattering. Most are common sense, but perhaps you haven’t given some of them much thought. I find these, along with many more that space precludes, help me be more comfortable and more efficient in the ’shop. Being hunched over at the end of the day makes for misery. Get your lathe set to proper height and every moment wasted fetching things or searching for items that you needed, but currently of unknown location, is lost chip time. My available workshop time is in such short supply that every moment I can save is precious. Set up your workshop to make things so convenient for you that you have things at your fingertips as and when they are needed. While ’shop clean-up isn’t high on my list of fun things, I find the time spent performing ’shop clean-up is an investment in future turning time. Any tools or equipment not returned to their ‘home’ position or have just plain clutter will set the stage for wasting time down the road. If things are laid out properly, returning an item to the correct place is as easy as just setting it down in the incorrect place. Give some of these ideas a try if they fit your needs. You may find those individual moments saved will add up to be a measurable amount of additional and useful time for you in the workshop.
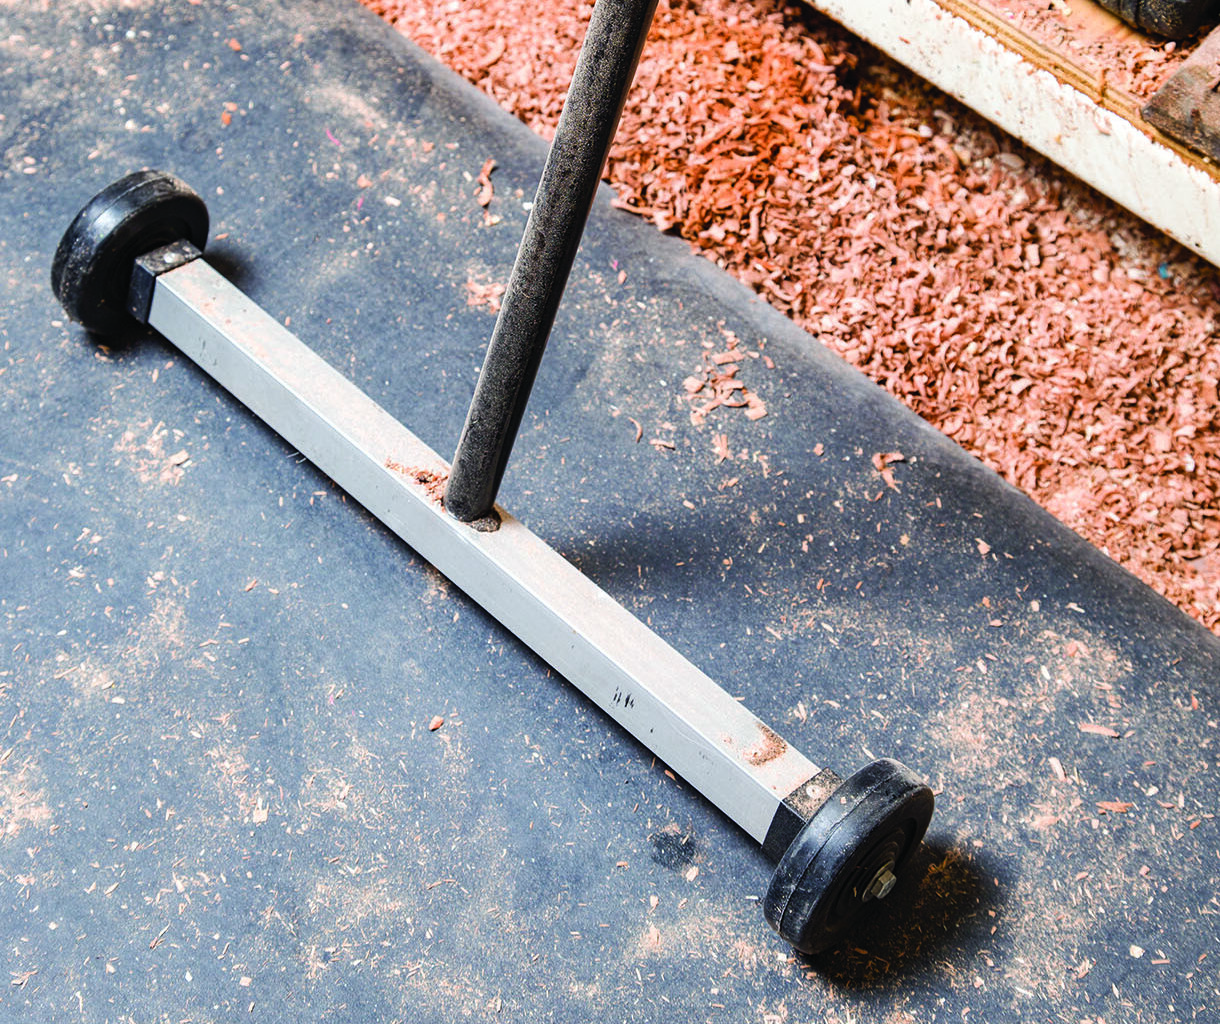
One of my handiest gadgets. A strong magnetic bar ‘broom’ on rollers to find dropped metal items among the chips


