The Woodworkers Institute

We bring you the very best of woodworking!

“Make it with us”

Wallcreeper

Mike Wood shows how to create a delightful rock-dwelling bird
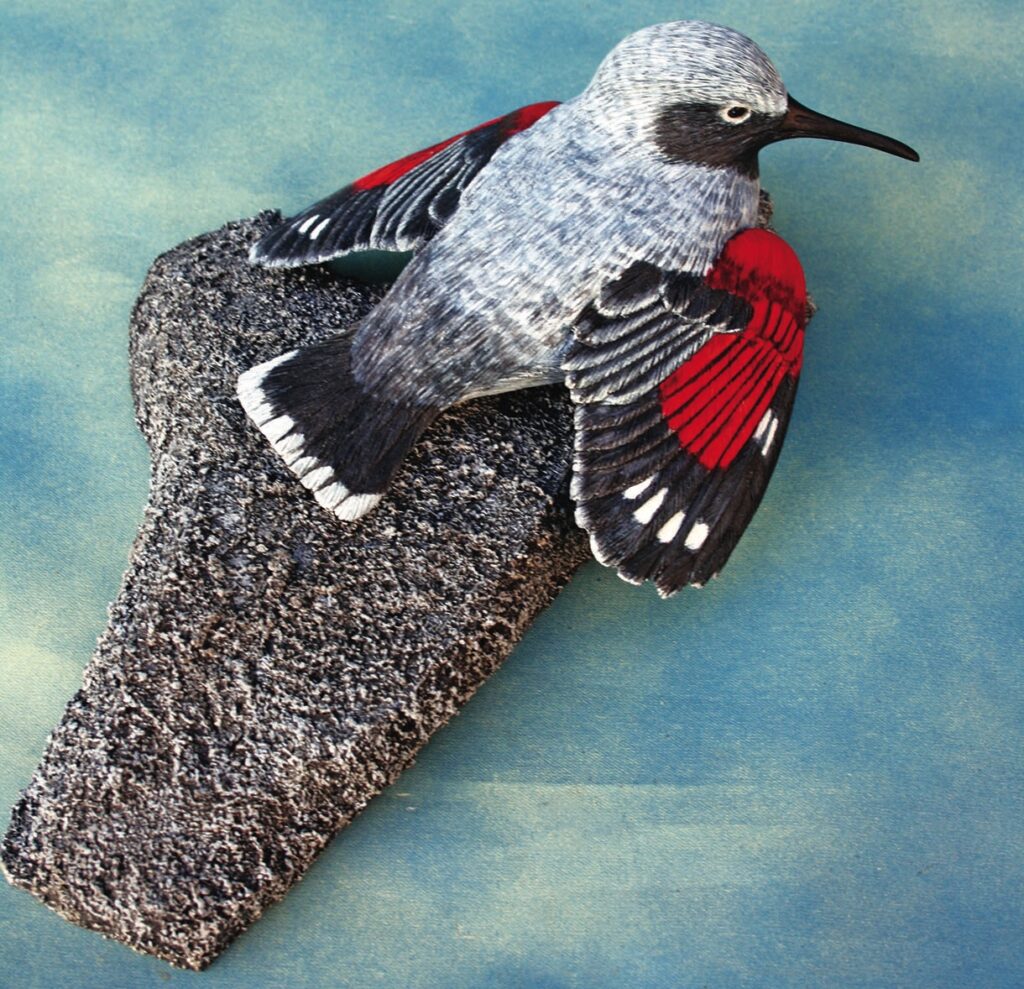
Detailed bird figurine with grey and red wings.

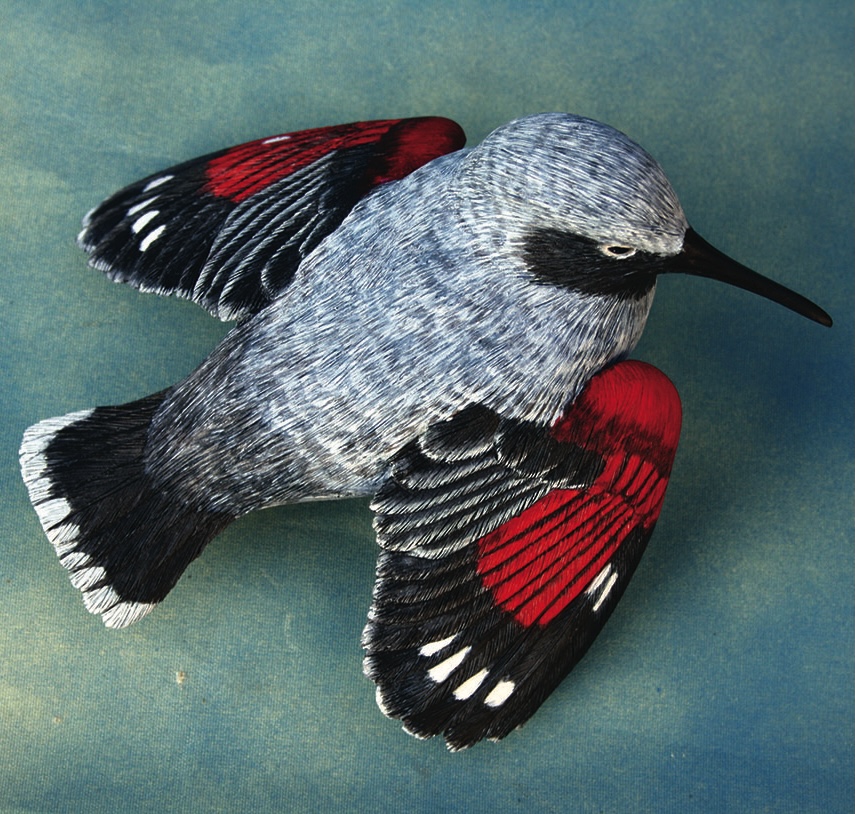
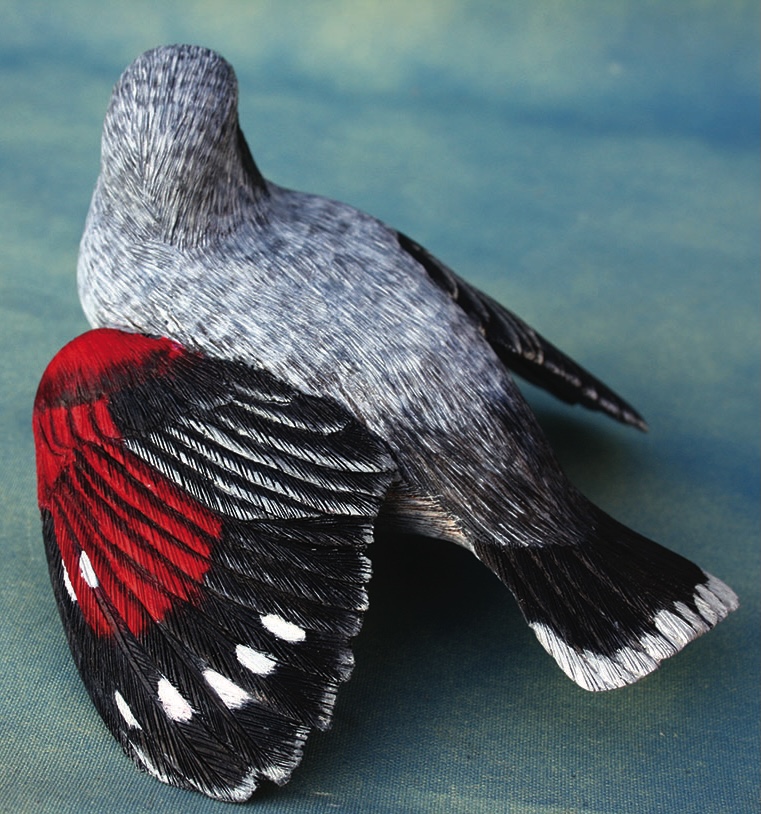
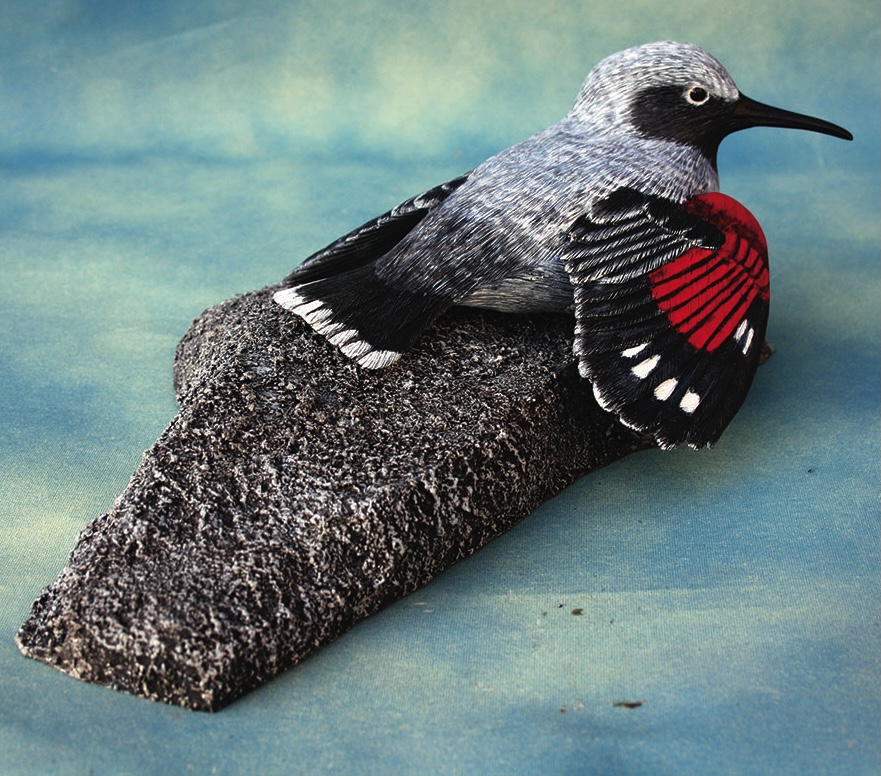
The wallcreeper (Tichodroma muraria) is a small blue-grey bird with striking crimson wing feathers, which are only revealed when it  opens its wings. It is found in the mountains of Eurasia, southern Europe, the Himalayas and central China. Its name derives from the Ancient Greek words for wall and runner (teikhos and dromos) and the Latin for wall (murus). As the name suggests, wallcreepers live on the sides of cliffs, hiding their nests from predators in rock crevices. They will also make their homes in man-made walls, having been found living in castles, cathedrals, bridges and tunnels.

They are elusive, shy birds, their plumage often making them hard to see against a cliff face. They lead solitary lives during the winter but form breeding pairs in the spring. The male and female then remain together until their young are ready to fly the nest. Wallcreepers feed on insects and spiders, which they catch  by moving across a cliff face in butterfly-like short flights and hops, using their long bills and forked tongues to extract their prey from rock crevices. They also forage along rivers and streams during rainy weather. Global population numbers are stable and the wallcreeper’s conservation status is currently listed as of Least Concern on the IUCN Red List.

Things you will need

Tools:
• Personal and respiratory protective equipment (PPE & RPE)
• Bandsaw, coping saw or fretsaw
• Carving knife 
• Rotary power carving unit
• Coarse taper burr
• Medium flame or taper burr
• Bull-nose stone burr
• Round-nose burr
• Fine ruby taper burr
• Drill and drill bit for the feet
• Sanding drum
• Pyrography unit with scalpel nib

Materials:
• Wood used. Body and wings jelutong (Dyera costulata), head is lime (Tilia x europaea)
• Body: 150mm long , 60mm wide, 20mm deep 
• Wings: 100mm long, 70mm wide, 20mm deep 
• Head: 90mm long, 30mm wide, 3omm deep
• Eyes & feet
• PVA adhesive
• Plastic wood
• Paint brushes/airbrush
• Abrasives 120-240 grit
• Acrylic colours as per the colour palette

Drawing
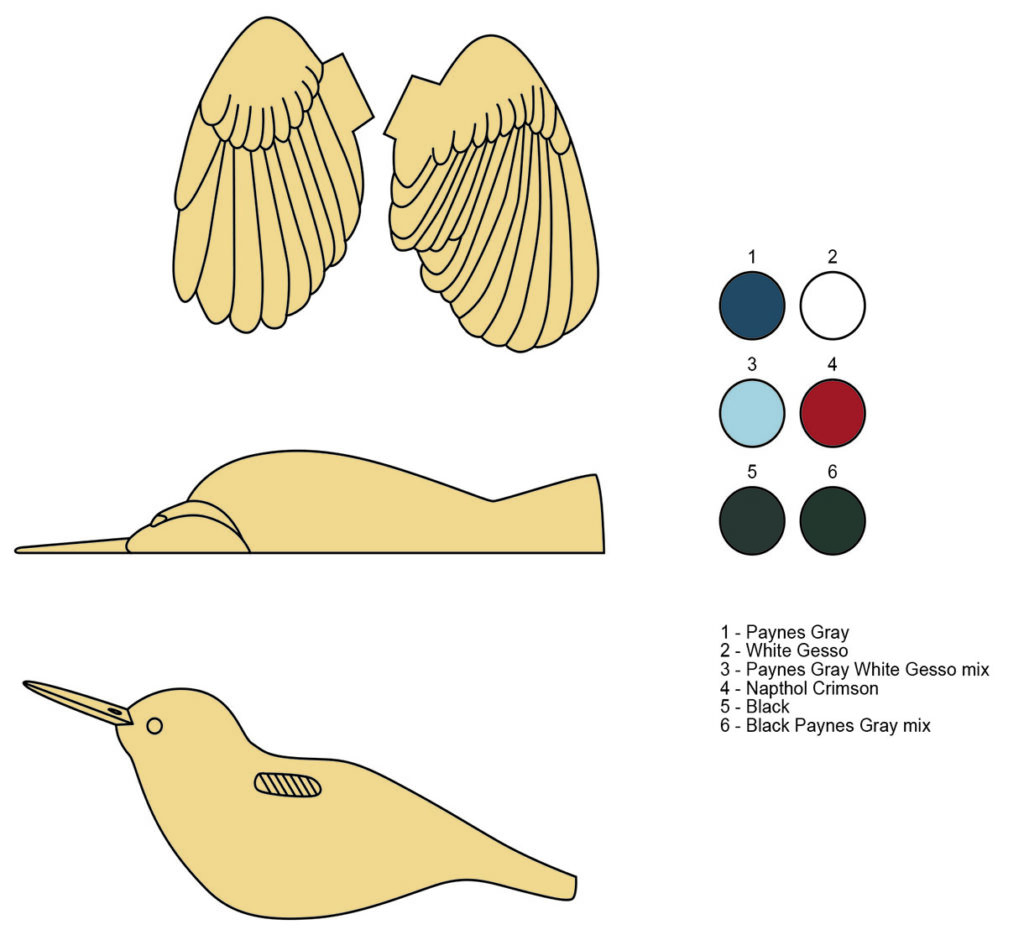
Bird craft template with colour codes.

Body and wings

Carved wooden bird on display.
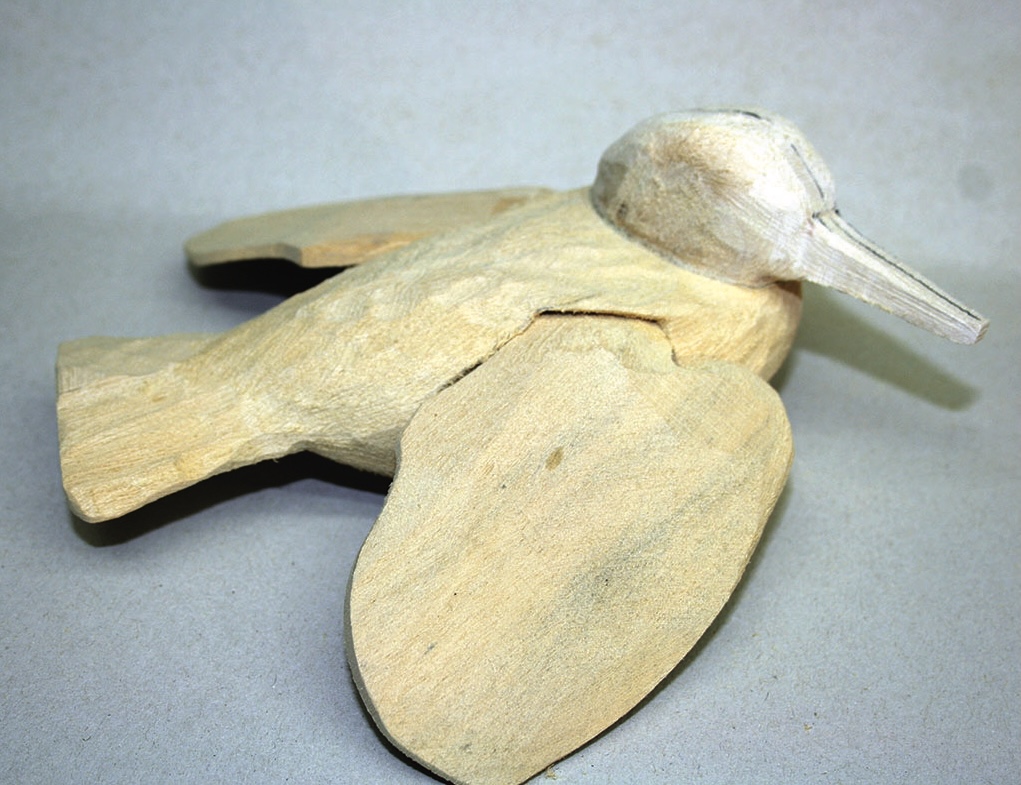
1. Start by using the templates supplied to mark your timber and then cut out the blanks. Then rough-shape them with either hand or power-carving tools blocking in all the main features. I use rotary power carving tools for carving birds. If you too use rotary power carving to shape your work, make sure you are wearing appropriate personal and respiratory protective equipment
Carving tool creating wooden bird sculpture.
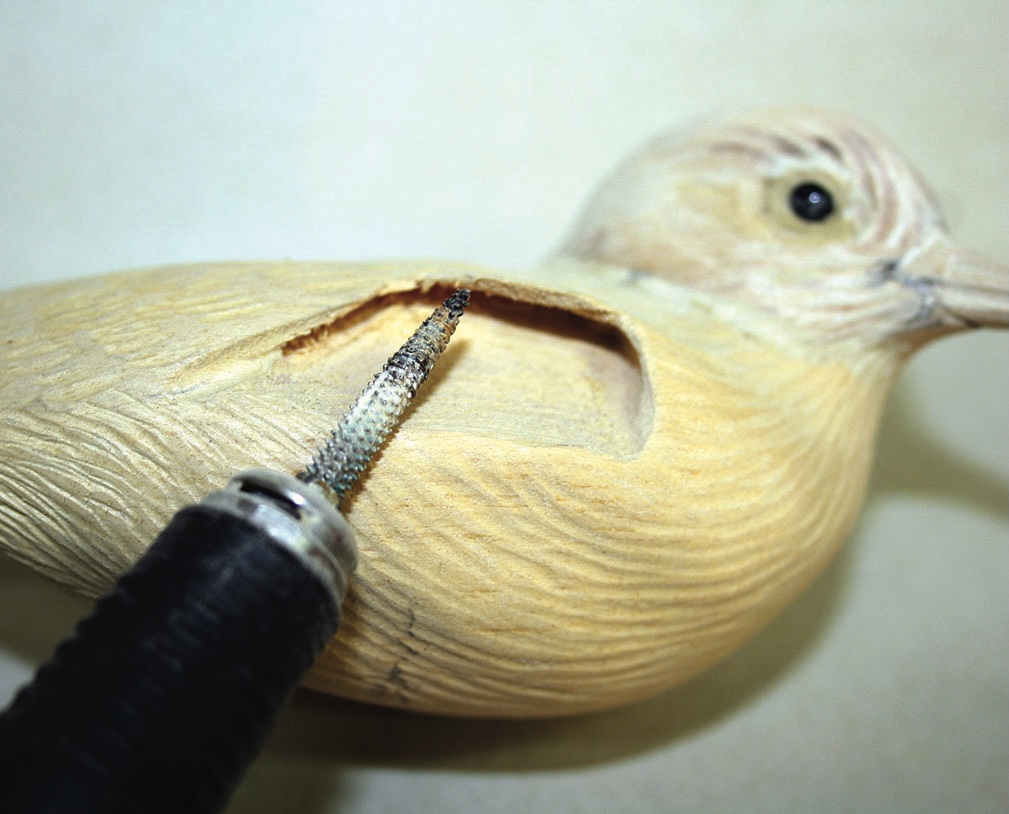
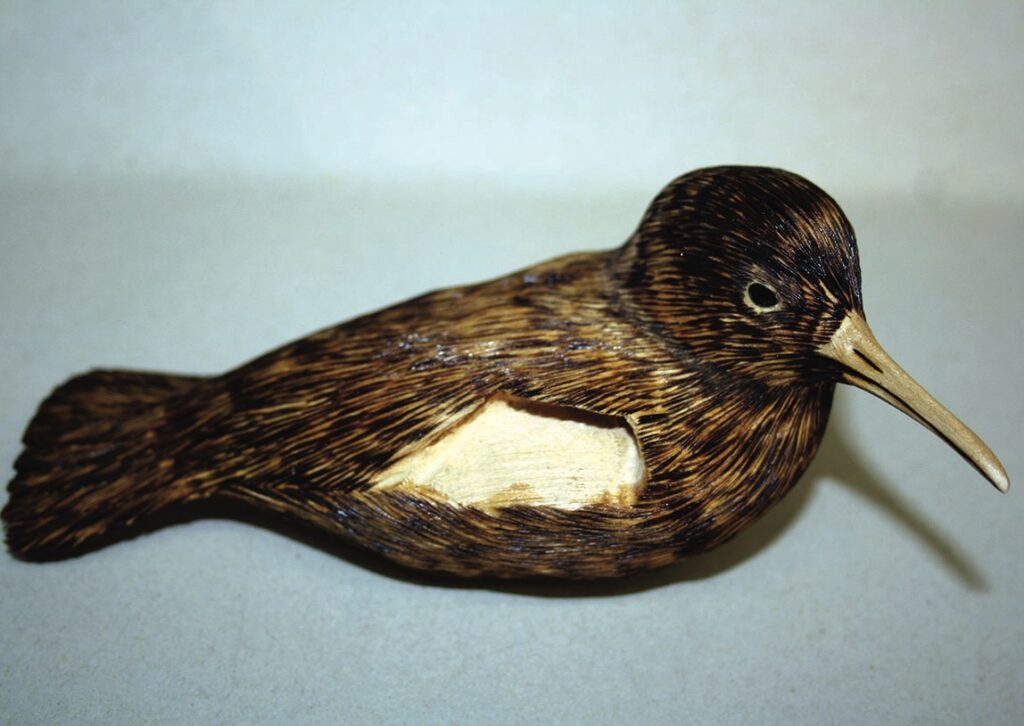
2. Having rough-shaped it, cut the eye socket and insert the eyes on a bed of plastic wood. Also, adjust the wing socket for a perfect fit for the wings and cut in the main feather forms and  textures all over the body and head
Wooden fish carving on grey background.
3. Remove and shape any squeeze-out to create the outer edge of the eyes
Wooden bird sculpture with carved details.
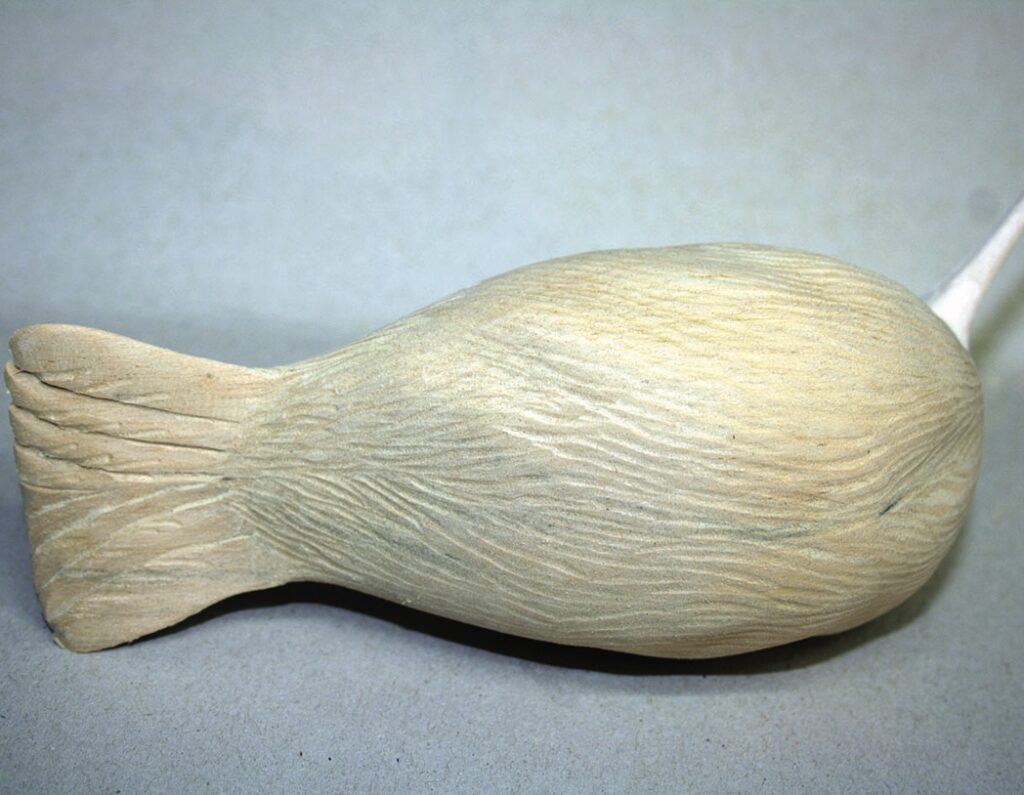
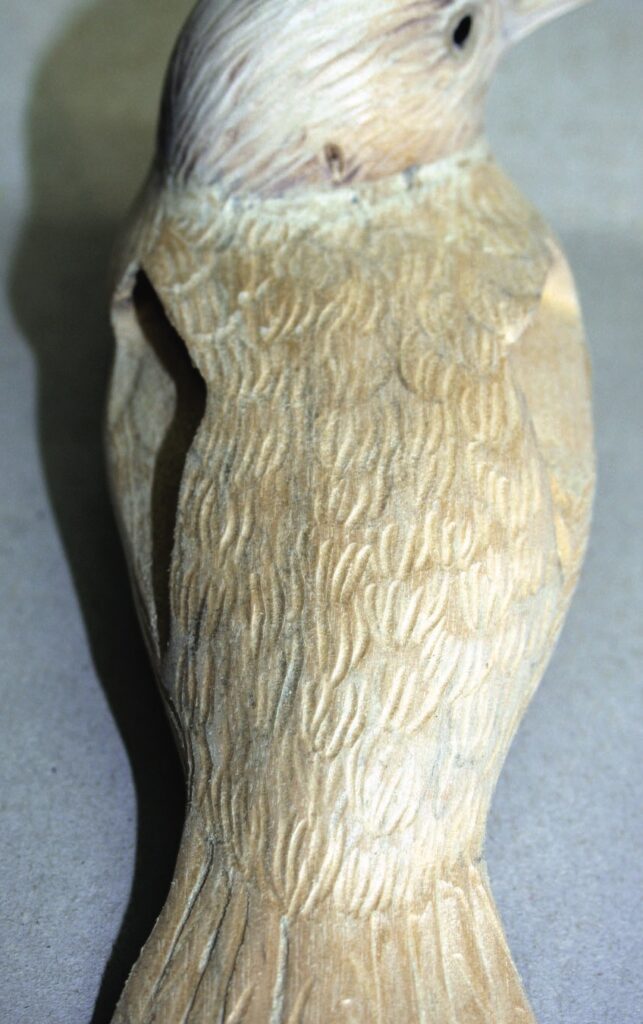
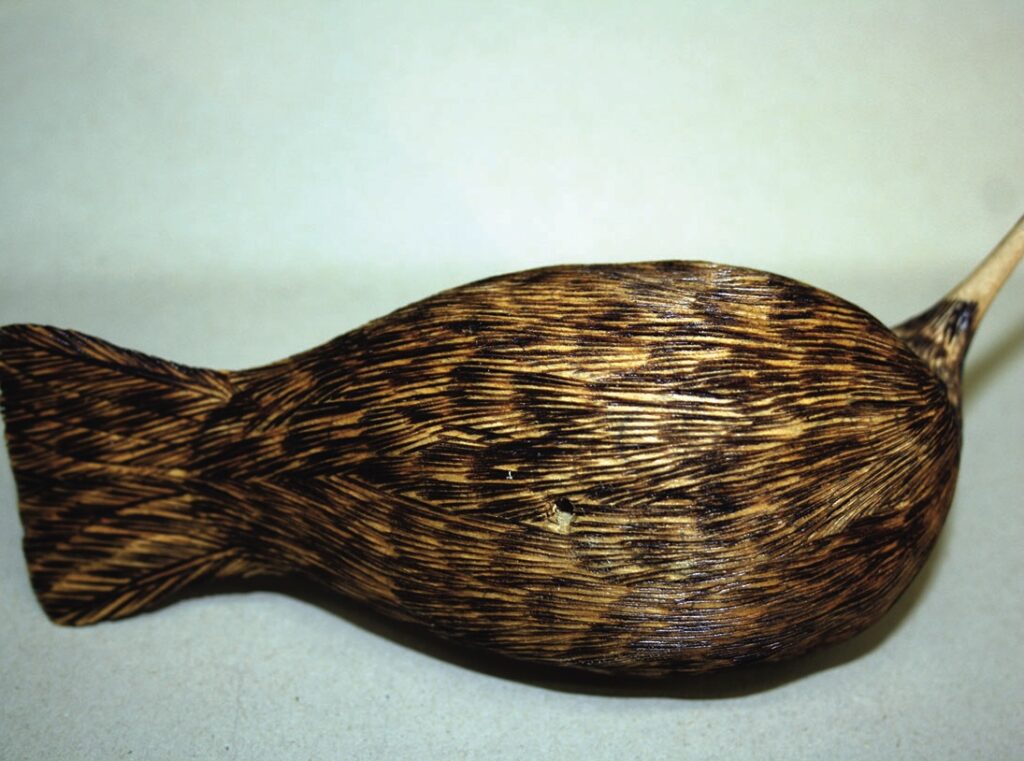
4. Cut in the main feather forms and  textures all over the body and head
Wooden angel wings on a light background.
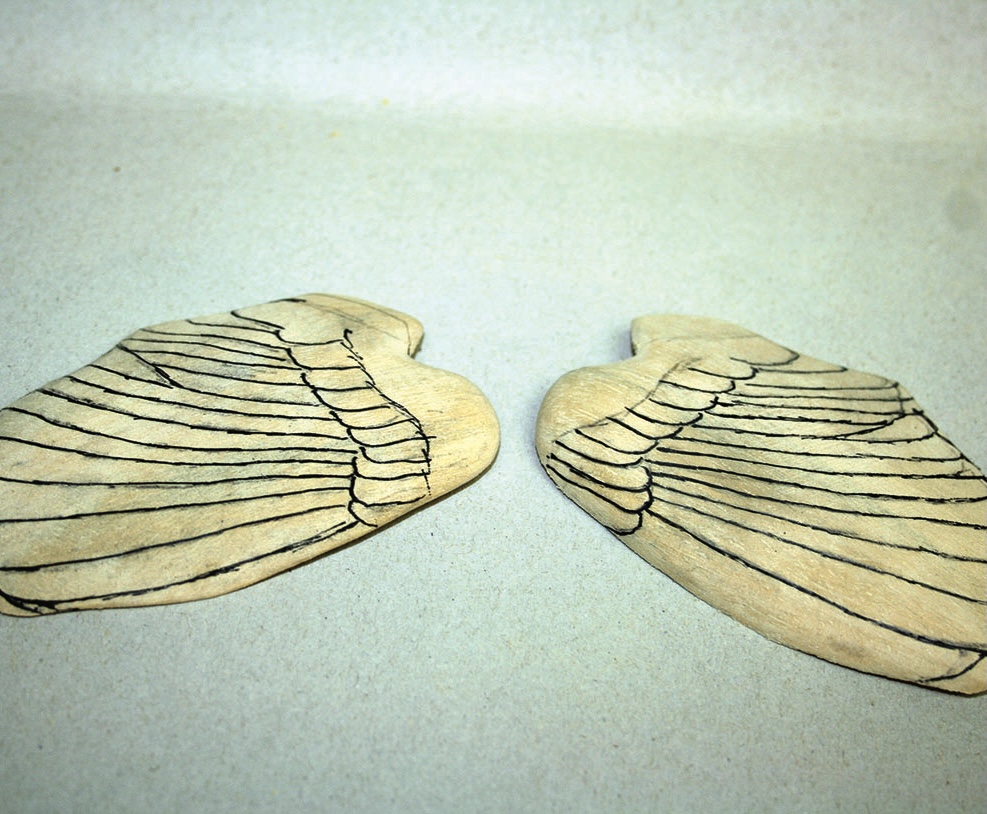
5. Now move on to the wings. Refine the shape and draw on all the feather forms and positions ready for carving
Wood carving tools and carved shell shapes.
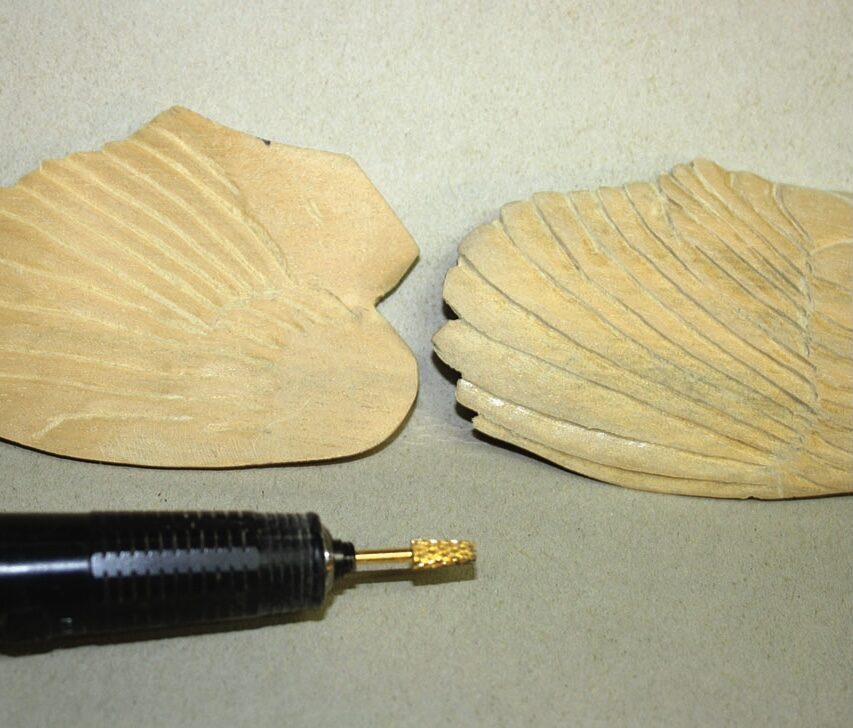
6. Using a high-speed grinder with an appropriately-shaped wheel, cut in all the wing feathers. Go carefully with this and make sure your check your reference material to get the right positions and sizes
Wooden bird sculpture on grey surface.
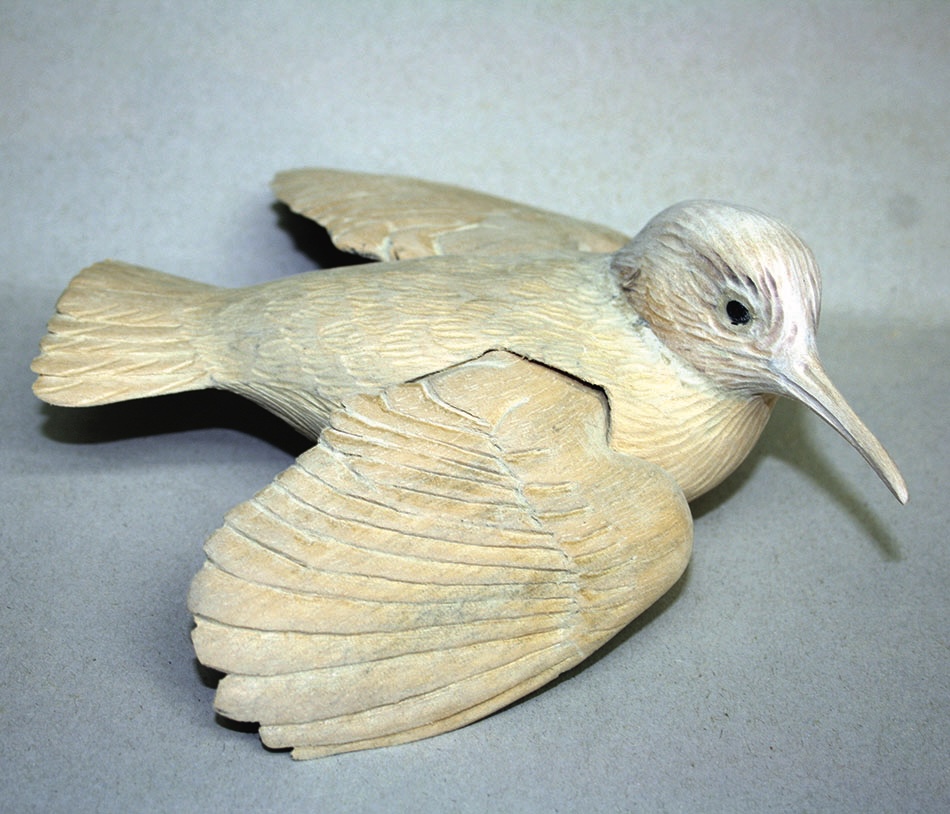
7. Once the detail on the wings is complete, insert them back into the main body to once again check for fit and appearance. Once correct refine the head-feather detail
Wooden carved bird wings on a light background.
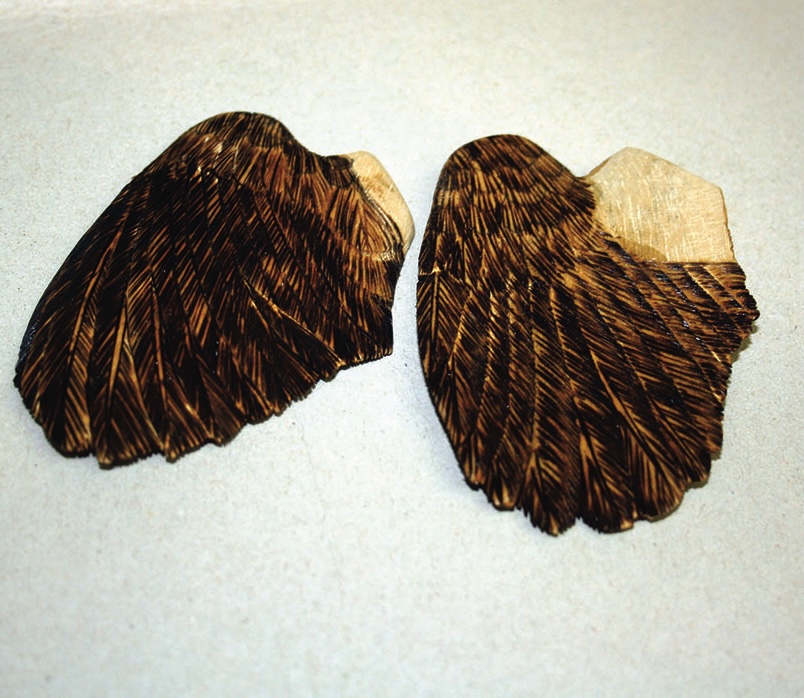
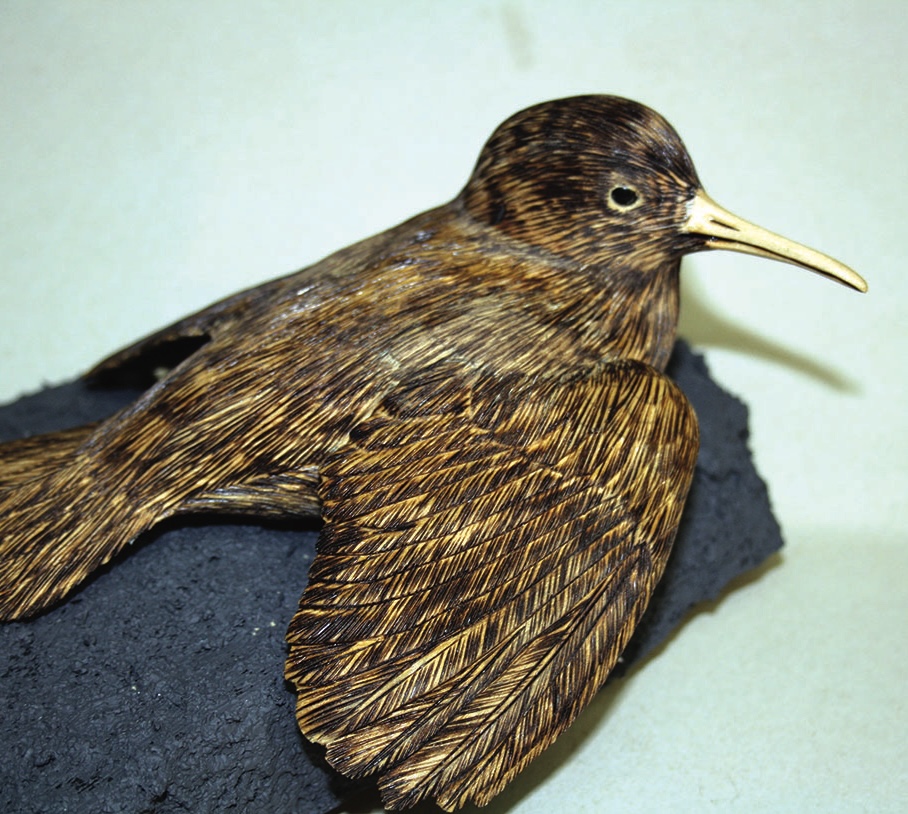
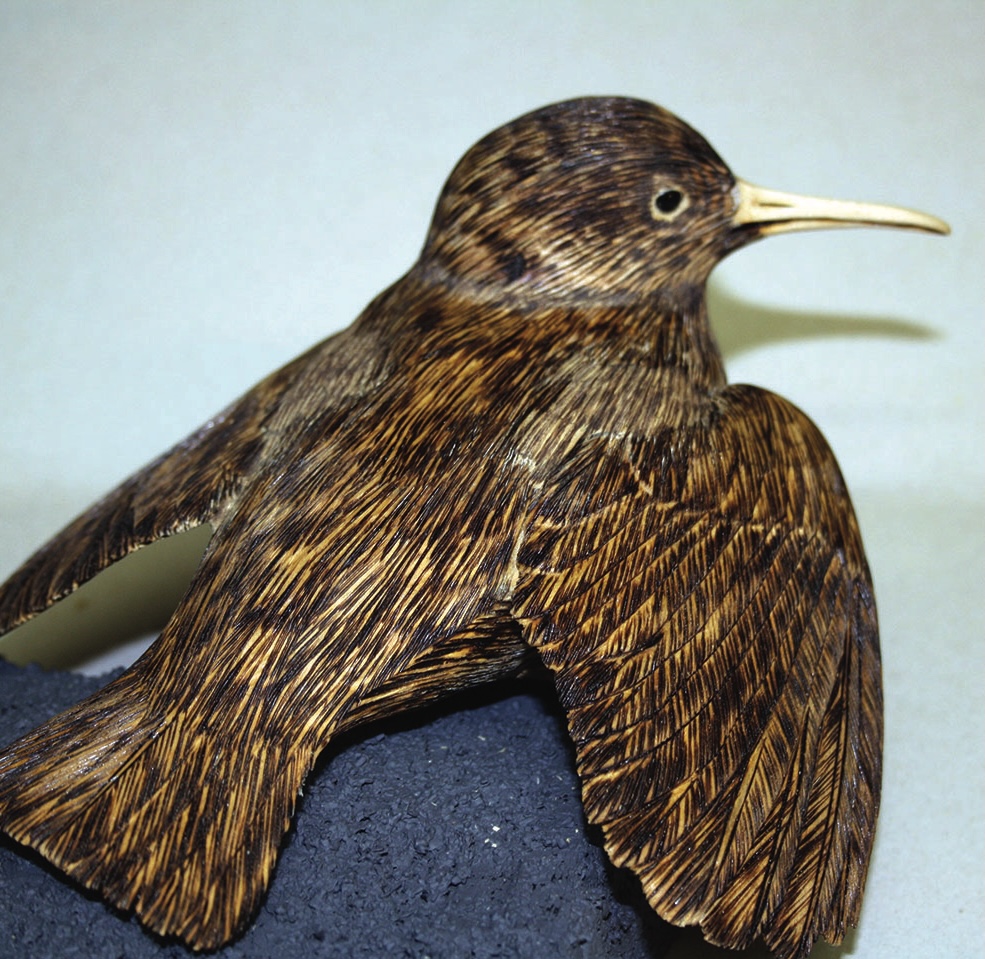
8. Now  use a pyrography unit to but in the fine feather detail on the wings
Hand-carved wooden bird sculpture on display.
9. Once the wings have been dealt with, move on to burning in the fine feather detail on the body and head
Wooden carving of a seal figure.
10. Remember, the detail needs to be deep enough to show through the thin washes of gesso and colour which are applied later on
Taxidermy display of a small bird on black rock.
11. Now you need to fit the wing. To do this, use a small amount of plastic wood and place it in the sockets and the bed the wings in place
Wooden carved bird on stone base
12. The squeeze-out can then be removed and shaped as appropriate to fill and blend in with the body as required. Allow these to set before moving on to the next stage

Applying colour

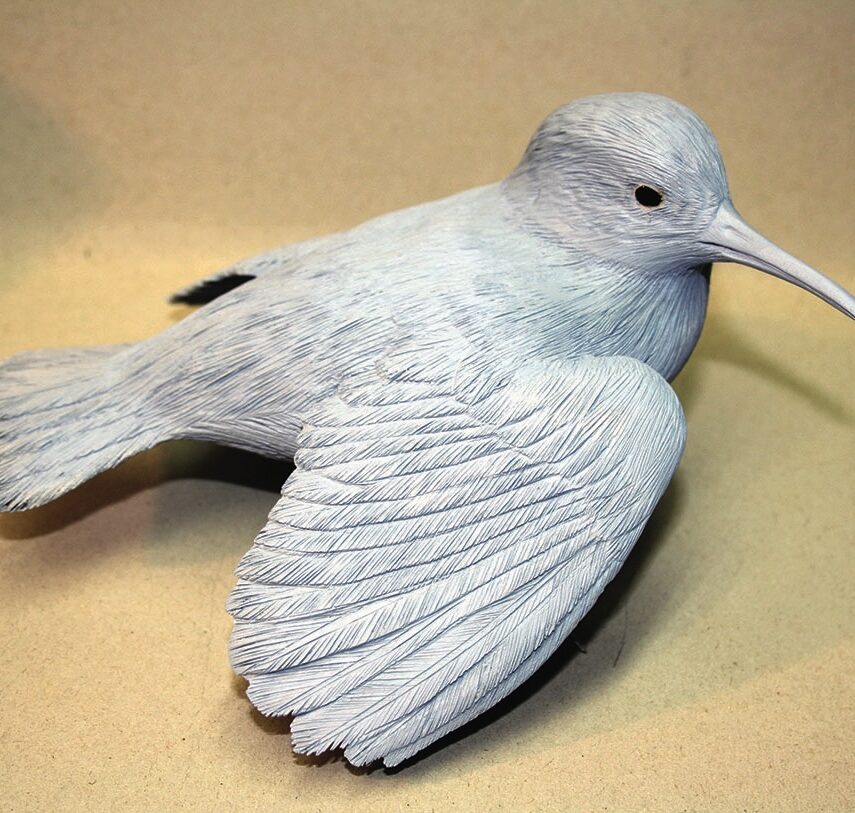
White bird sculpture with detailed feathering
13. Now apply a light-grey undercoat of gesso…
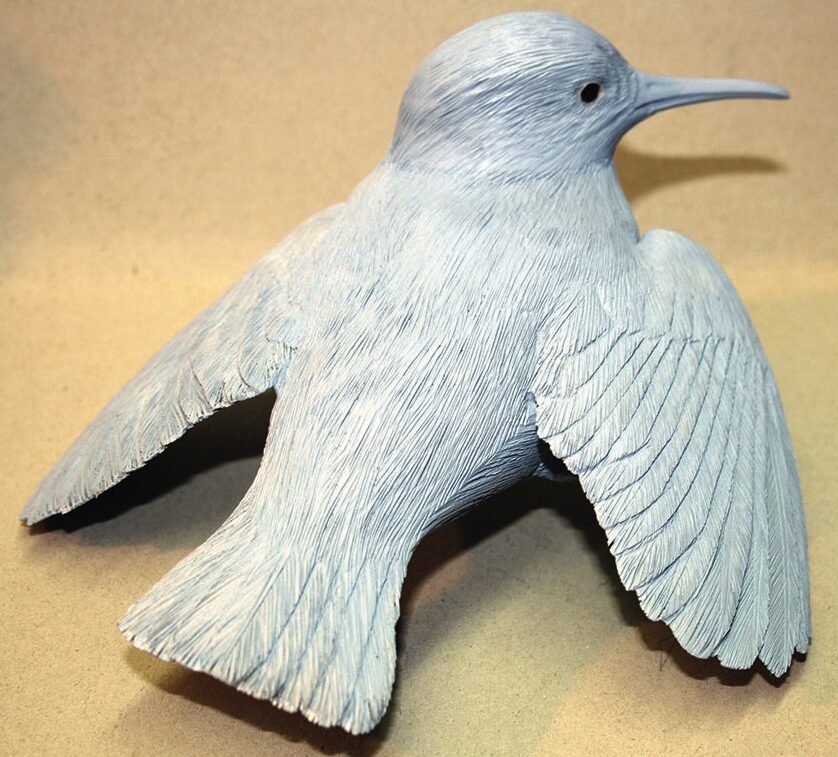
Grey bird sculpture with outstretched wings.
14. …for this I mix a small amount of Payne’s Grey with white gesso. You can apply this with a brush or airbrush
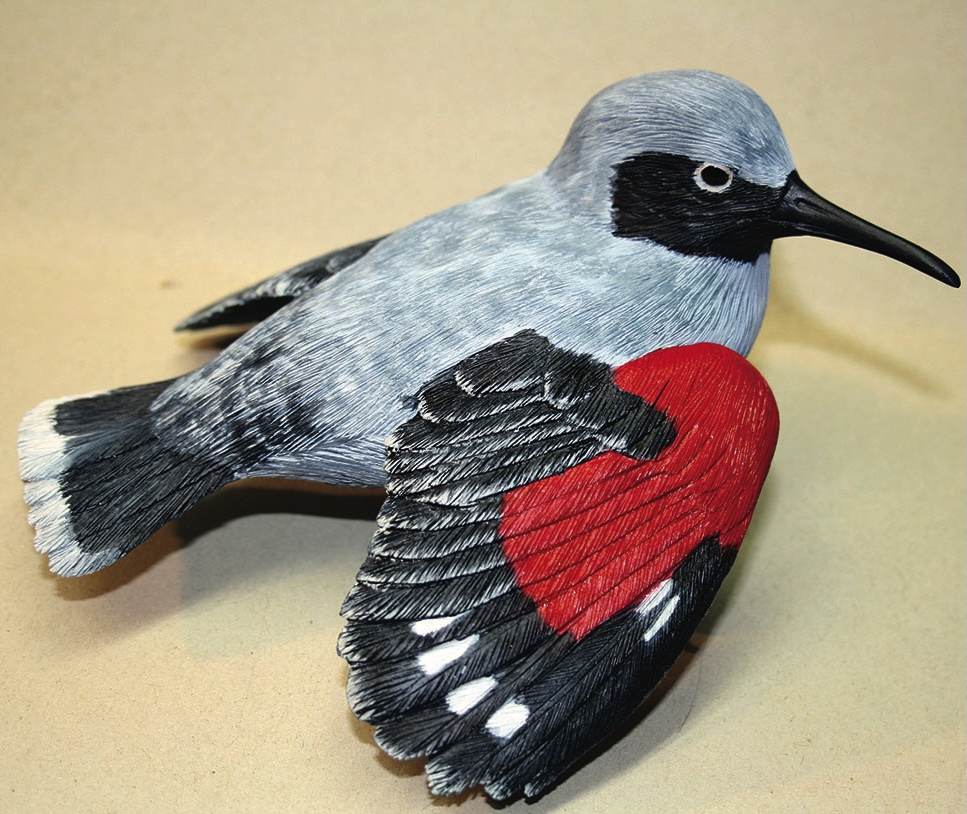
Colourful bird sculpture with red and black wings.
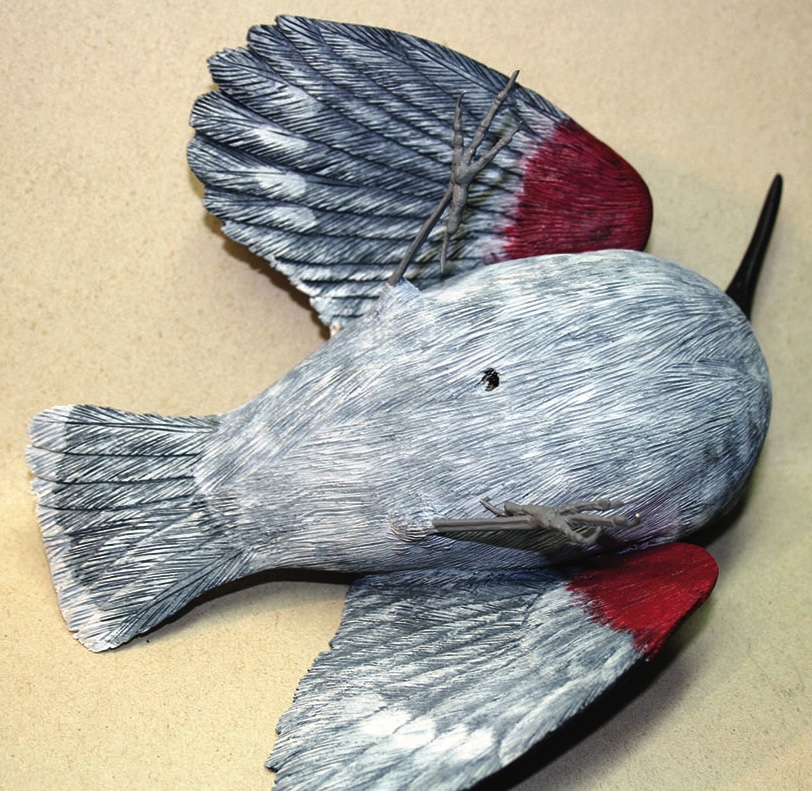
15. Now paint all the dark areas with Payne’s Grey which has a small amount of black added. On the back near the tail feathers you need to use a dry-brush technique to create the dark lowlights on the feather clusters. Once done, apply Naphthol red on top front wing section
Detailed model of a bird with red markings.
16. Once dry, use white gesso and a fine paintbrush to lighten all the edges of the feathers. You will need to use a dry-brush technique for some of this so you create the highlights required, but a more full covering of white is required in a few places
Red and grey bird sculpture lying on side
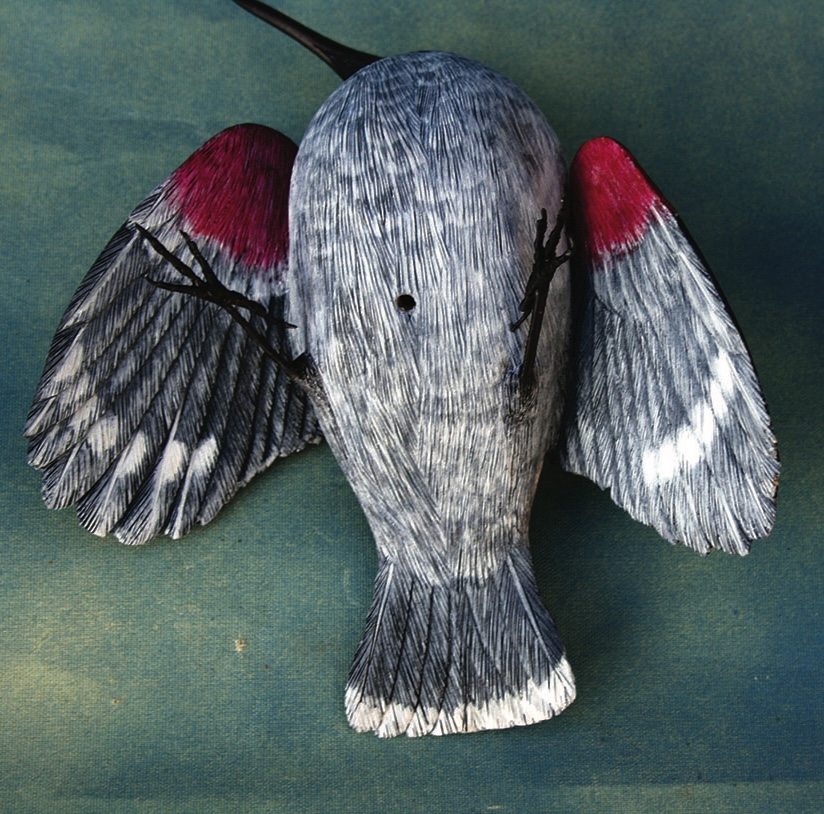
17. Once the top is dealt with move to the underside. The front section of the wings need to be painted with Naphthol red and then the feathers edged with white gesso to create high and lowlights. Again, the dry-brush technique is ideal for this. Once dry, drill holes for the feet
Handcrafted bird mask with grey and red feathers.
18. You can buy or make the feet. But before you fit them in place, note the hole in the centre of the chest area. This is where a small pin will be inserted to fix the wallcreeper on to the soon-to-be-made wall plinth/base. Once the holes are drilled, fix the feet in place with plastic wood and allow to dry
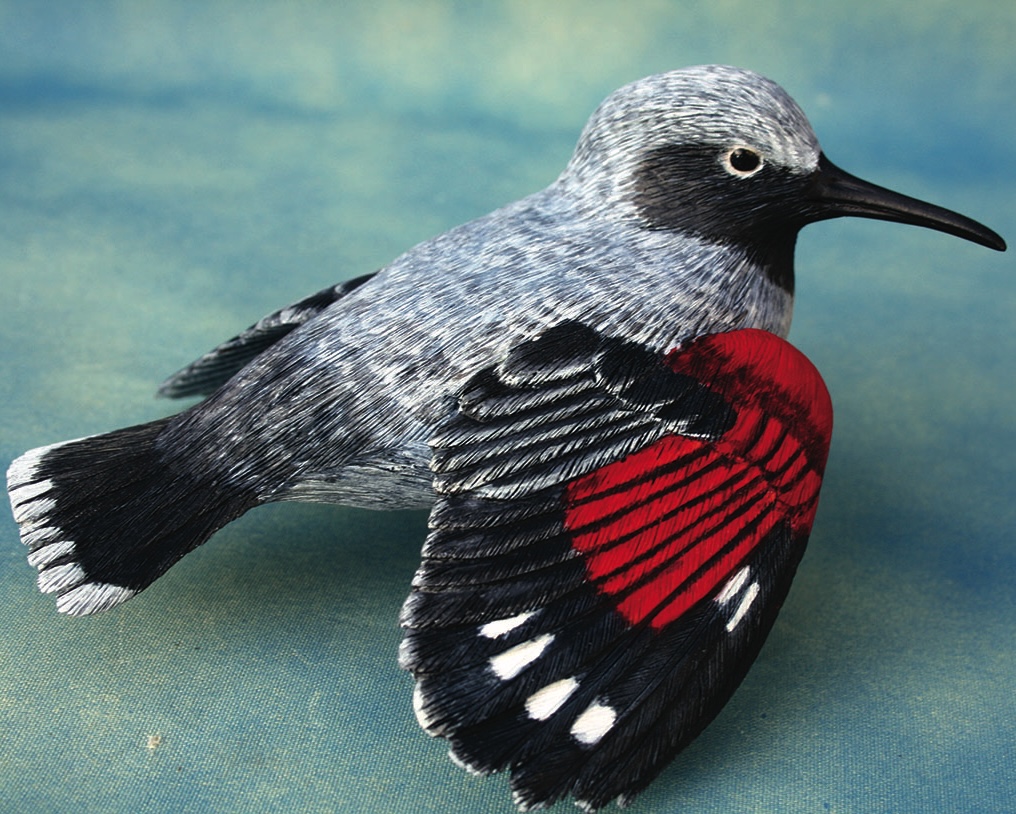
Grey and red bird craft on green background.
19. Here is the finished bird, right…
Intricate grey and red bird embroidery art.
20. …and left

The base section

Close-up of a dark, porous meteorite rock
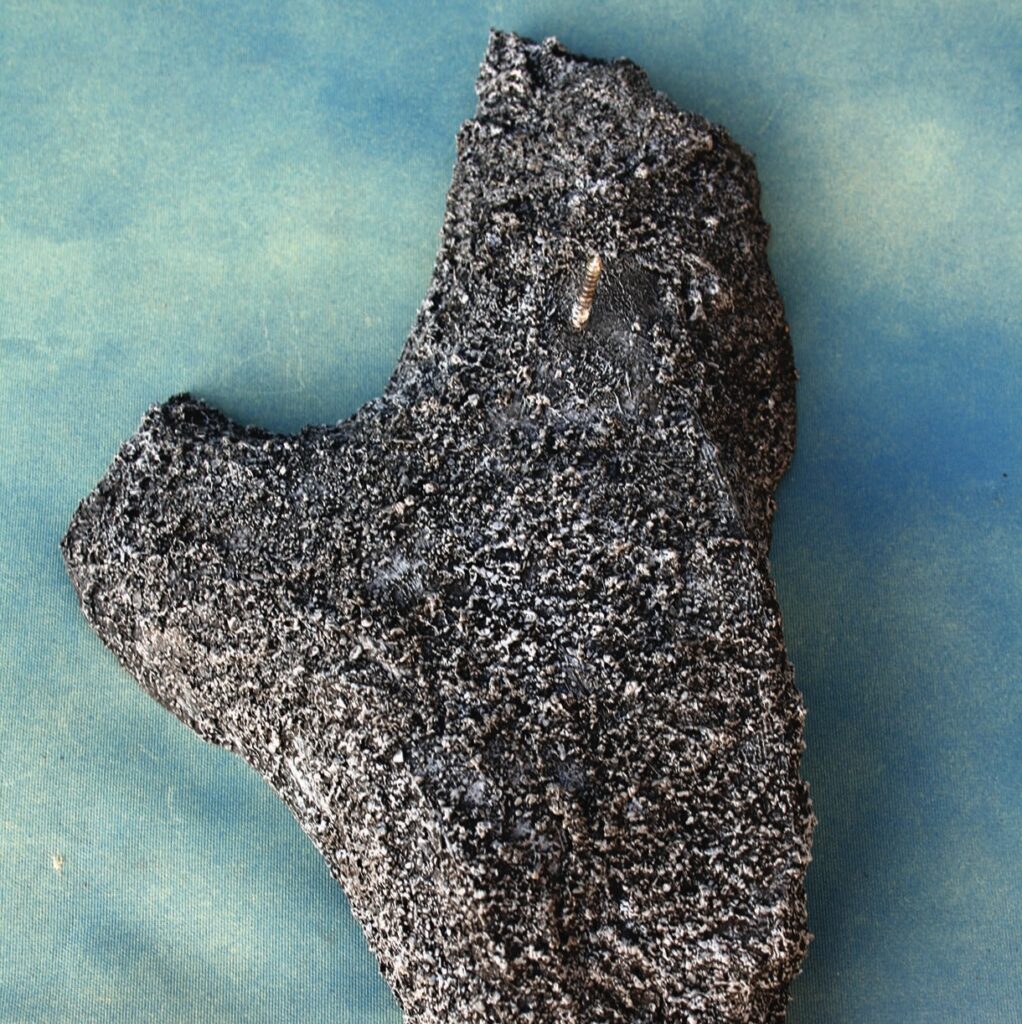
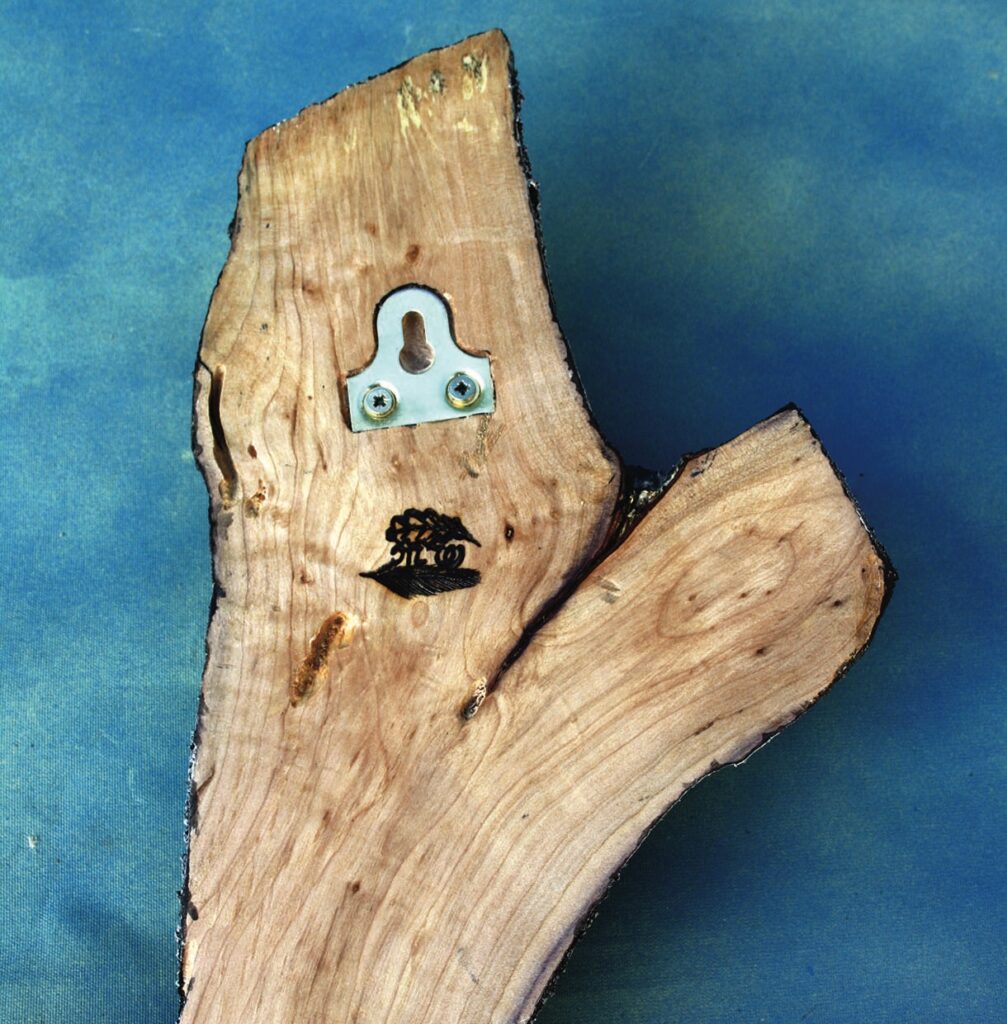
21. These birds are renowned for living in walls and rocky crevices so a rocky base to fit the bird on is highly suitable. For the base I selected a crotch section of a tree/branch and cut it in half. I cleaned off any loose bark and then made sure the surface was dust-free. I then sanded the back of the base section nice and smooth. Once clean, textured paste can be applied to create the humps and bumps representing a rocky stone-effect surface. You can buy texturing paste or you can use PVA adhesive mixed with sand or fine/coarse grit to create the surface and density of texture required. Experiment with the texturing pastes and mixtures you are using on waste material before you commit to texturing your base section. You will learn all the pros and cons of the process before committing yourself on the live project
Wood plank with hook and tree design
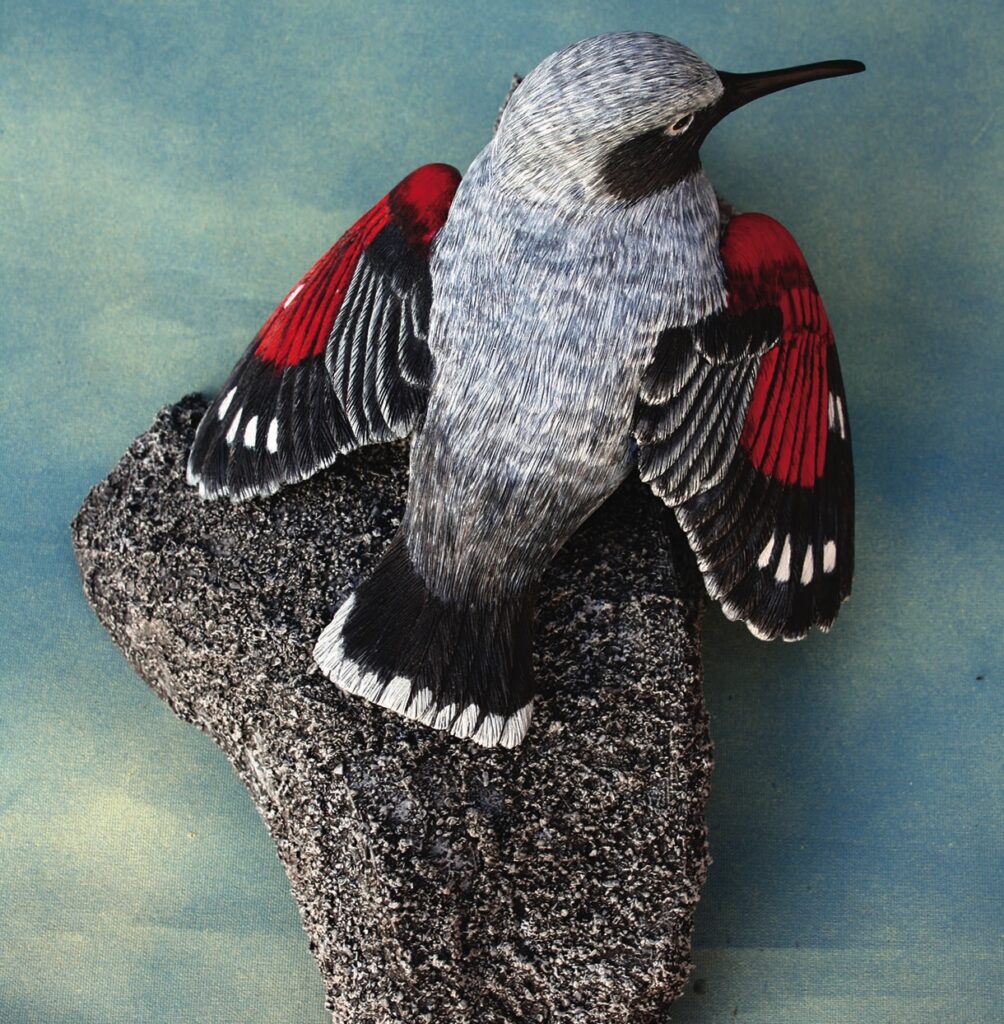
22. So, create the texture you require on the front of the plinth and let it dry. Depending on how you have created the textured surface you may or may not need to apply colour to create the visual colouring you require. The application of colour after the textured surface is dry allows you a lot of freedom to create very specific colouring effects, but of course you must decide which route to go. Once the texture is dry, drill a hole or fit a hanging plate to the back. Then, fix the bid in your chosen position
Grey bird with red wings perched on rock
23. The finished base…
Red-winged bird on textured rock sculpture.
24. …and bird

Leave a Reply

Your email address will not be published. Required fields are marked *