Simple Pen
Rick Rich shows you how to create a simple, low-cost pen
Rick Rich shows you how to create a simple, low-cost pen
The biggest problem with trying to turn a Bic®-style insert pen is the drill bit. It takes a 3mm drill bit for the ink tube and a 4mm bit for the tip. The only 3mm bits I had were of a normal length, which were too short. Compensating for the too short bits involves cutting the ink tube, which can lead to messy results. One day I saw a long 3mm bit in a set of electrician length drill bits at the right price. I thought it would be perfect to use for an insert pen. However, the bit had a mind of its own and wandered to and fro while drilling. I never knew when it would pop out the side. My drilling success was at about 50% or less, which was indeed frustrating. Months later, I happened to be in a hardware shop and saw a 3mm drill bit that was slightly longer than average and was ‘extra stout’. This was what I needed and was about the price of a slimline pen kit. After making a few pens for gifts, I was bragging to my woodturning neighbour, Dan, about how easy they were to make. Curiosity getting the best of him, he had to come try his hand. He could have tried it at his own shop, but he didn’t have the secret weapon; a long and strong 3mm drill bit.
Equipment used
13mm skew chisel
10mm spindle gouge with fingernail grind
20mm spindle roughing gouge
150mm long ‘aircraft size’ 3mm drill bit
Normal length 3.5mm and 4mm drill bits
Chuck with spigot jaws
Revolving tailstock centre with 60° point
PPE, including full facemask
Handy hints
1. When drilling, retract the bit frequently
to remove wood from the bit grooves. This allows it to continue cutting cleanly. A little wax on the bit will also help
2. A revolving centre with a 60° point in the drilled hole keeps the blank centred
3. No matter what type of insert you use, you need to measure the tube diameteras well as the section that will fit into your turned body. Inserts vary in style, so take time to get all the information before starting
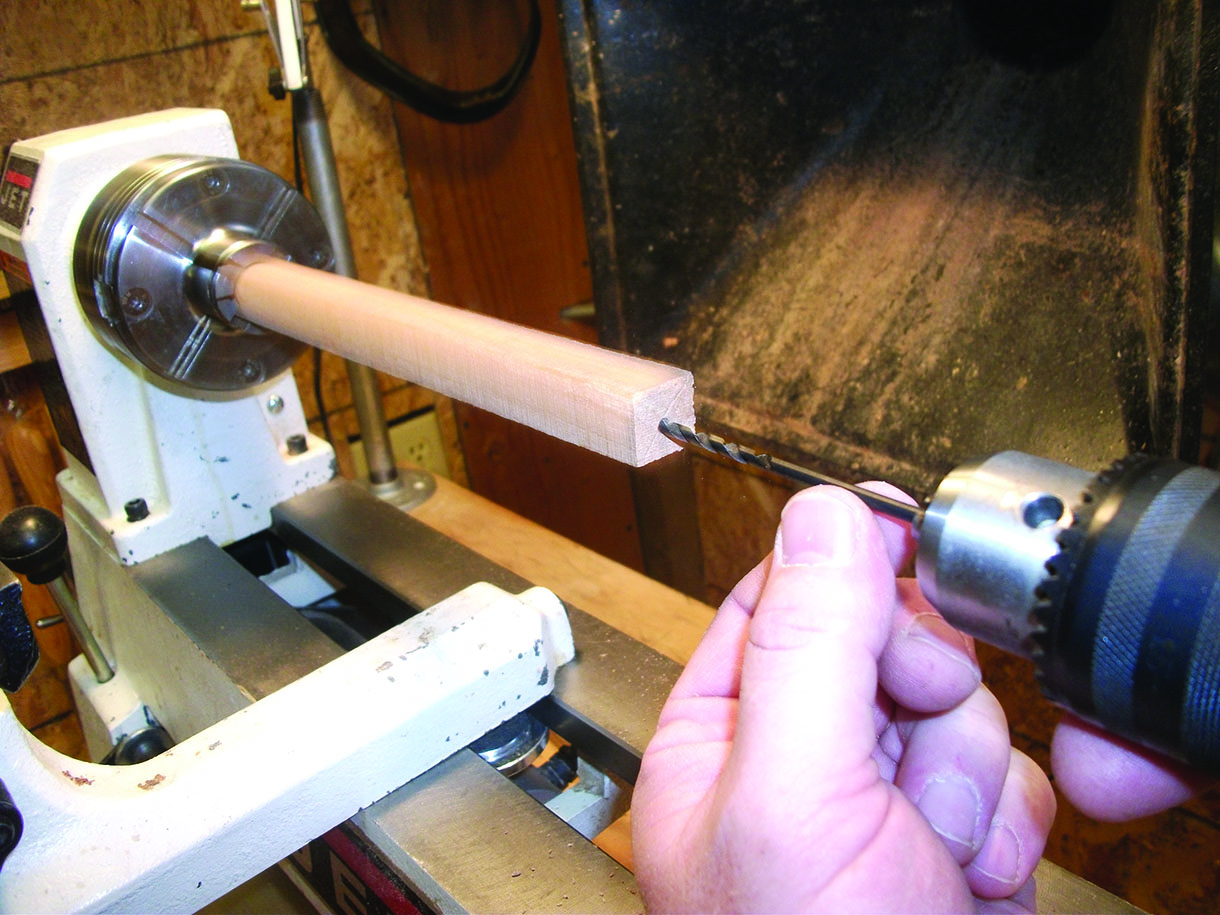
1. Find a suitable blank. In this case, Dan chose a piece of fairly straight grained Western bigleaf maple (Acer macrophyllum). Prepare the blank cut square on the bandsaw to about 20 x 20 x 180mm. Find and punch, or dimple, the business end. This is the end which will be drilled and will receive the insert. For those drilling on the lathe: secure the blank into the chuck jaws (the spigot kind of jaws that will hold a small square blank). Make sure the dimpled centre meets with the drill bit tip. You will notice the drill chuck is being held by Dan, keeping it securely in the tailstock quill. This is important so that the drill chuck does not come loose when retracting. Drill the blank to 125mm deep, measure the bit and put a piece of tape to tell you when you have reached the desired depth of 125mm. At this point drill about 10mm deep into the hole just made, with a 3.5mm bit. This enlarges the hole slightly, making it easier to hand drill to final size later with the 4mm bit. When the hole is complete, replace the drill chuck with a live centre. Put the point into the hole so the blank remains centred. Not a lot of pressure is needed, just enough to steady it

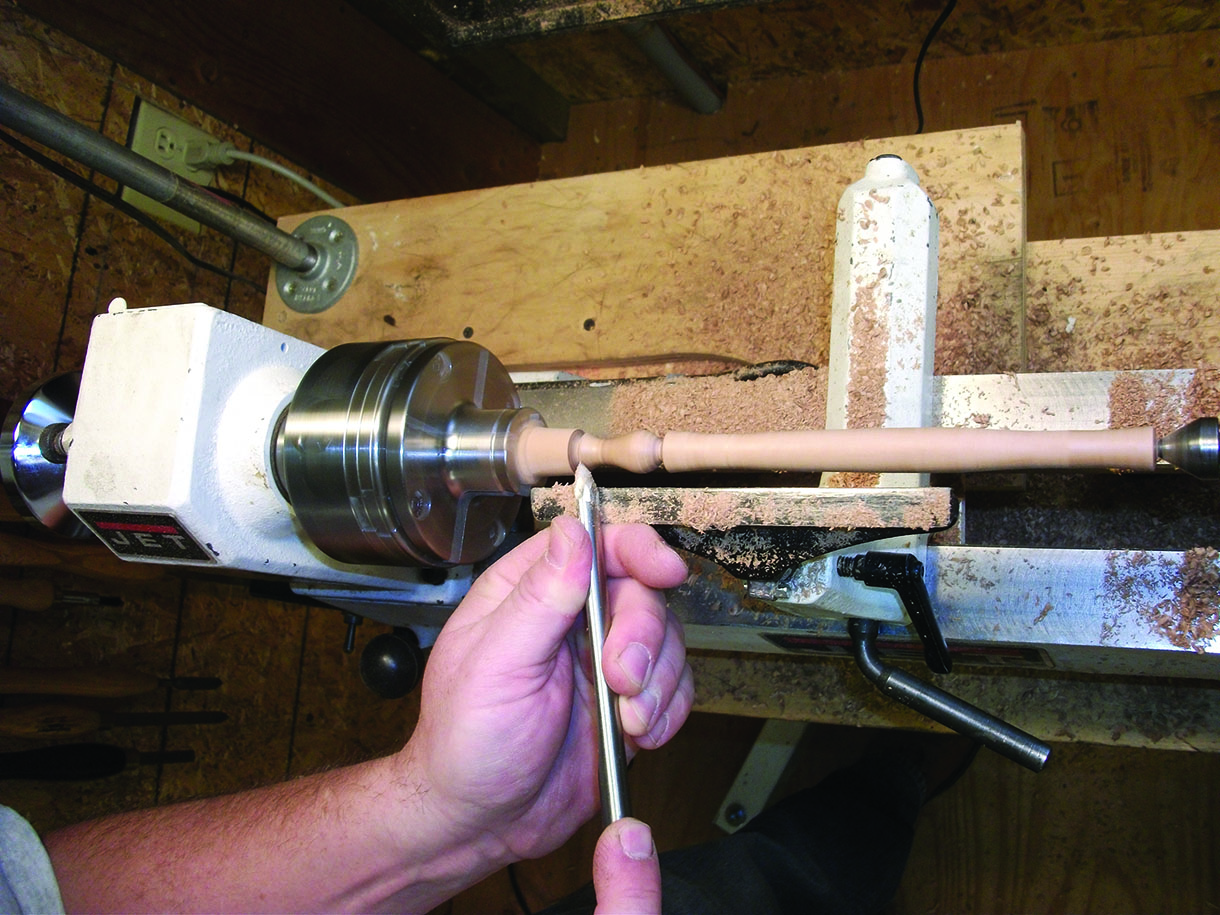
2. Next, rough out the blank using a spindle roughing gouge to round it. Do this from the bottom of the blank to about a 6mm from the chuck jaws. You will have to gauge your comfort level as to how close you want to get to the swirling metal jaws of the chuck
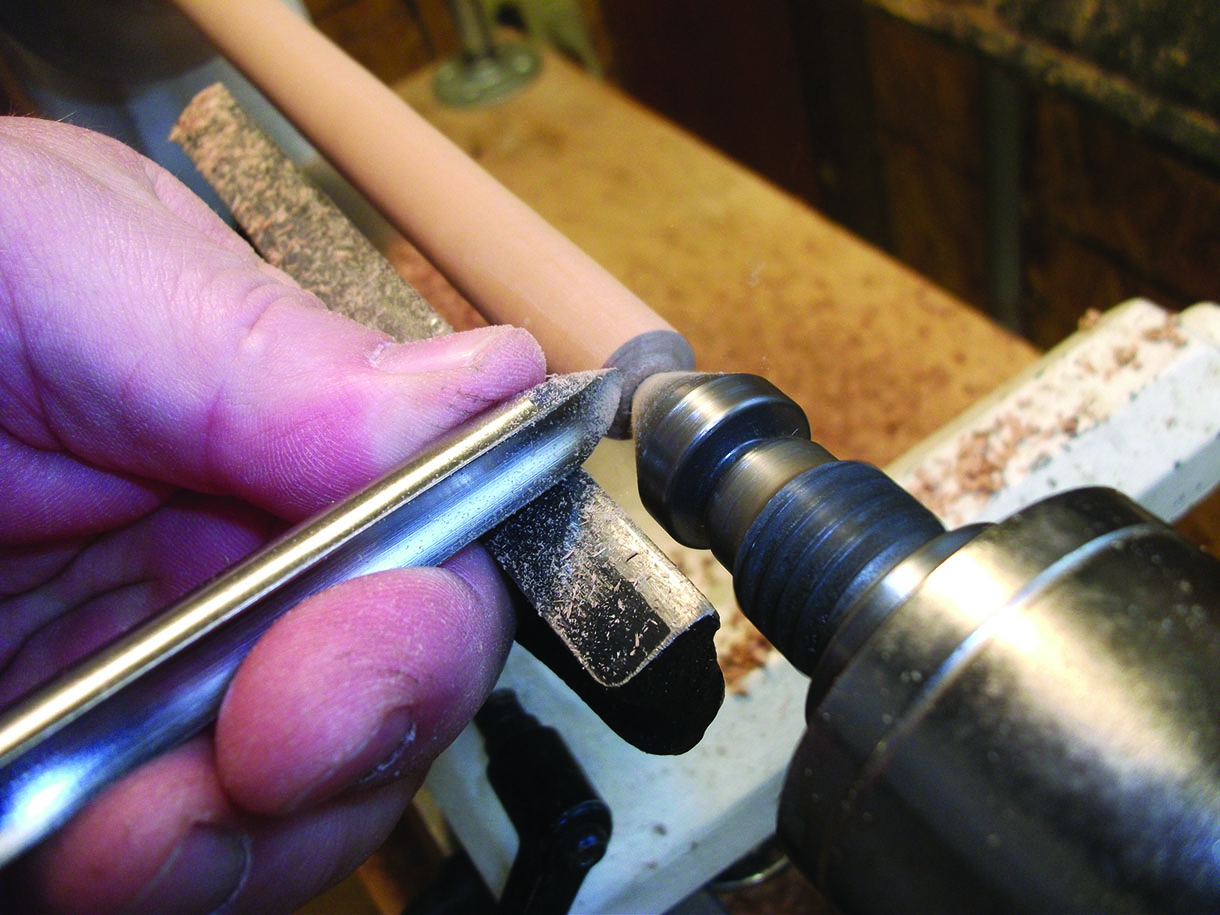
3. Get close to the live centre point, but be sure not to touch it with the 10mm spindle gouge. This cleans up the end grain. Cutting to the live centre point is unnecessary

4. Smooth the tube of the pen body with a 13mm skew. As an aside, the skew chisel is one of Dan’s and my favourite tools. In our respective workshops, the skew is celebrated in numerous different sizes and quantities on the tool rack! They are frequently used and enjoyable tools once one becomes comfortable with their quirks
5. Turn the finial to your own artistic expression. Dan chose a simple yet elegant shape to grace the top of his pen. For any tighter curves involved, use the spindle gouge
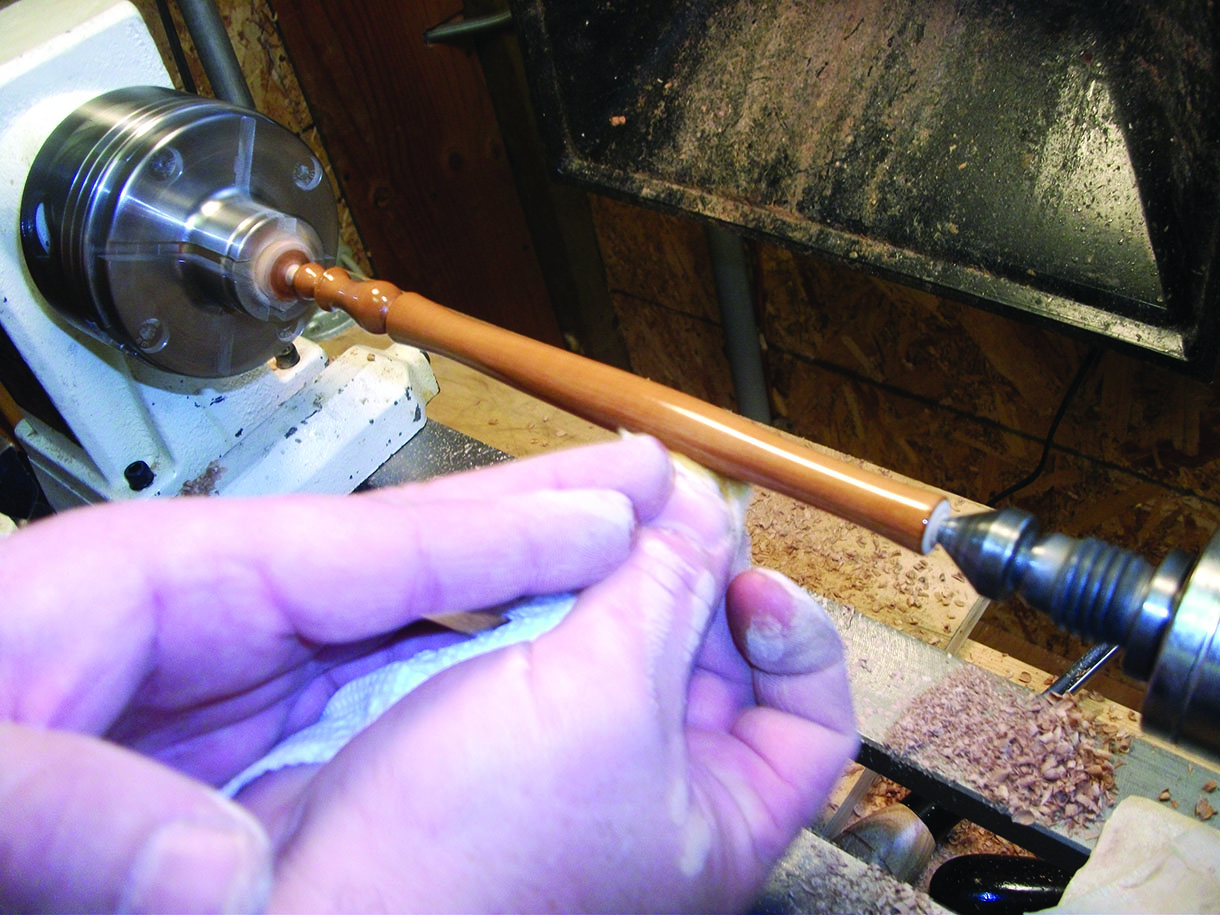
6. Sand and oil your pen. Dan uses kitchen paper towel with a homemade mixture of mineral oil and beeswax
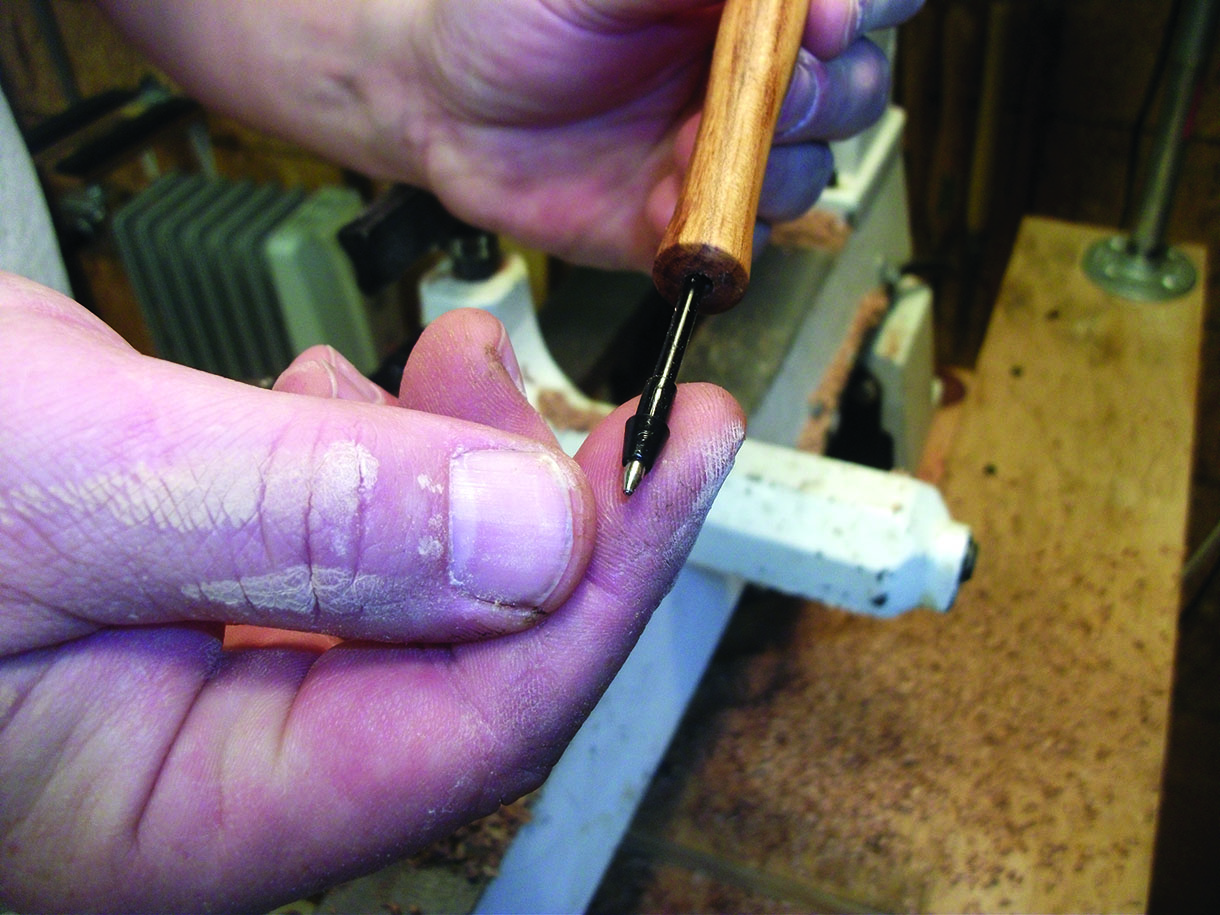
7. Finally, remove the pen from the lathe and enlarge the hole by hand, drilling with a 4mm bit to about 10mm deep. The insert should fit snugly into the pen body. If it’s too tight, a little finagling with the 4mm bit might be what is needed. I have experienced a too loose and sloppy fit, from slightly over-aggressive drilling. I compensated by putting a little CA glue in the hole and letting it dry, then carefully re-drilled the hole
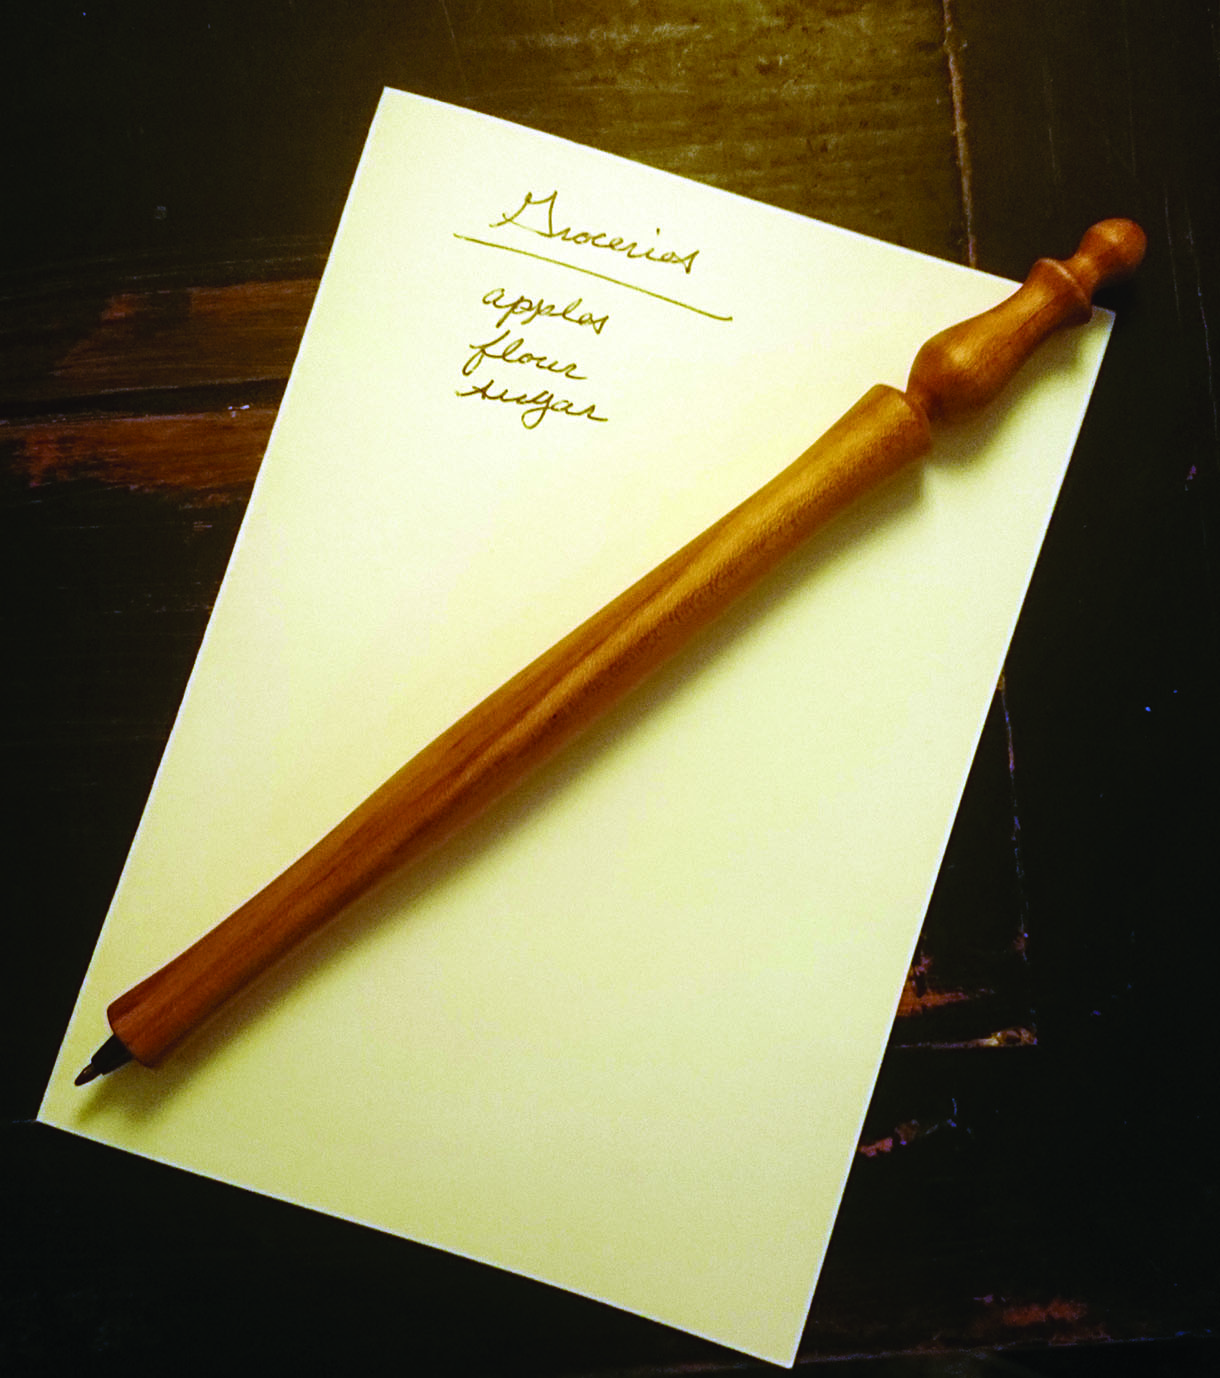
Your completed pen might look something like this one


