10 Most Commonly Encountered Woodcarving Problems
The Editor shares his thoughts on your woodcarving problems
The Editor shares his thoughts on your woodcarving problems
Every carver experiences problems while they work, and especially when learning to carve. I have noticed that there are ten questions which regularly crop up and everyone will have encountered these problems to a greater or lesser degree, at some stage in their carving journey. Rest assured, you are not alone in having trouble from time to time. So, below (and in no particular order) are the problems most carvers will seek help for.
1. Preparation…
… is where everything starts and if you get this element right, you are well on the right track to creating your masterpiece. You must decide what you want to carve and how you want it to look. Will it be a relief or in the round carving? Is it going to be abstract, realistic, naïve, classical, modern or in the style of something particular? Do you want a tooled or sanded feel? What timber will you use? Is it to be dark or light in colour, or even painted? Have you done your research and know your subject matter well? You cannot carve something you don’t thoroughly understand.
2. Timber choice
Don’t make life difficult for yourself when starting to carve by using a wood you have to fight with. Rather than use any old bit of wood from the log pile, or the bits and pieces in your shed, like oak (Quercus spp.), ash (Fraxinus spp.) or holly (Ilex spp.) that are always tricky to work, use timbers like: lime (Tilia spp.), cherry (Prunus spp.), walnut/butternut (Junglans spp.), jelutong (Dyera costulata), tulipwood (liriodendron tulipifera), white pine (Pinus strobus). Even common or garden knot-free softwood timber 100 x 50mm is a good starting point to practise cutting on.
3. Sharpening
This is still one of the areas where people struggle at times, no matter how many years they have been carving. You will find differing views on how to sharpen carving tools and all strive to show how to create a correctly profiled ultra-sharp cutting edge that you can work with easily. There are lots of DVDs, YouTube clips, web and magazine articles as well as books covering this subject so you have plenty of options to study. Remember though, do not throw lots of money at this. Often the simplest methods are the best. Do not be afraid to seek help from more experienced carvers who can help and advise.
4. Cutting wood the right way
The grain direction has a bearing on how wood likes to be cut to give a clean surface. We have all experienced grain tearout due to cutting the wood the wrong way or not in an optimal way. In general, cutting across the grain, either at right angles or obliquely, will be the safest and more controllable option, especially if using slicing cuts. Cutting with the grain can cause uncontrolled splitting, but can be useful when roughing out.
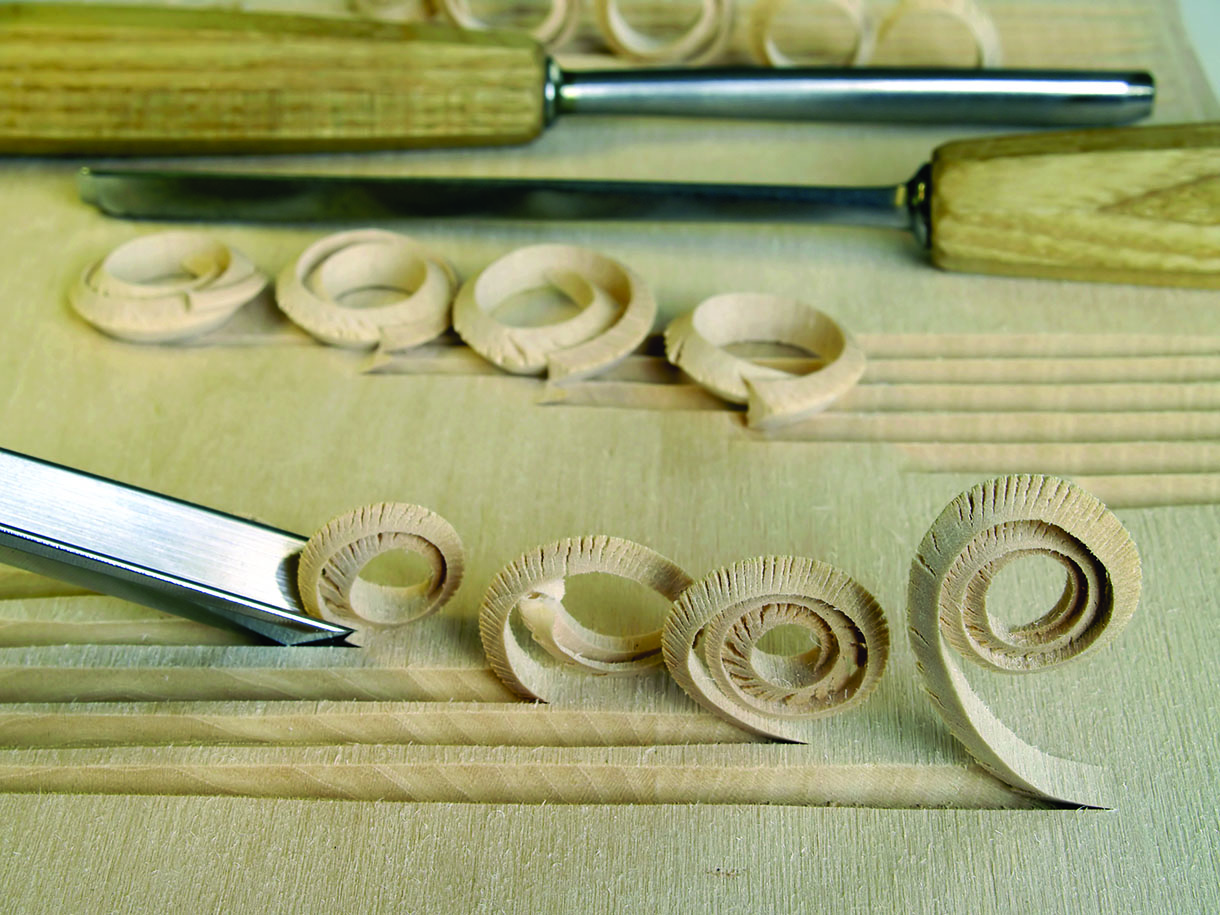
Cutting across the grain
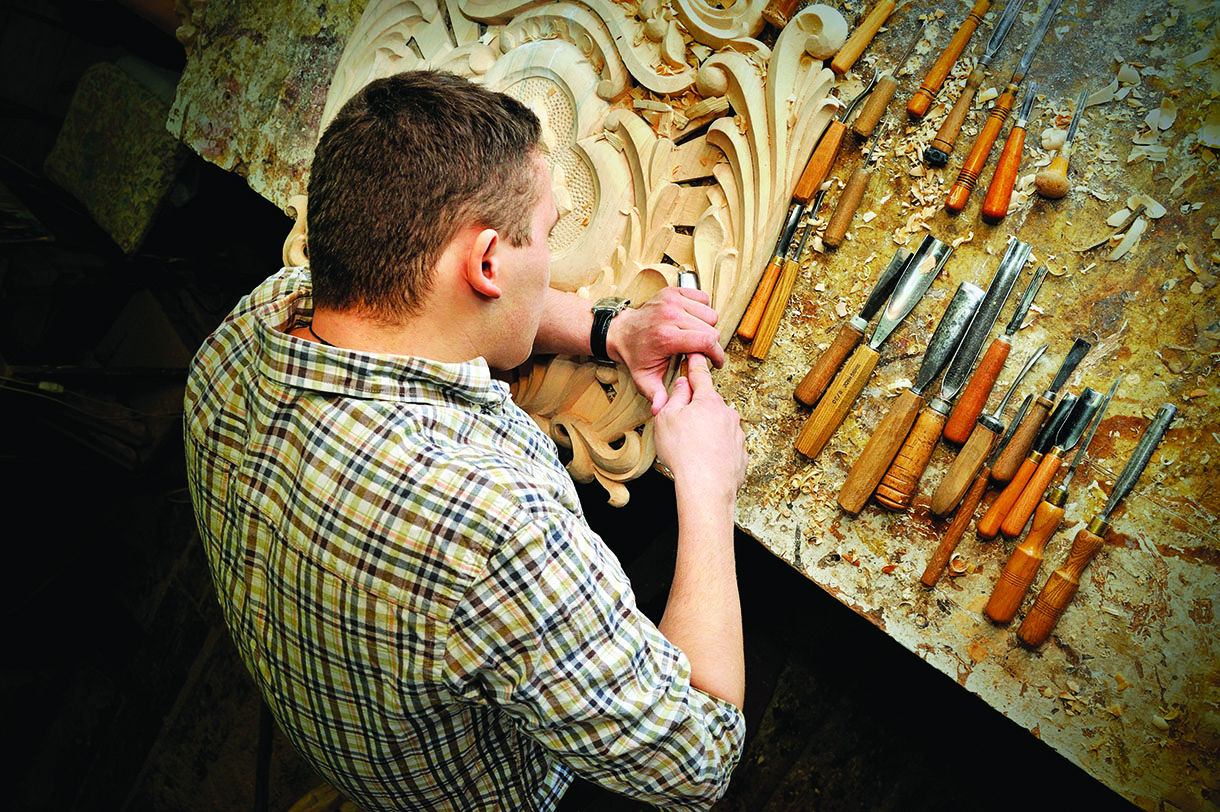
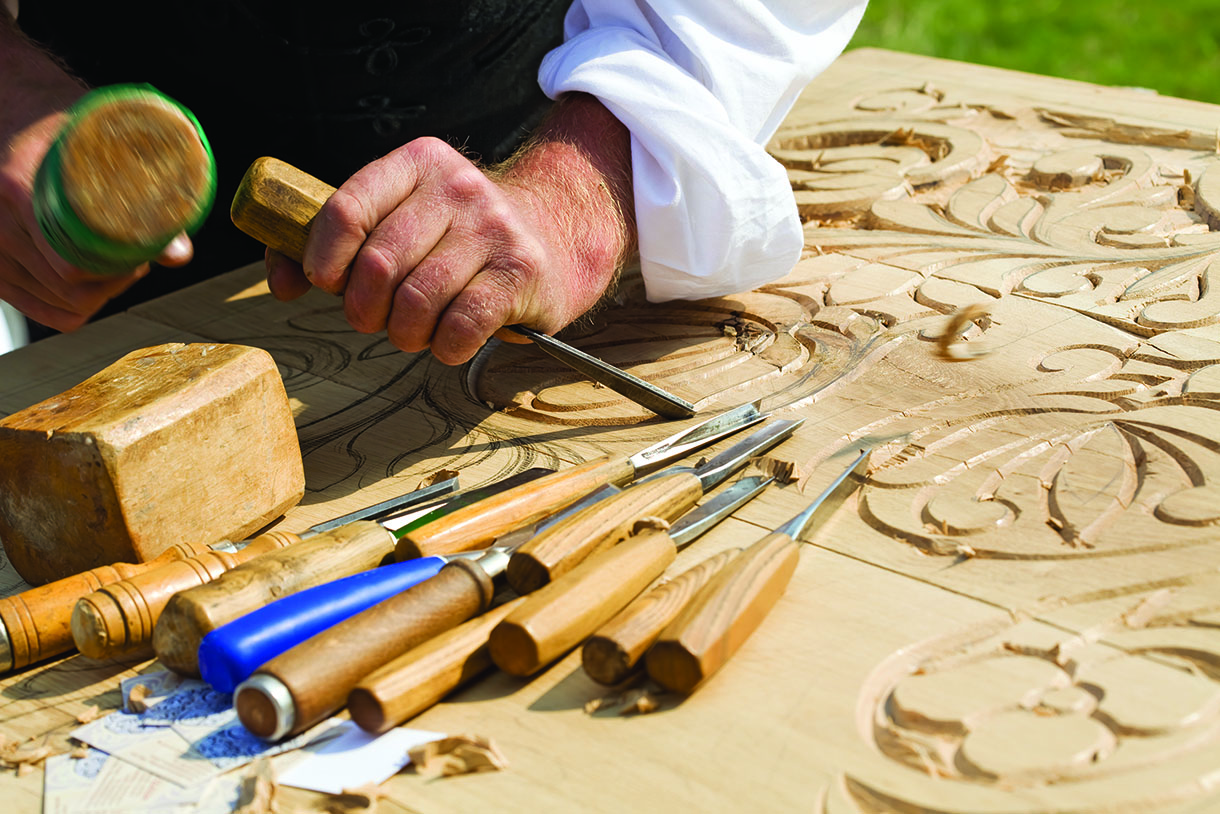
5. Holding and manipulating tools
Hold the tools in a manner that enables you to manouevre them easily with control. Use a light grip where one hand moves the blade positively forward in a given direction, while the other guides and adjusts the cut depth and position of the cutting edge. The two hands work together, in harmony with each other, your own strength and the character of the wood.
Hold the tools in a way to give you maximum control
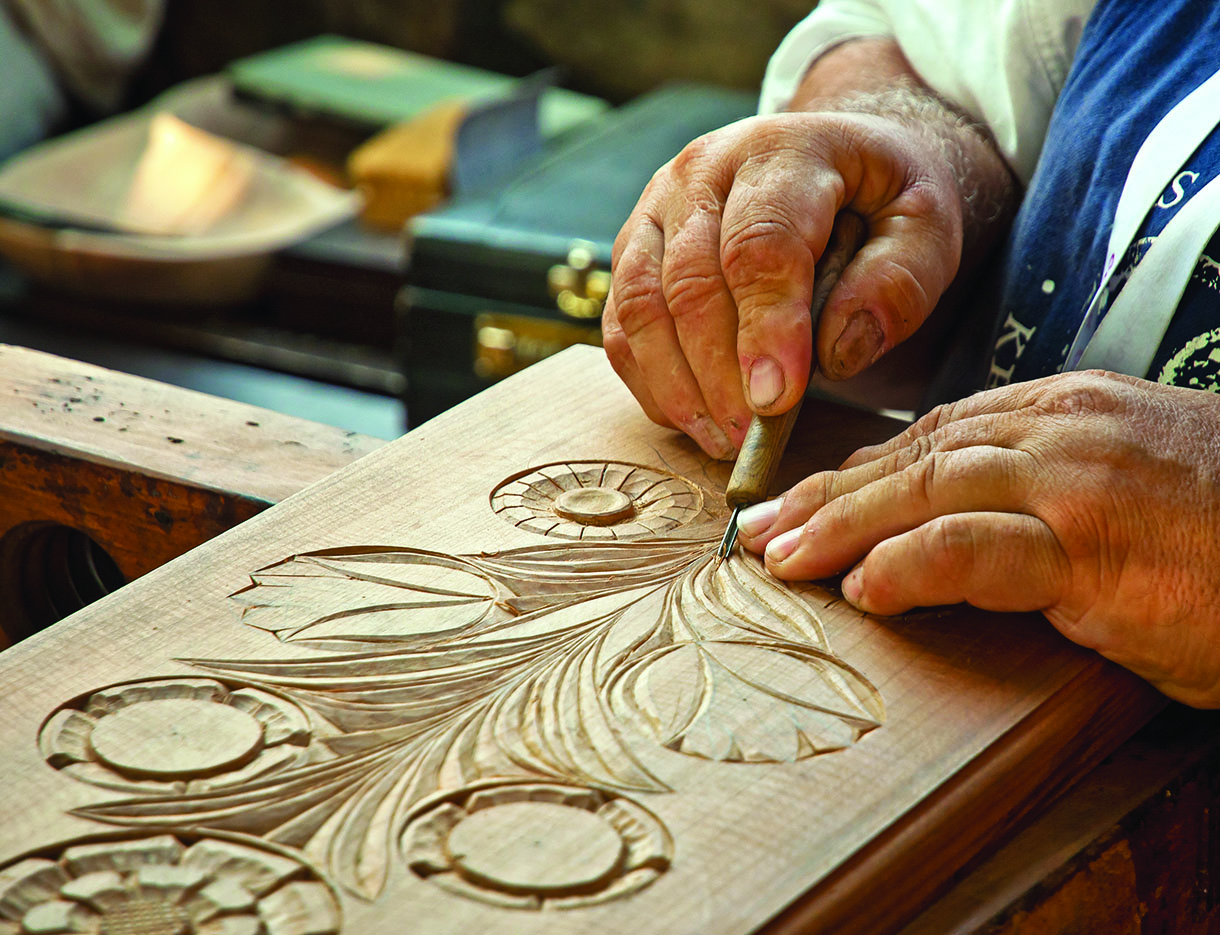
6. Work holding
Hold the work securely and in a way that gives you flexibility to work in different areas and positions. Relief carvings are usually held on a non-slip mat and/or rested against a stop of some sort so you can cut and put pressure against the stop preventing the board from moving. Rarely are clamps used, but they too can be helpful at times. In the round carvings can be held on carving screws, moveable carving clamps, chocks and vices. Whatever you use, you will need to be able to move your work in all directions to ensure safe and effective cutting unless you have all round access.
7. Comfortable working height
Whether standing or sitting, ensure you have the work mounted at a height that will not make you stoop/hunch over the work too often. Having to bend in ways that are not comfortable not only affects you, but also your work. If you are forced to work in an awkward position by the mere nature of the piece you are carving, only work for short periods before changing what you are doing.
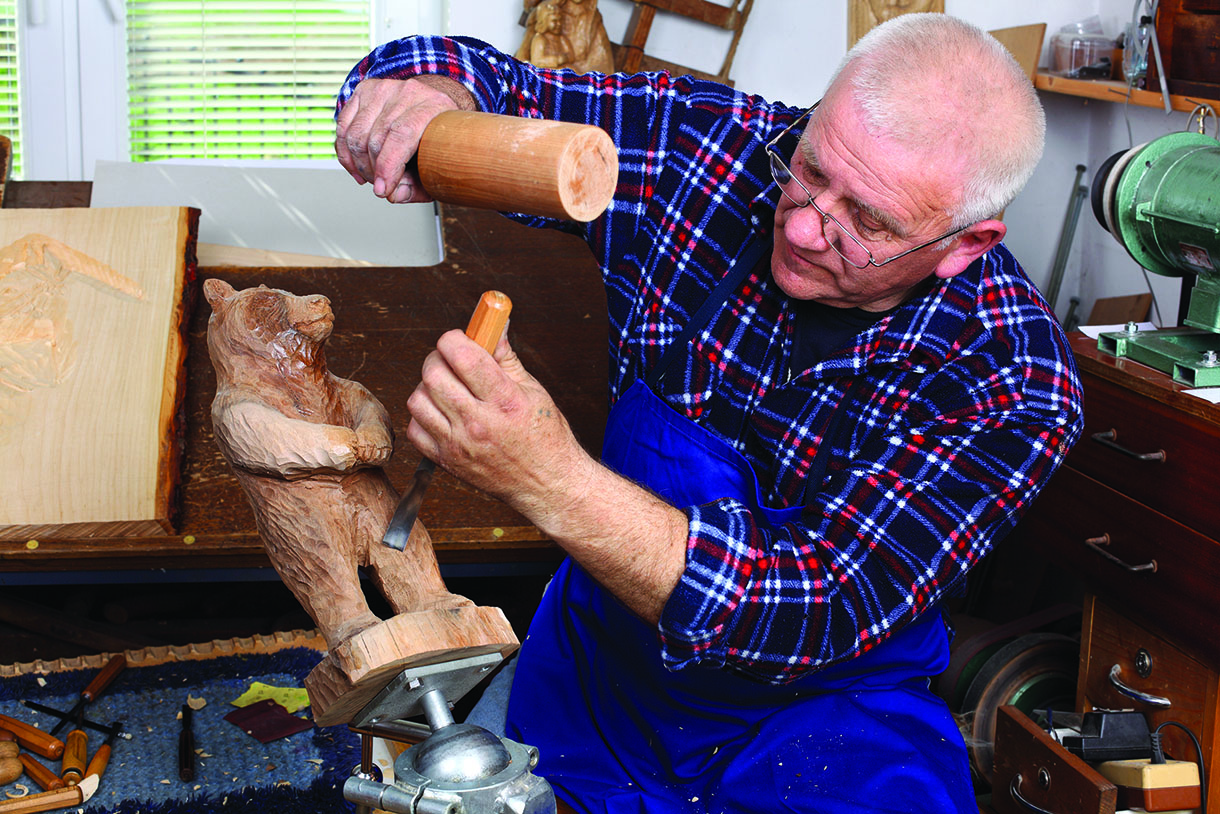
Be sure to carve at a comfortable height
8. Sanding work
Whether you sand your work or give it a tooled finish is a matter of choice. Neither method is a short cut. Each method takes time and care to be effective but, be warned, if you sand your work, you will need to go through the grades of abrasive to remove all scratches and defects without removing fine detail and sharpness. A tooled finish doesn’t mean that you leave the work with a rough finish. You need to go over the whole piece to remove any evidence of ragged or indefinite cuts. What you choose should be decided before you start to avoid unnecessary ‘over carving’.
9. Selecting an appropriate finish
A well chosen finish can enhance your work and really make it come alive, but a poorly chosen one can ruin the piece you have spent so much time on. If you get it wrong, you will have a nightmare of a time trying to remove the wrong finish. Create sample boards using the finishes you are thinking about. This way you can see what you are likely to end up with before you make your final choice. Also, no matter what finish you use, make sure you clean up/remove all the excess finish not required – especially in the nooks and crannies of finely carved work.
10. Buying too many tools
This one is like saying to me don’t buy too many fishing rods or flies. We never seem to have the right ones at the right time. Well, the same rules apply. One only really needs a very basic kit to start – some say 10 tools, including a knife, to do a wide variety of carving styles. The key is to have a few and learn to use and sharpen them well, before buying more.
Learn to use a basic tool set well, before buying more tools
")

