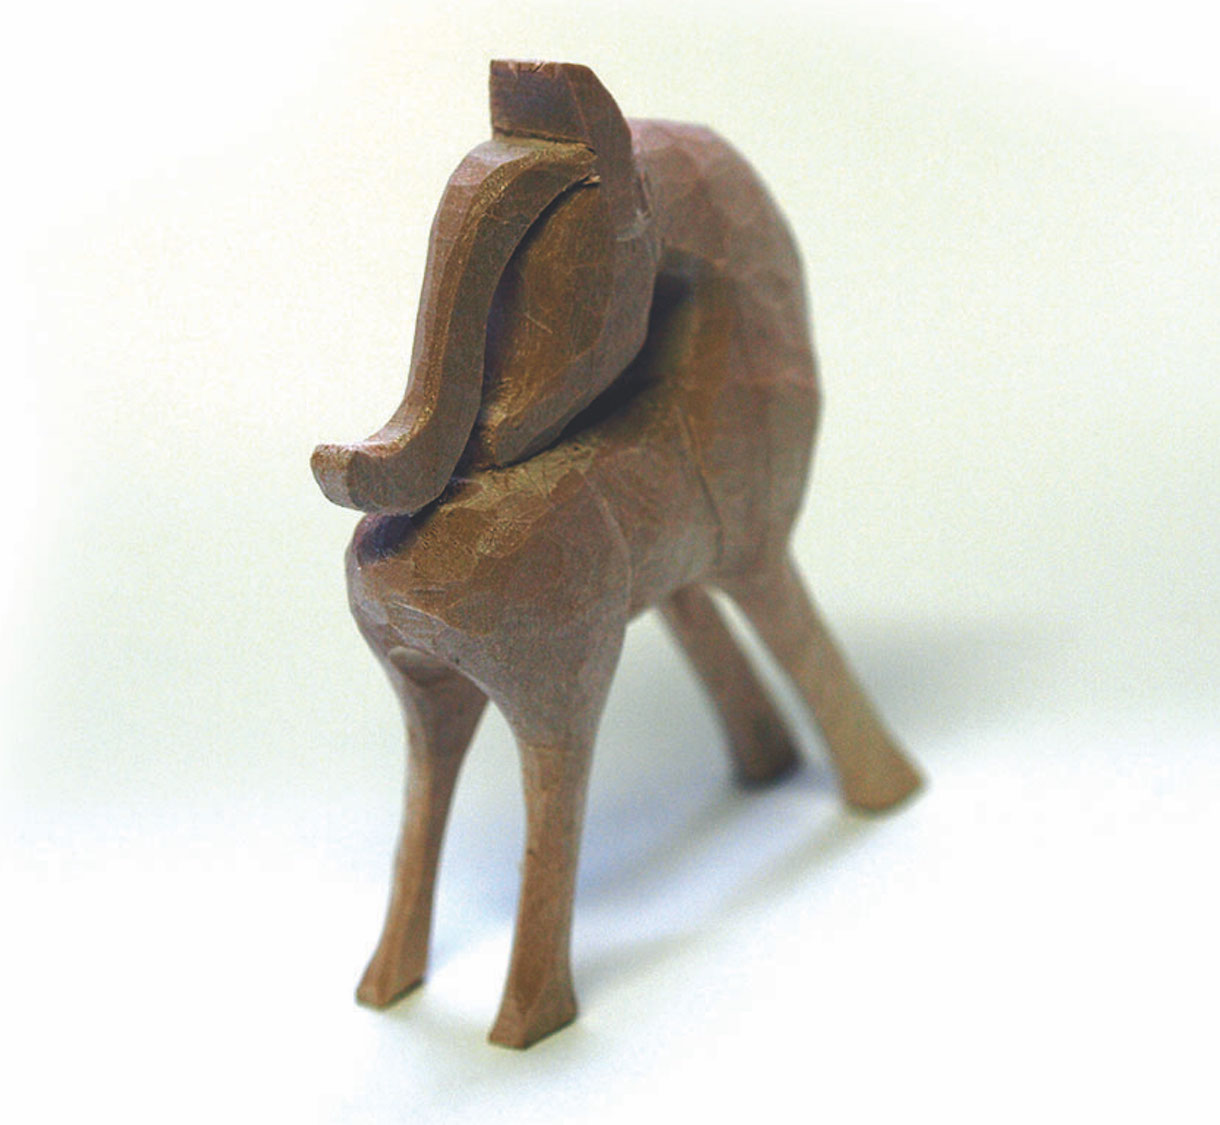
Viking Reindeer
Dave Western carves a traditional Viking reindeer
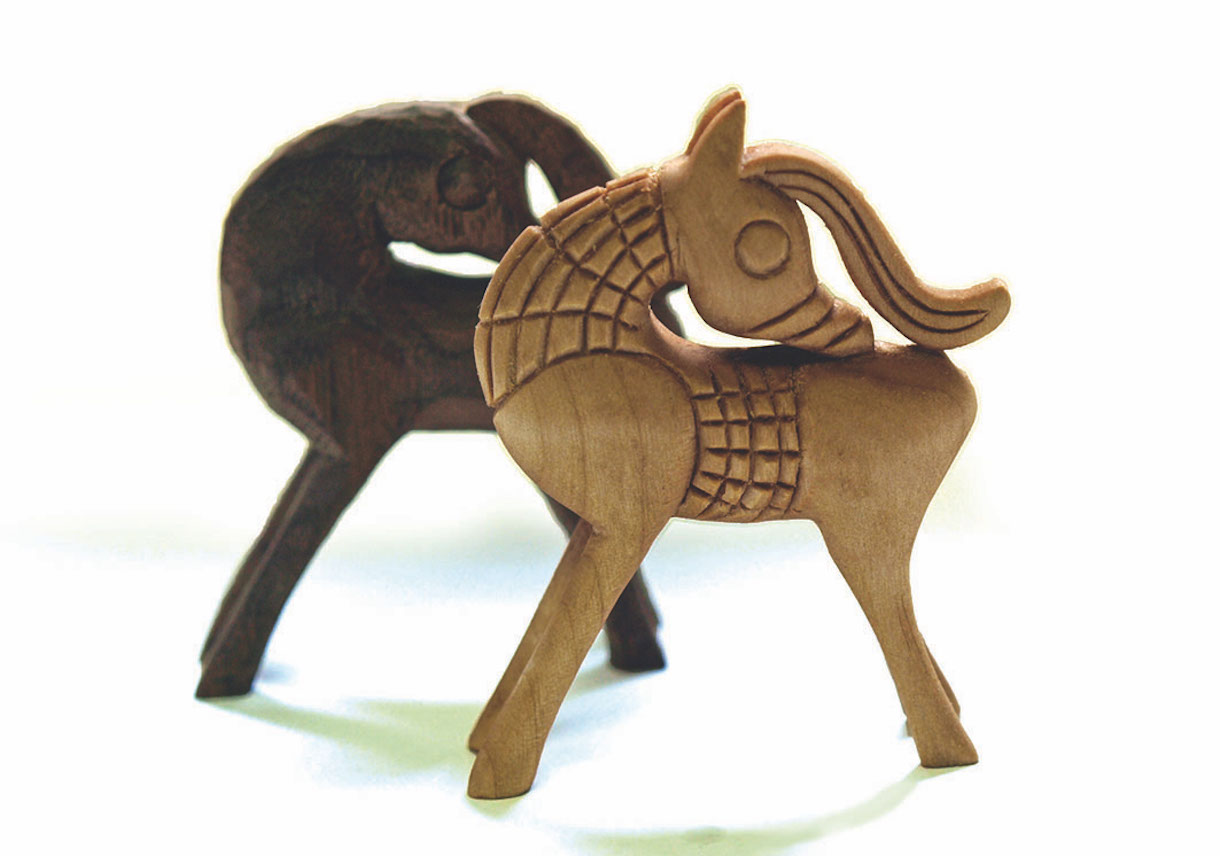
Dave Western carves a traditional Viking reindeer
Recently, I was fortunate enough to attend a wonderful show of Viking art and artifacts that was hosted by my local museum. It was a particularly eye-opening examination of the Vikings as explorers, traders, farmers, craftsmen and most important, artists. As you would expect, much of the work was exuberant and robust, but many pieces displayed great sensitivity and delicacy of touch. Sadly, little wooden work has remained after all these years, but a particularly striking metal pot lid provided a surprise bit of carving inspiration that I hope I can pass along to my fellow carvers. Almost unseen among the lid’s swirl of wolves and serpents, a heavily stylised reindeer stood, glancing over his shoulder, poised to spring from danger. Elegantly rendered, he appeared both vulnerable and virile. I was so taken with it that I scribbled a quick sketch on the back of my entrance ticket using a pen scrounged off one of the security guards. No doubt the vagaries of my memory have effected some subtle changes between my design and the original, but I believe it is fairly close in spirit and I hope that you will find it as much fun to carve as I did.
Things you will need
Tools:
• Gluestick
• Bandsaw/scrollsaw/coping saw
• Small saw (I used a small Japanese saw)
• Small straight knife (3/4–1 1/2 in length’s best)
• No.9, 7mm gouge
• Abrasive to 320 grit
• Needle file for hard to reach smoothing
• Danish oil
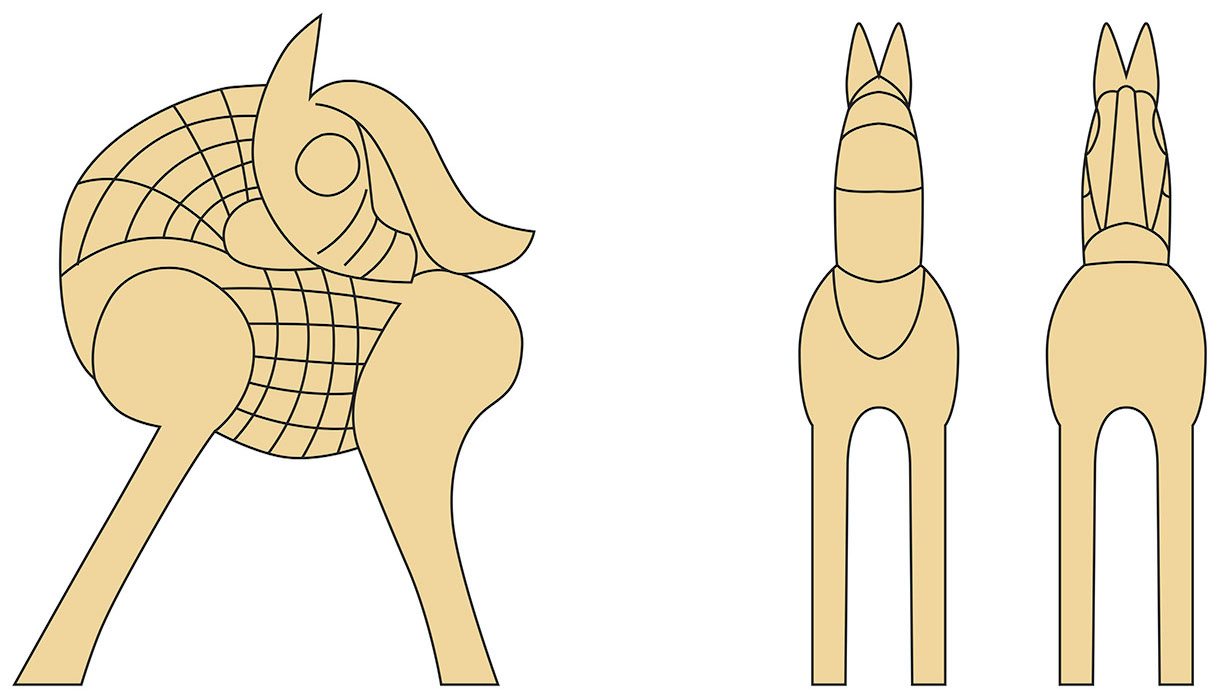
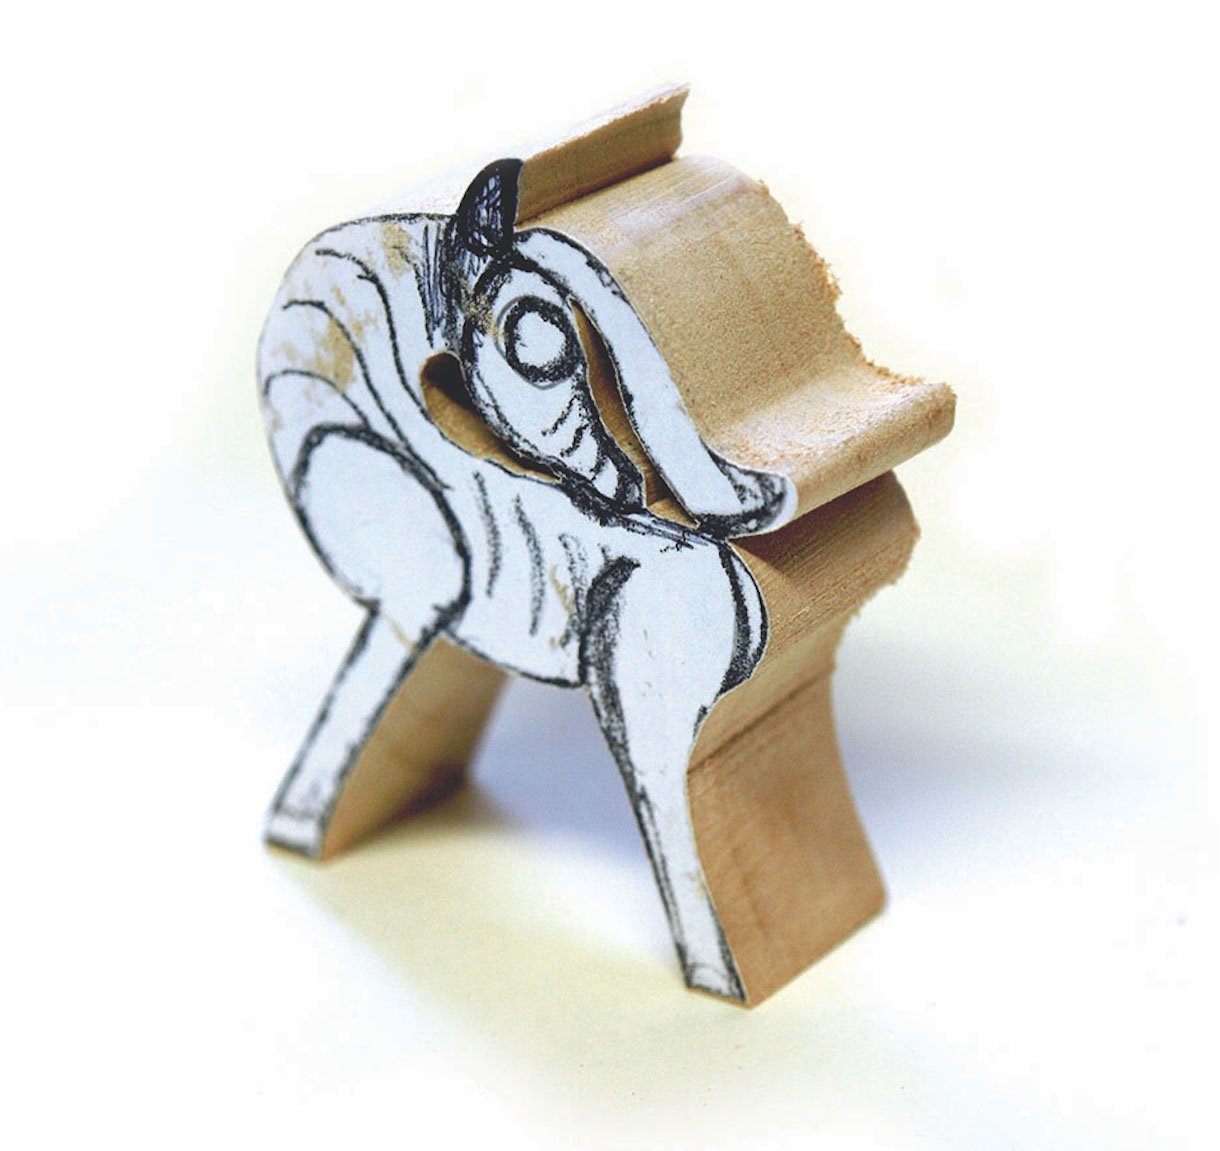
1. First, photocopy and fasten a design to your blank with a gluestick. Be careful to align the grain so it runs down the body and legs (if it runs across the legs, you’ll be guaranteed a break along the way). Shape the rough outline of the reindeer with a bandsaw, scrollsaw or jeweller’s-type coping saw
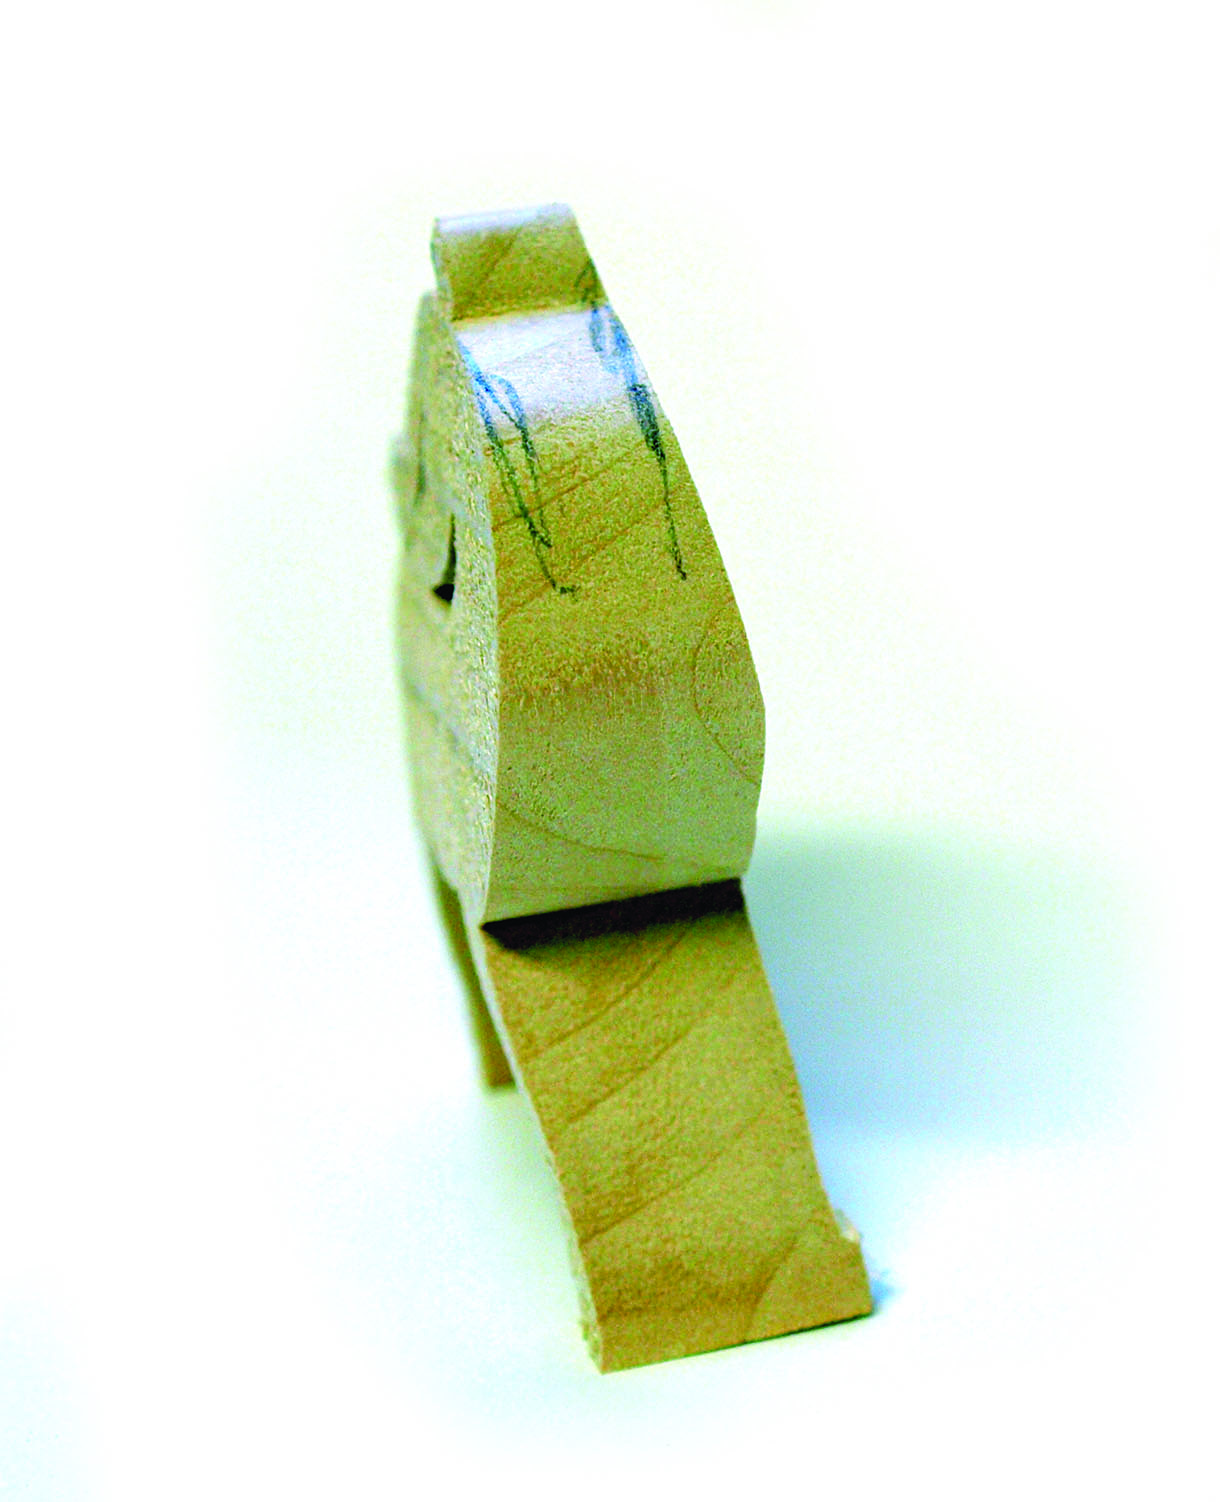
2. With the outline cut, take a few rough cuts with a saw to shape the taper from the body to the head. You can be fairly crude at this stage, you’re just trying to remove as much excess material as possible before you begin carving
Top tip
I recommend not separating the legs until much later in the proceedings. If they remain a unified ‘block’, they will be much stronger and less likely to be snapped off.
Expert advice
Be aware of the grain direction as you start roughing out. Because the grain is oriented through the carving from top to bottom, the sections near the neck bend and the buttocks are easily snapped off if you cut too far behind the curve. Also be conscious of the fragility of the legs and avoid putting too much pressure on them as you grip the piece
There is a fair bit of cross grain carving, which occurs on the body of the reindeer. Keep the knife sharp and don’t try to take off too much at once, as there is potential for the grain to pull out if the knife is dull or the cut too deep. Remain vigilant of where your non-carving hand is located. You’ll be moving the piece around and it becomes easy to give yourself a clip with the blade
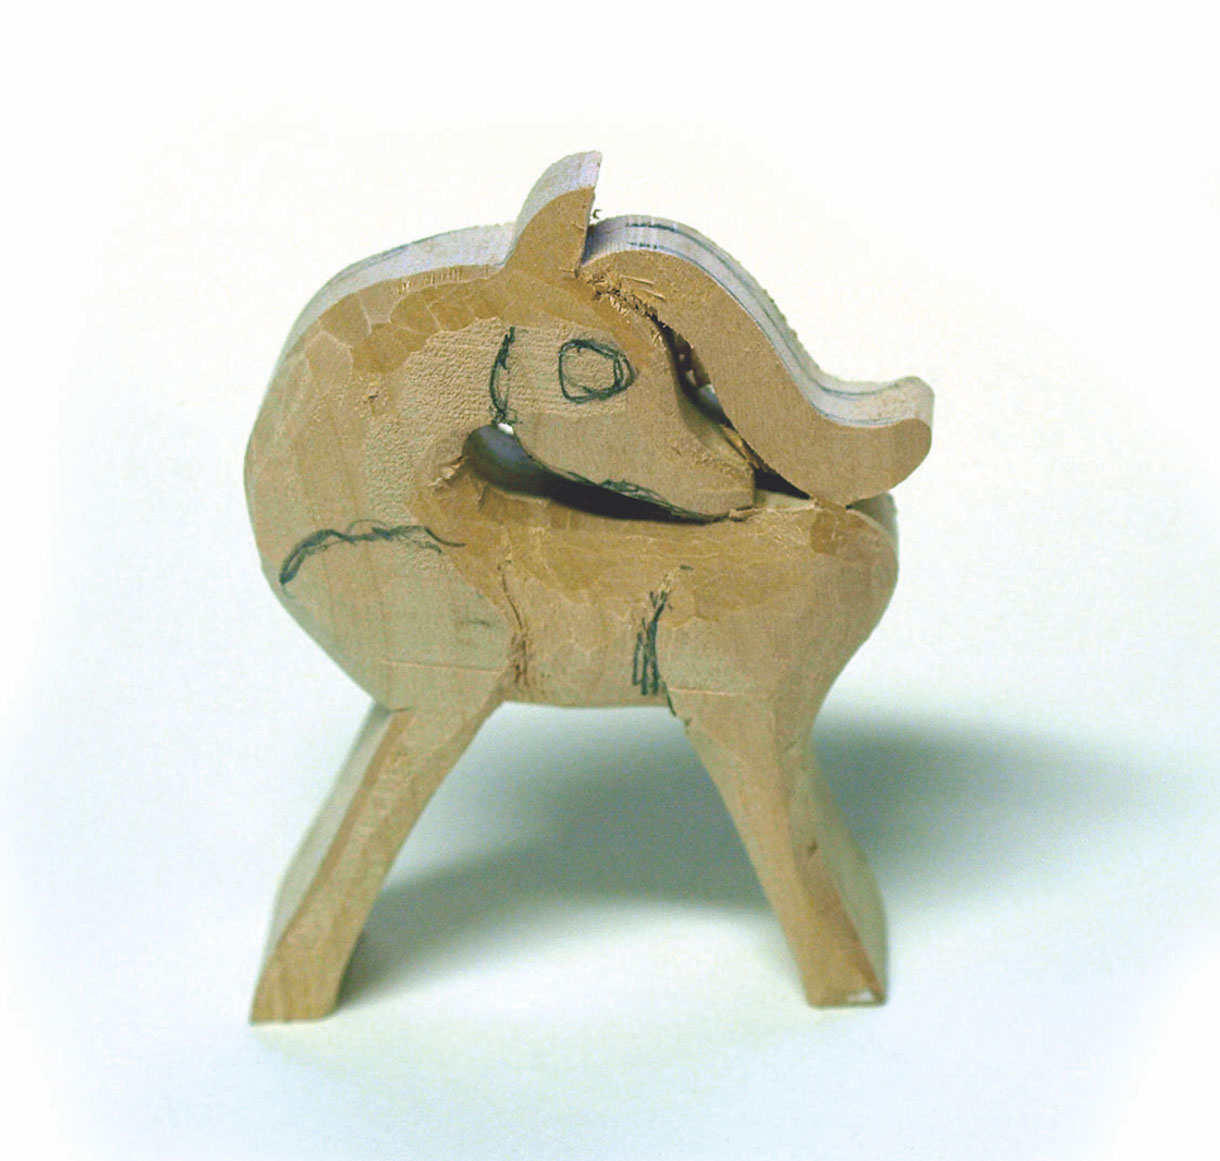
3. Redraw a couple of lines to mark out the front shoulder, rear haunch and the head details. Also pencil in a centreline running through the body from head to tail; this will help you to keep both sides even as you remove stock. When you begin carving, round the body and leave some material to form the shoulder and hip areas. Start tapering the nose and thin down the stylised antler
4. As the reindeer becomes more refined, start shaping the outer edges of the legs and ears. Don’t separate either until you are happy that the lion’s share of rough cutting is completed! With the body taking shape, you’ll be able to tell if one side is fatter than the other, if the head seems too big and if the neck area seems even and fair. Thin out the antler area before you do too much work on the head so that you can more accurately judge the head’s finished size from it

5. It may happen that you start taking a bit more material off one side. If this happens, try to redraw your centreline so that the carving returns to balance. Here you can see I took a bit more off one side of the legs than the other. I’ll re-centre the line and ensure the neck area is balanced before carrying out too much more carving

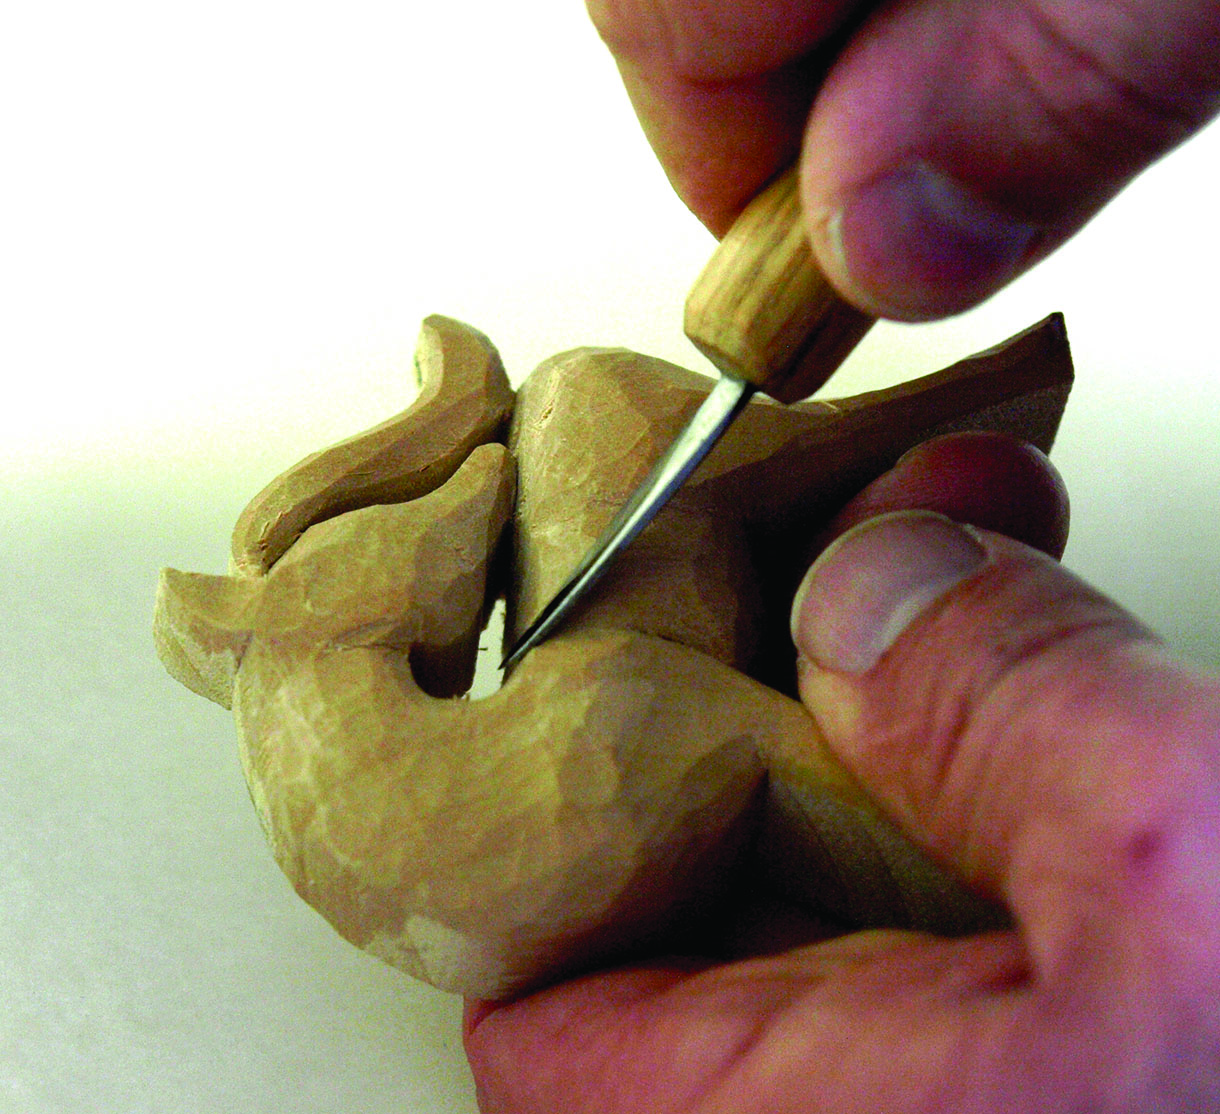
6. When satisfied your rough carving is completed and the body is pretty close to where you want it, separate the legs and the ears. Use a saw for the separating, as it is a bit more refined than cutting with the knife
7. Once the legs have been separated, they are more vulnerable and the danger of breakage is ever present. Be careful how much cutting force you exert on them while carving and be conscious of how tightly you are gripping them when finish carving the body and neck
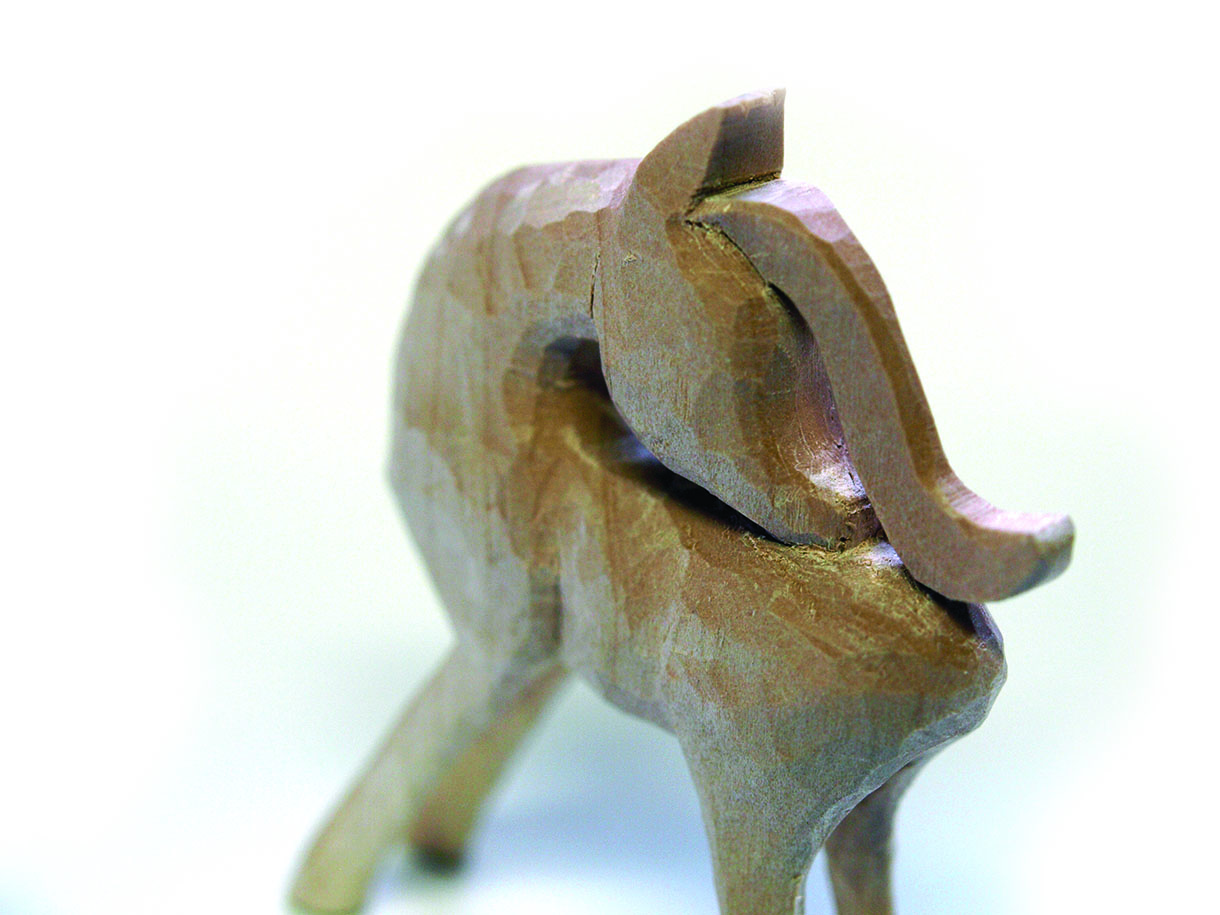
8. The head is a tricky area to get right. If you don’t remove enough material early, you can be left with the right shape, but too much width. This head has too much stock left on and so it all has to be thinned down some more. The presence of much end grain in this area makes carving a bit tricky too. Be careful not to take too much material with each pass of the knife and don’t generate too much force on delicate areas that might snap off
Did you know
The original Viking reindeer piece had oversized eyes which most likely symbolised the animal’s alertness, which I have copied on this version.
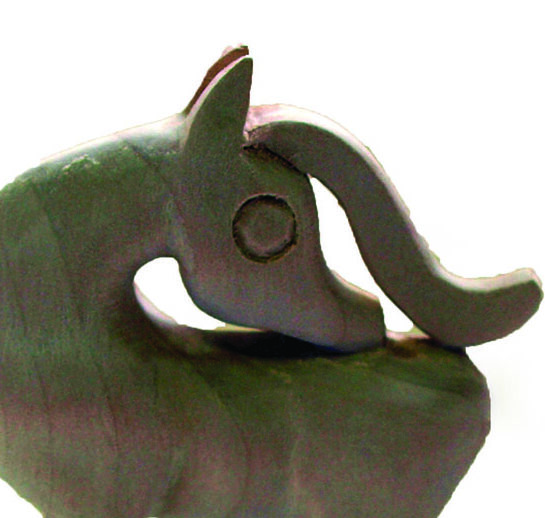
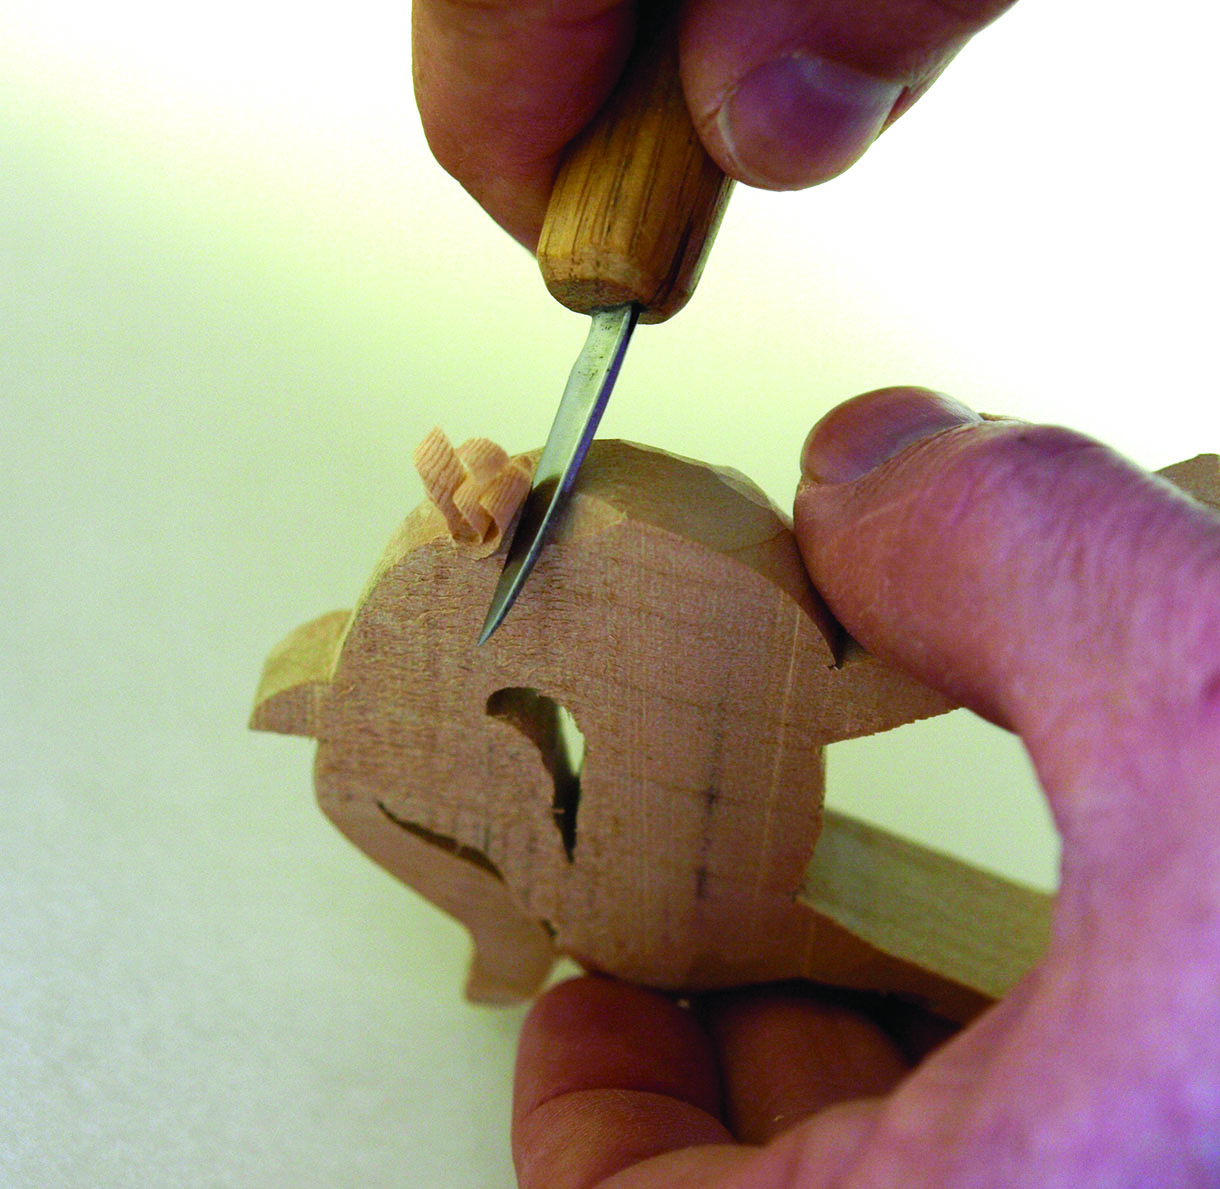
9. When you are satisfied the body is all in proportion and the carving is complete, you can engrave the eyes. Use a small No.9, 7mm gouge to scribe the circle and then shape the eyeball with a pointy straight knife
Top tip
At this point you could undertake a bit of cleanup and leave the deer ‘from the knife’, or you can press on and sand it smooth.
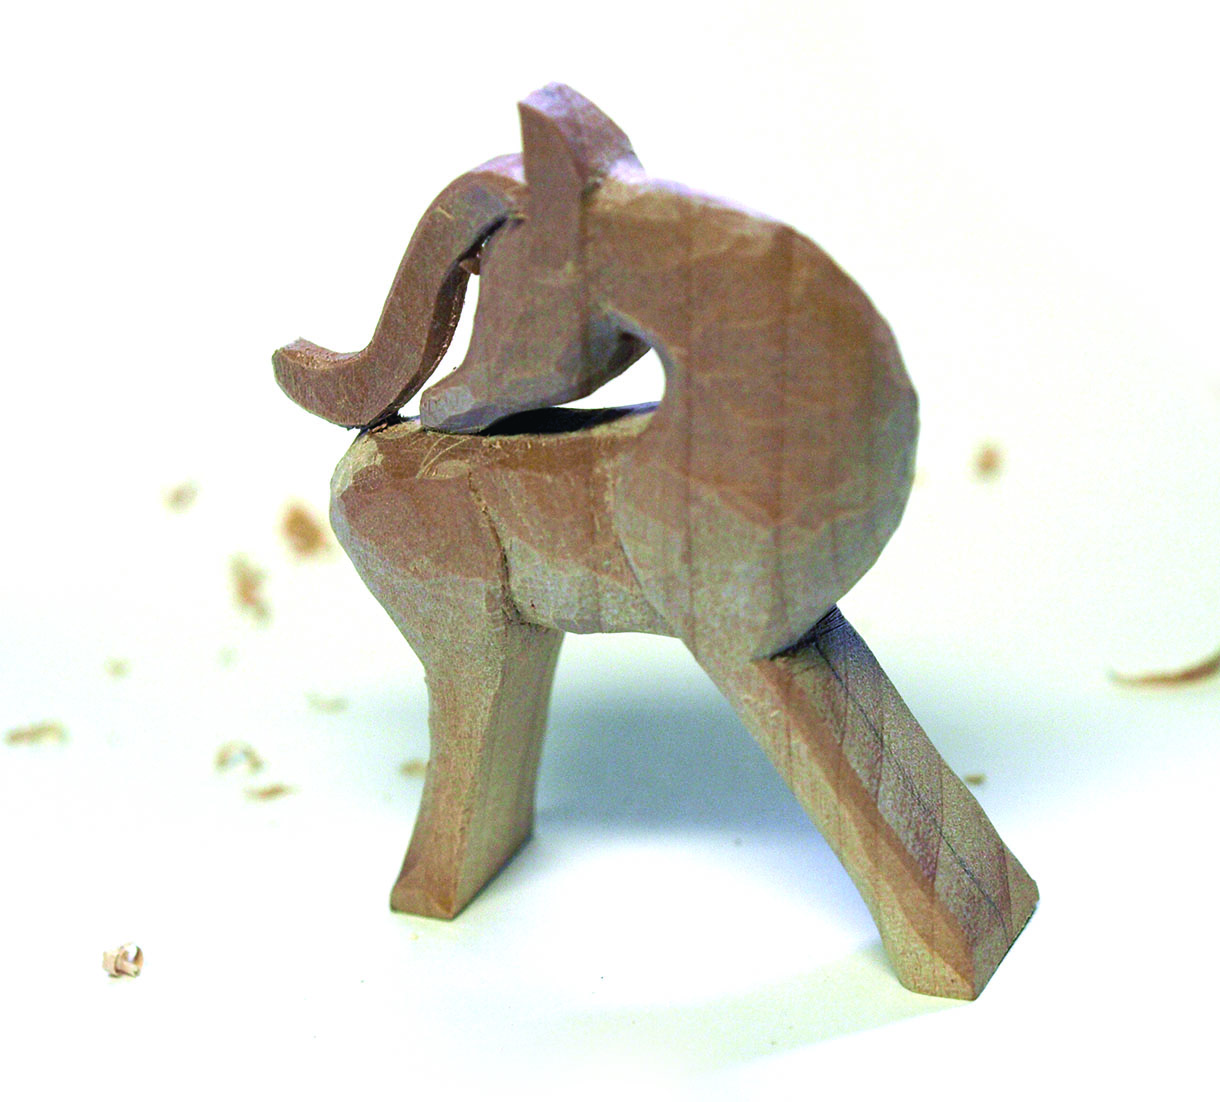
10. To mimic the smoothness of the original metal piece, a uniform finishing is a good idea. Sand down the piece to 320 grit in preparation for an oil finish. If you like the deer to appear more realistic, this is the time to stop carving, but if you’d like it to have the Viking feel, there is some texturing to yet be carried out
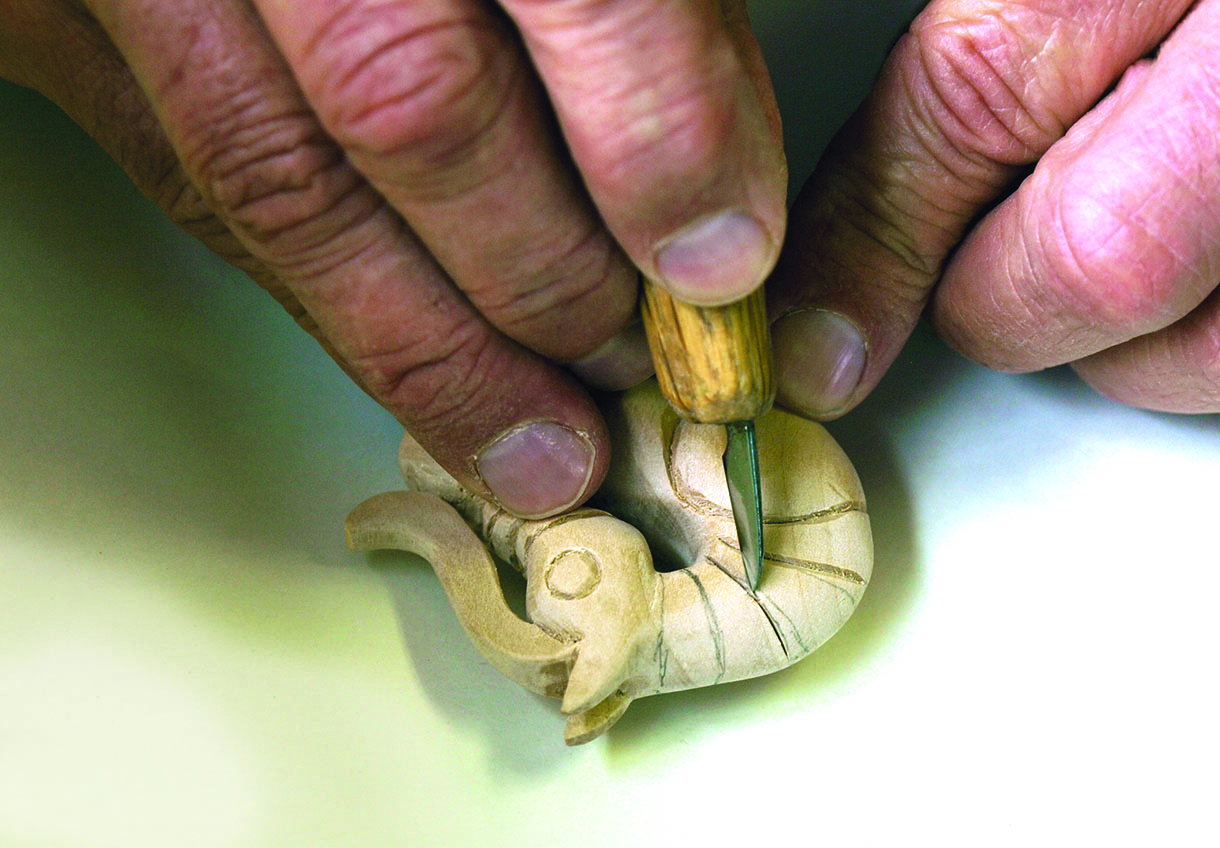
11. Pencil the body and neck contour lines onto the reindeer as shown, then carefully scribe shallow V grooves along each line. The grain is awkward in many places, so go light with your cuts. The curve of the neck and body adds another dimension of difficulty to getting the lines even so be sure the piece is braced well as you cut and ensure your lines have been accurately drawn. You’ll be carving in tight quarters, which makes things dangerous for your non-cutting hand, so vigilance is crucial
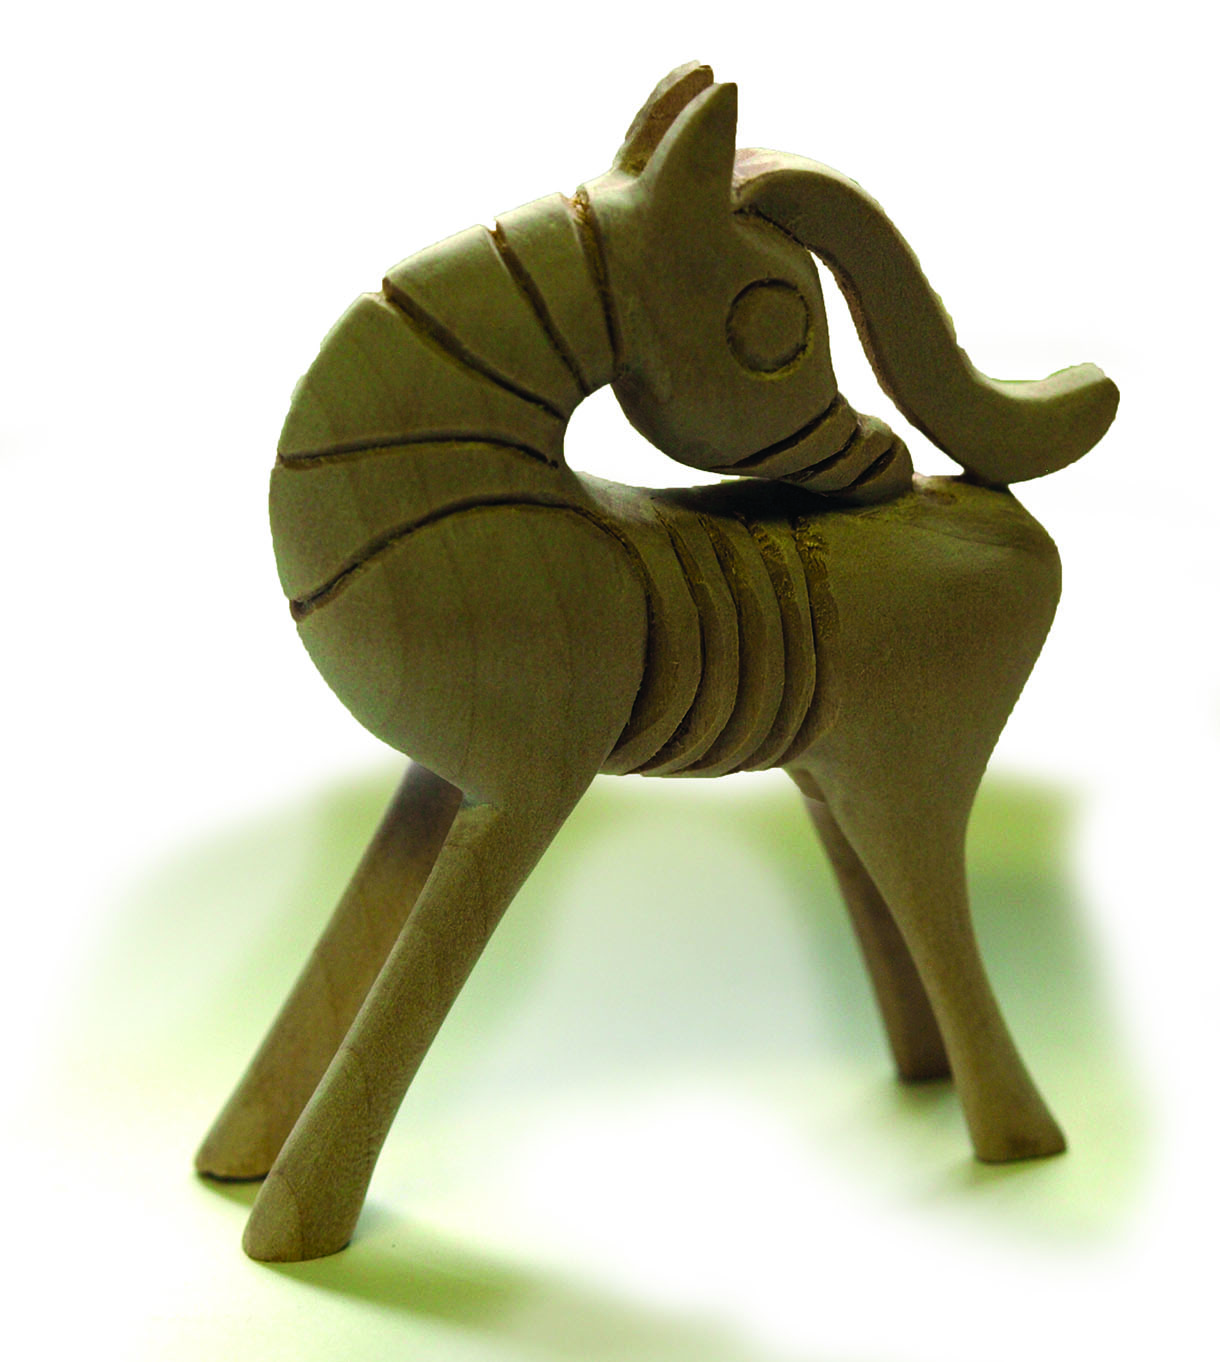
12. With the contour lines all cut away, the deer may get a bit of a creepy, skeletal look about it. Don’t worry; when you carve the crosshatch lines, the look is completely transformed
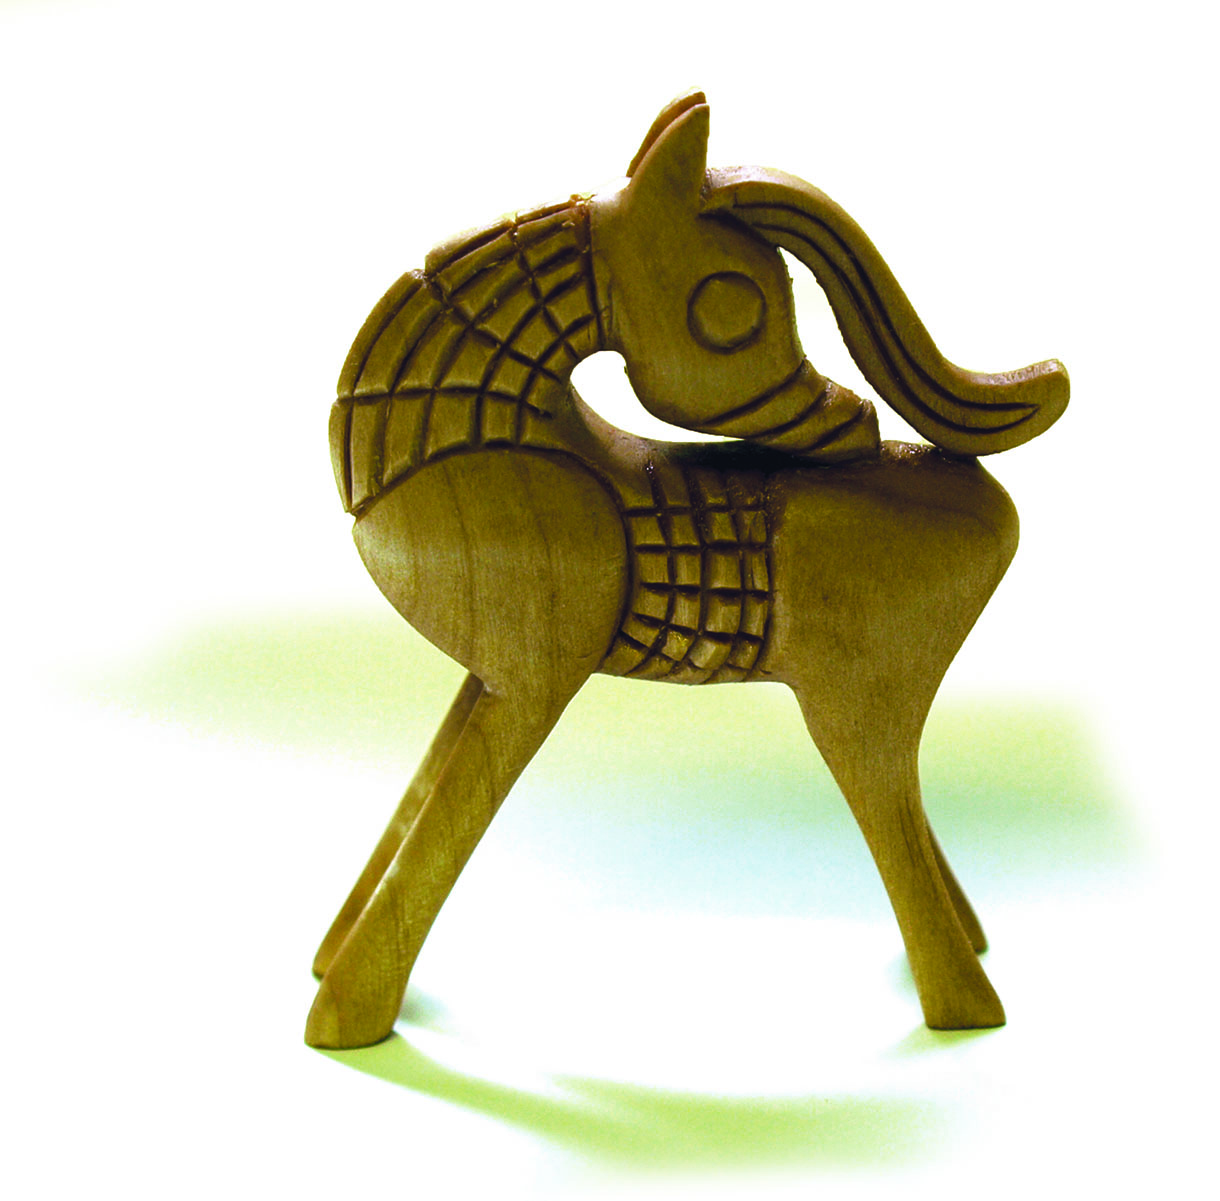
13. Repeat the pencil lines and careful ‘V’ grooving to create the crosshatch pattern. On the original piece, the cross work occurs on the sides of the neck and body, but not on the top and underside. It’s pretty difficult to get in under the head, so I left that area unfinished too
Top tip
It’s fiendishly easy to break bits off the cross-hatching if you aren’t extra careful with your cutting. Keep all your cuts shallow and work your depths in two or three passes rather than trying to do it in one swoop.
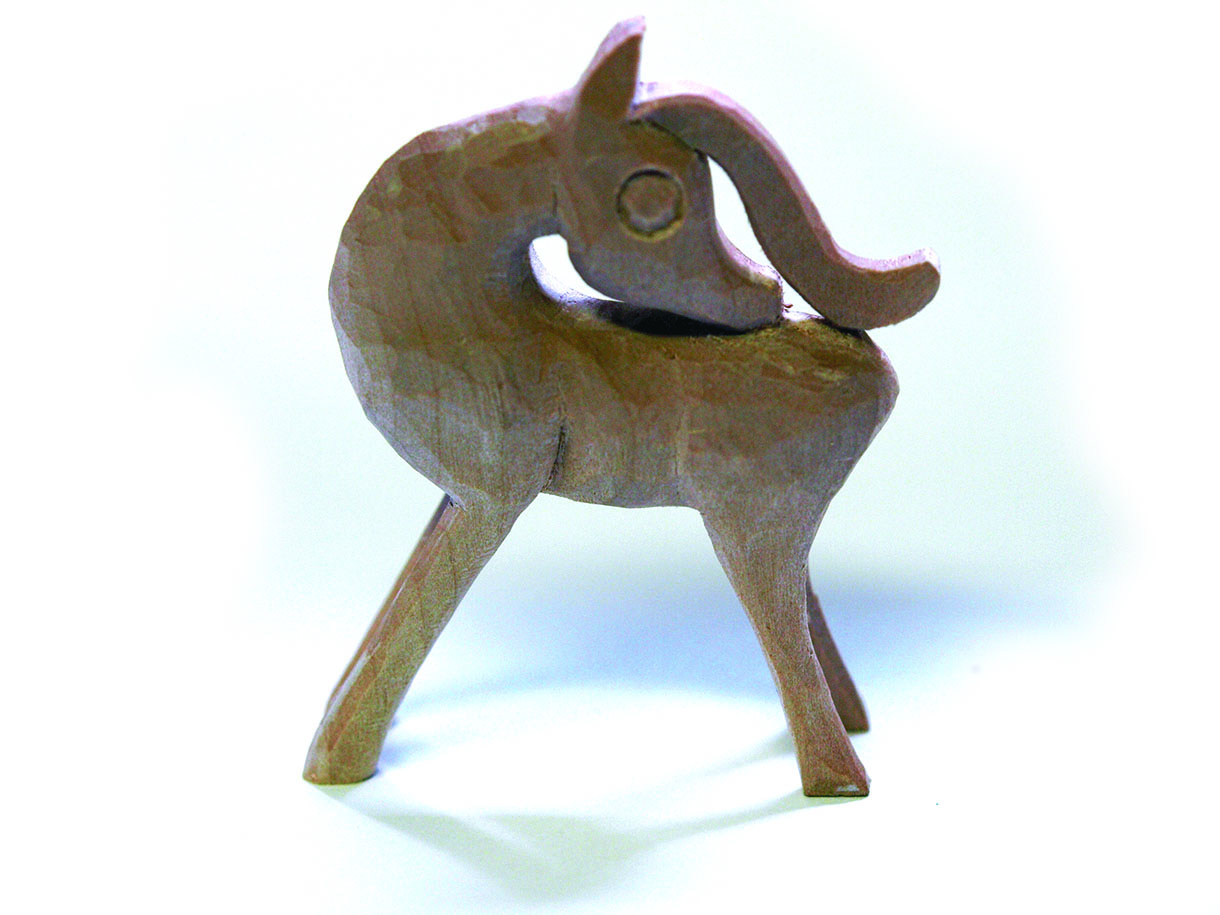
Finishing
The reindeer is complete and all that remains to be done is some final sanding and cleaning up. Apply a couple of coats of Danish oil and buff off beeswax polish and leave it at that. I think this little fellow works best with a light, satin finish that lets you feel the wood when you handle it.


