Getting Started with Chip Carving:
Murray Taylor takes you from sharpening your knives to making your first triangular chip cut.
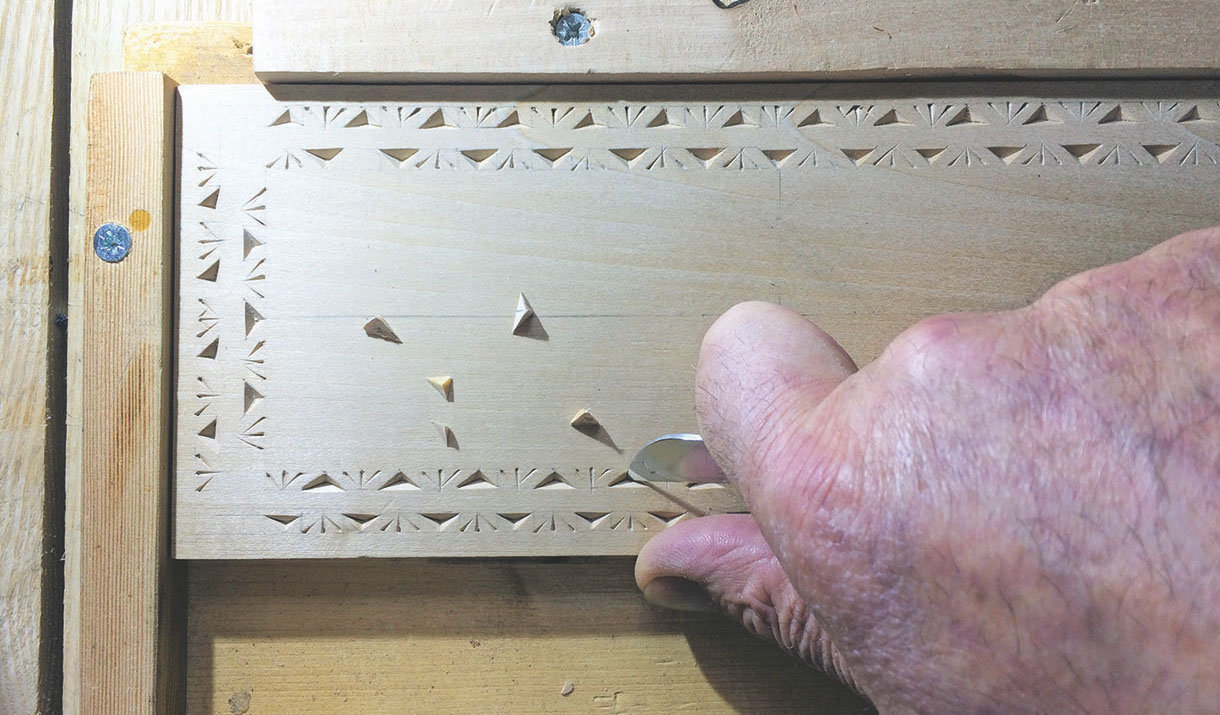
Murray Taylor takes you from sharpening your knives to making your first triangular chip cut
I would like to take you through the process of sharpening, choosing your wood, carving positions, drawing a grid, and on to your first cuts. I have taught a lot of people the art of chip carving and the greatest difficulty they seem to have is getting to grips with sharpening. I hope to break this down into a series of logical steps and try to remove the feeling that it is a ‘black art’.
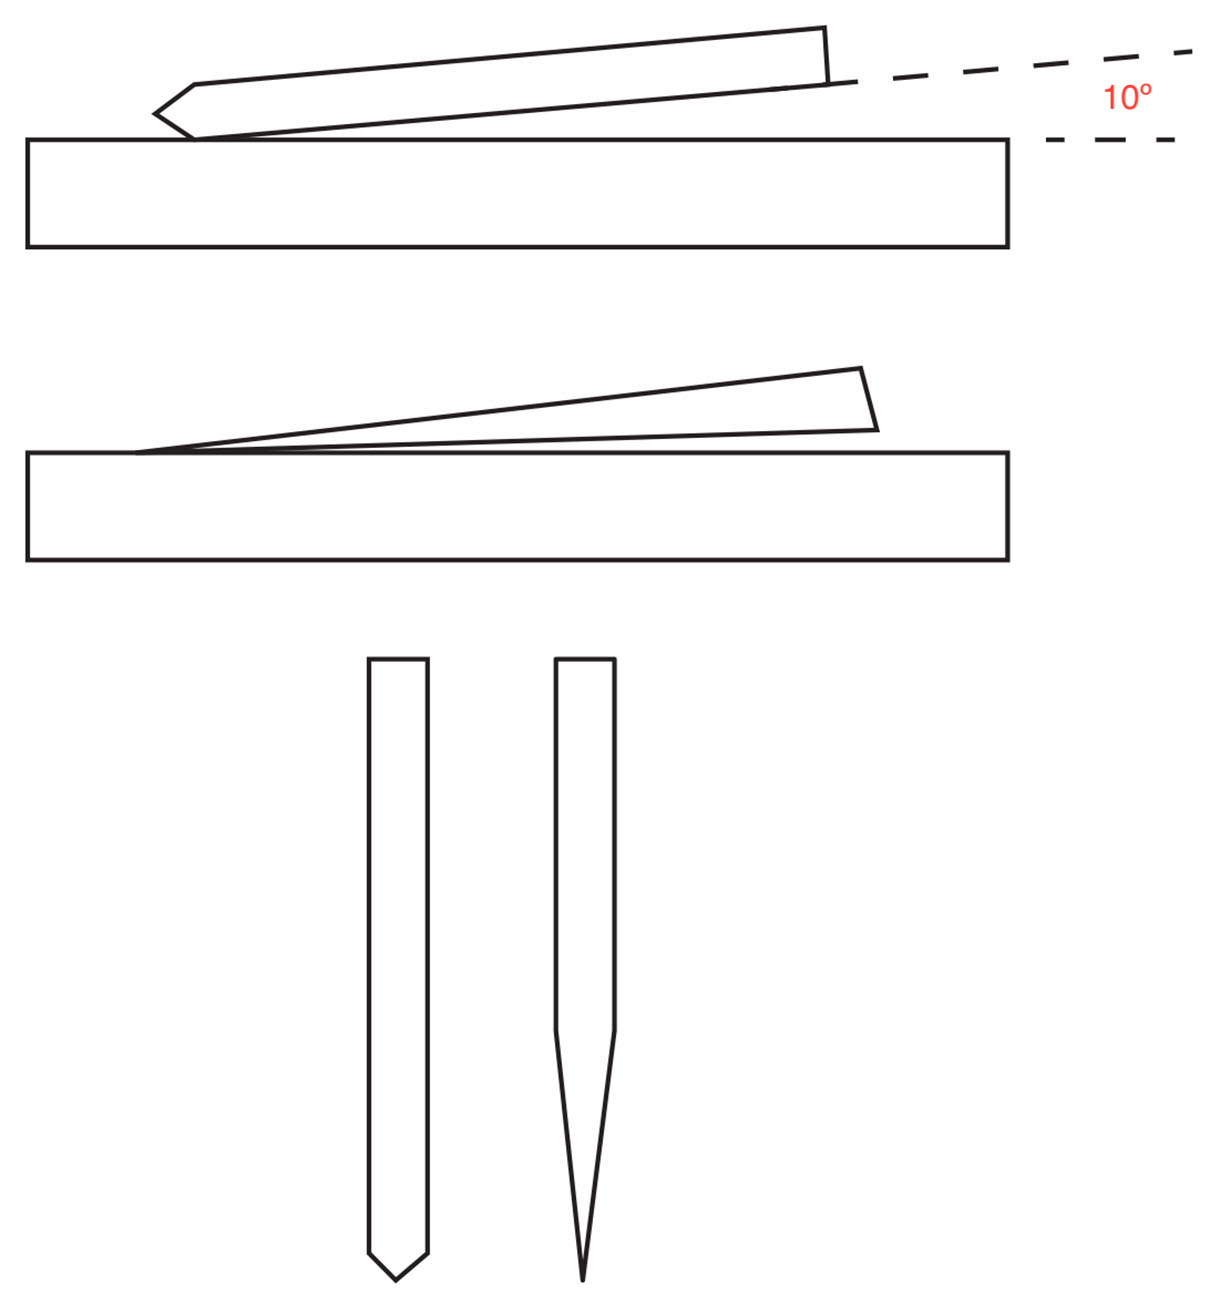
What we are trying to achieve is a blade that tapers from the back edge to the cutting edge as a smooth taper, culminating in a fine micro-bevel. The sides of the blade and the bevel should be finished to a high polish such that, when drawn across the end grain of a piece of wood it cuts very easily without any tearing or jagging and leaves a silk-like finish.
The process of sharpening can be broken down as follows:
1. Examining the blade
2. Deciding where the sharpening process should start
3. Removing unwanted metal
4. Honing
5. Polishing
When you are commissioning a new blade examine it carefully for factory grinding marks, straightness, a pronounced secondary bevel and nicks in the cutting edge. This is best done with the aid of a magnifying glass. If there is a major defect ask for the knife to be replaced.
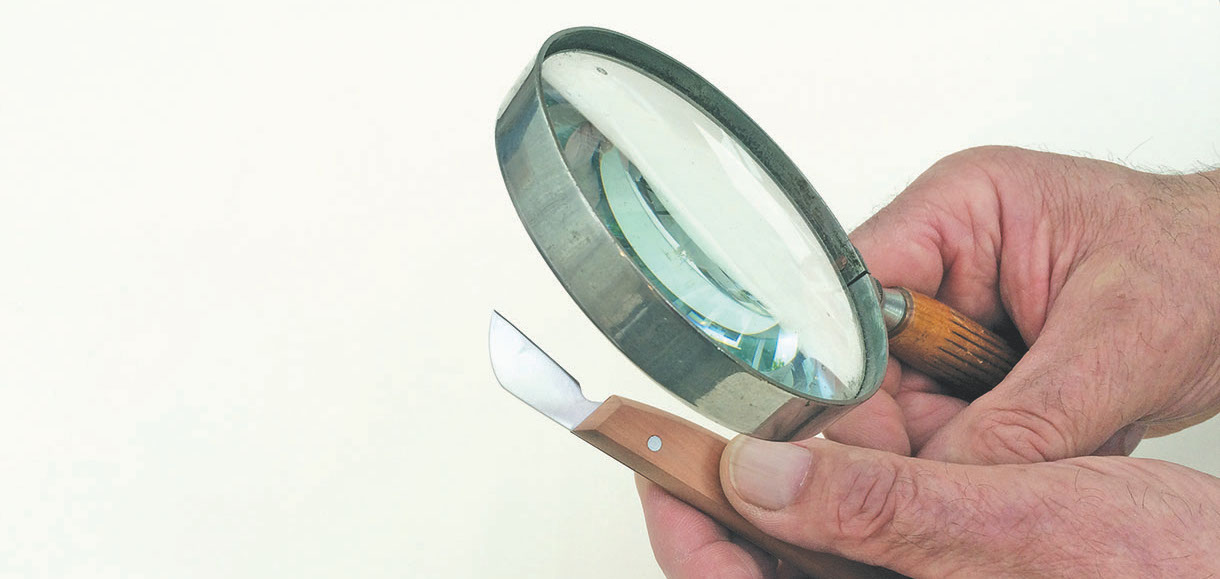
Examining a blade
Deciding where to start
If the examination of the blade proves to be satisfactory and there are no glaring faults then you can start to sharpen it. I use ceramic stones. Ceramic stones come in two grades, described as medium and fine. However, in reality the grey stone is fine and the white stone ultra-fine.
Ceramic stones are available as bench stones, 200 x 50mm portable stones which are suitable for a tool box 100 x 50mm and as a very portable double-sided stone 125 x 25mm. Ceramic stones are incredibly hard, long lasting, do not wear out and can be used dry. On the other hand they are expensive and brittle but seem to be the preferred sharpening medium for many chip carvers. There are, however, alternatives such as diamond plates from coarse to ultra-fine, water stones, microfilm abrasives and cutting pastes that are applied to flat plates and honing using a piece of MDF or leather as a base for final stropping.

A selection of ceramic stones
Removing unwanted metal
If a lot of metal needs to be removed because there is a pronounced secondary bevel for example, then it is quicker to use a diamond stone, usually starting with a 600 grit and going on to a 1200 before finishing on the ceramic stones. Diamond stones are readily available in many sizes and grades, but just remember that you get what you pay for.
Top tip: Do not try to use any kind of power sharpening device – you will probably ruin the knife and it could be very dangerous.
If you are starting on a diamond stone the blade should be held at approximately 10º to the stone and moved backwards and forwards with the objective of reaching a stage where the surface of the metal runs smoothly from the back of the knife to the cutting edge.
It is important to maintain an even pressure along the length of the cutting edge. As the length of the blade is short compared to the handle of the knife, it is a common fault for the tip of the knife to rise and not be in contact with the stone due to the downward pressure on the handle. This can be prevented by pressing down on the blade.
Move the blade backwards and forwards along the stone until a burr is produced along the cutting edge. You can test for a burr by sliding your finger over the cutting edge as shown in the photograph. When this is achieved you can turn the blade over and repeat the process on the other side.
At this stage, the blade is ready for honing on the grey ceramic stone. Work both sides as before until a fine burr is reached on each side.I know this seems to be a lengthy process but there is no short-cut. A good idea when sharpening knife blades is to have the stone at the edge of a table so your hand does not get in the way. Or you can make a simple raised block to hold your stone.
The last stage of sharpening is to raise a very fine burr on each side of the blade using the white ceramic stone and finally finish the edge on a dressed leather strop so that you have a highly polished micro-bevel. It should be noted that, unlike the honing process, the blade only travels on the strop with the cutting edge trailing – in this way the blade will not cut into the leather.
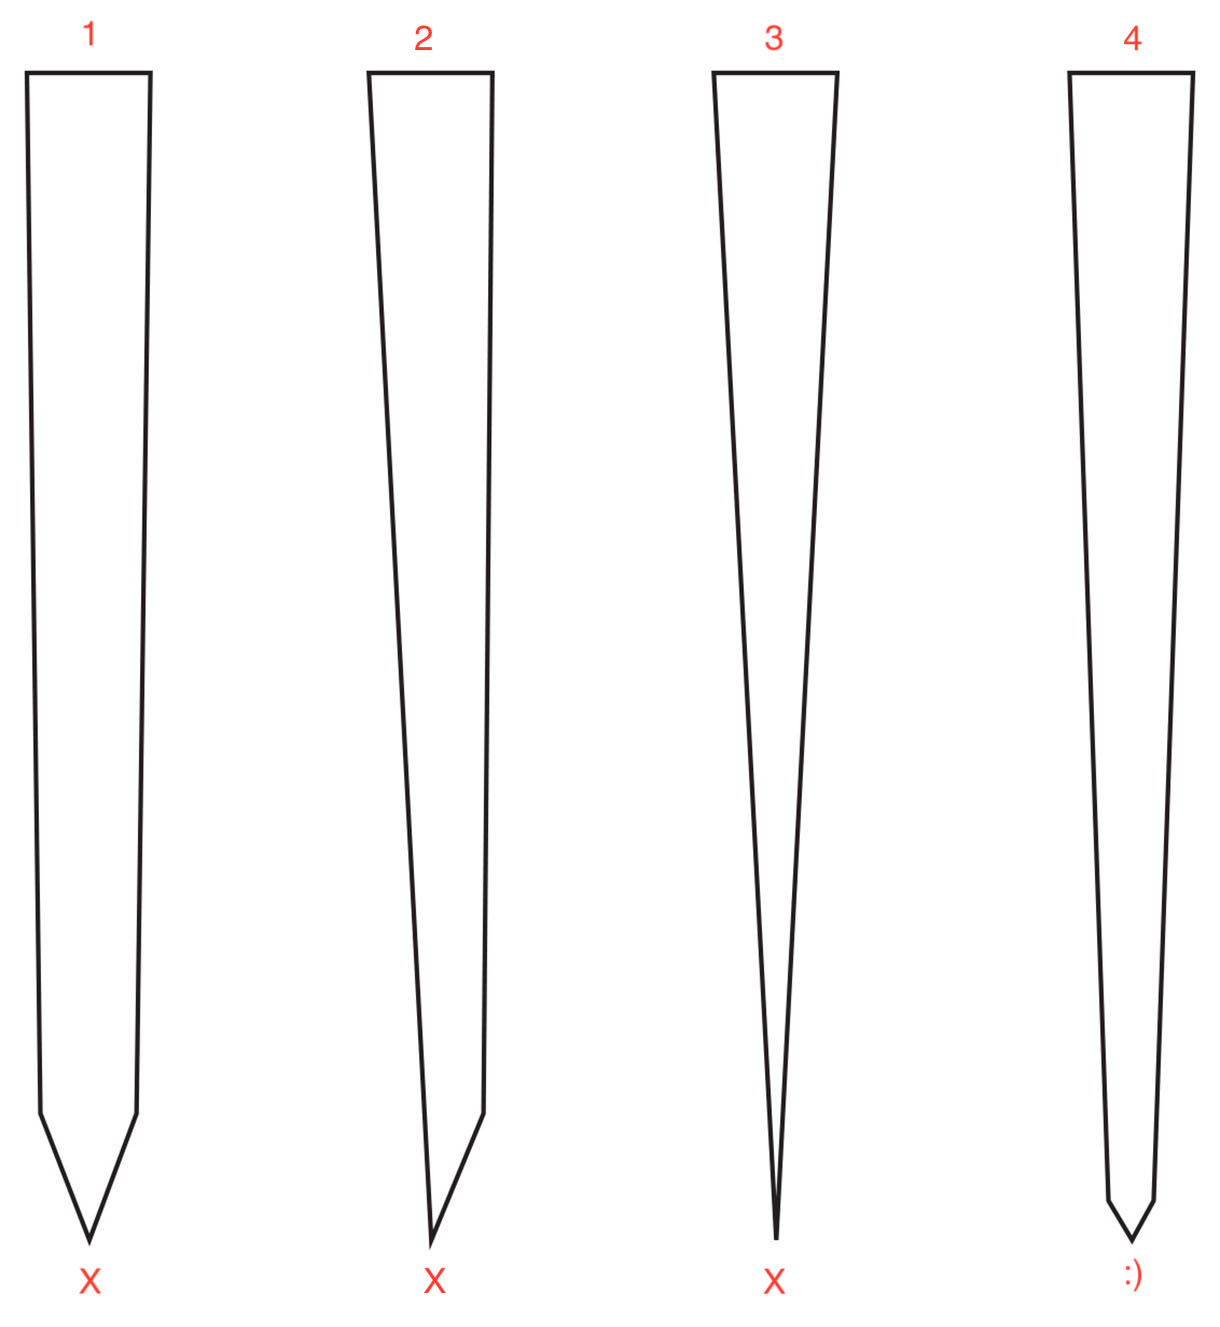
Blade sections:
1. Secondary bevel too large 2. Sharpened to one side 3. Too fine an edge 4. Correct profile with micro-bevel
Angle of working on diamond stone
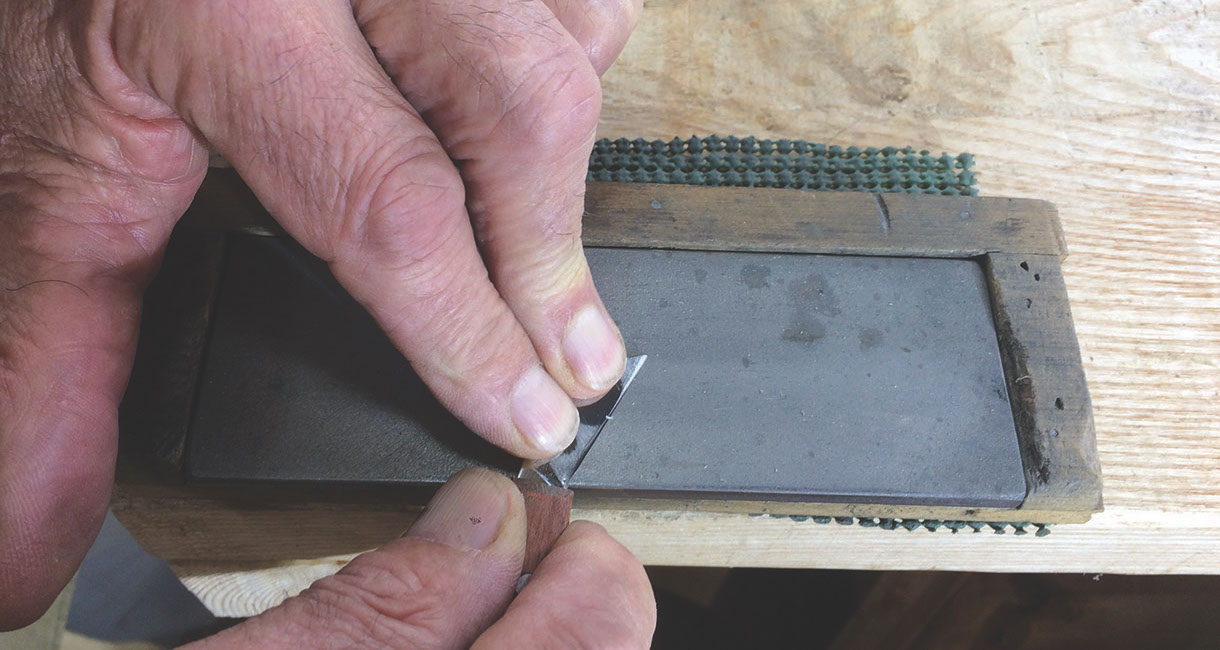
Keeping an even pressure on the blade
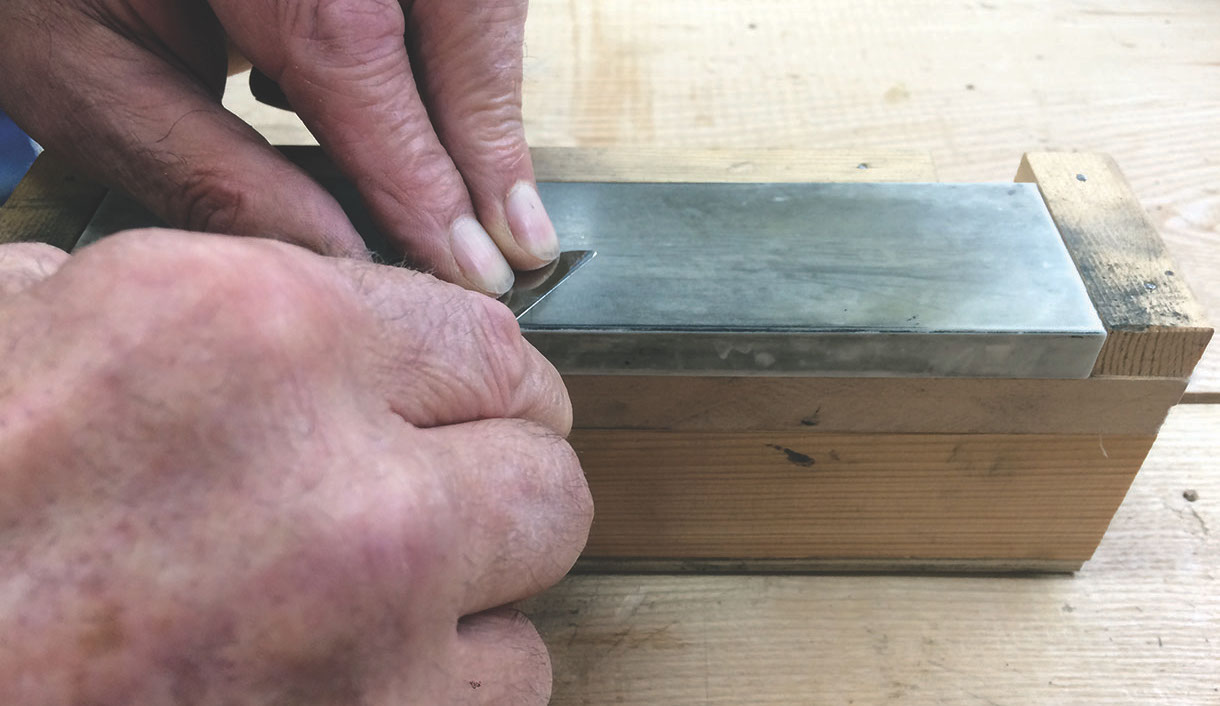
Using a raised block, put your blade flat on the ceramic stone, then raise the back edge no more than 1mm
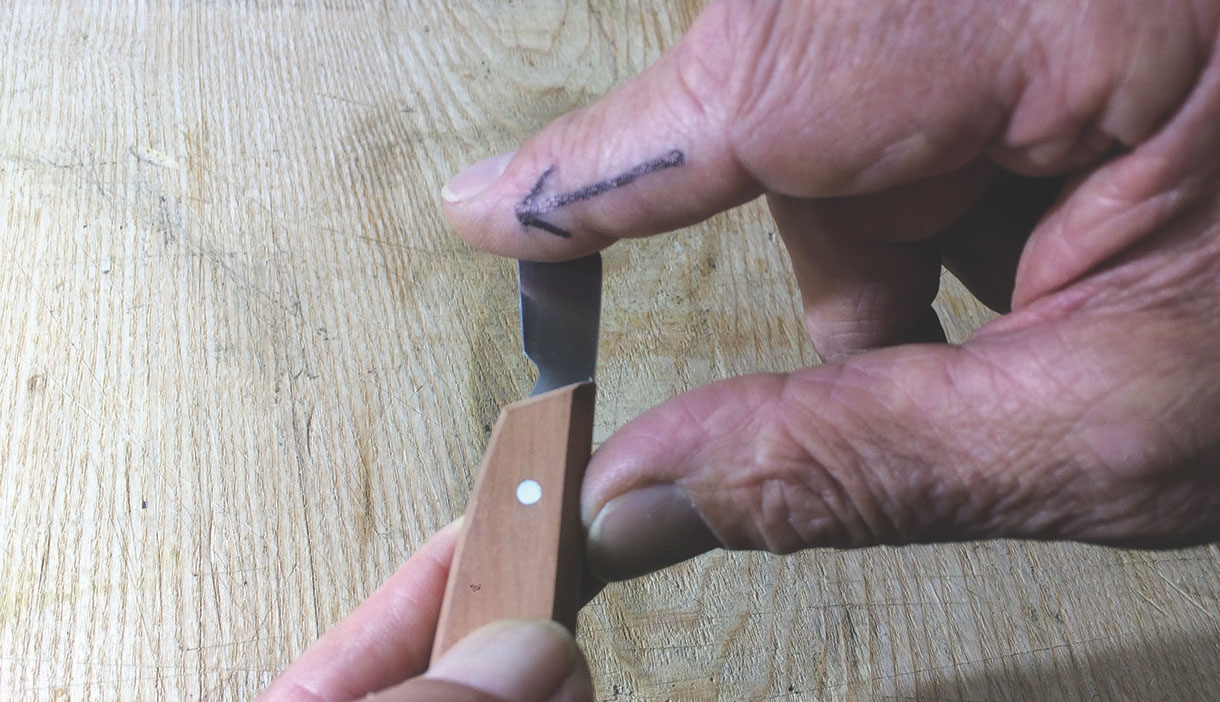
Testing for the burr
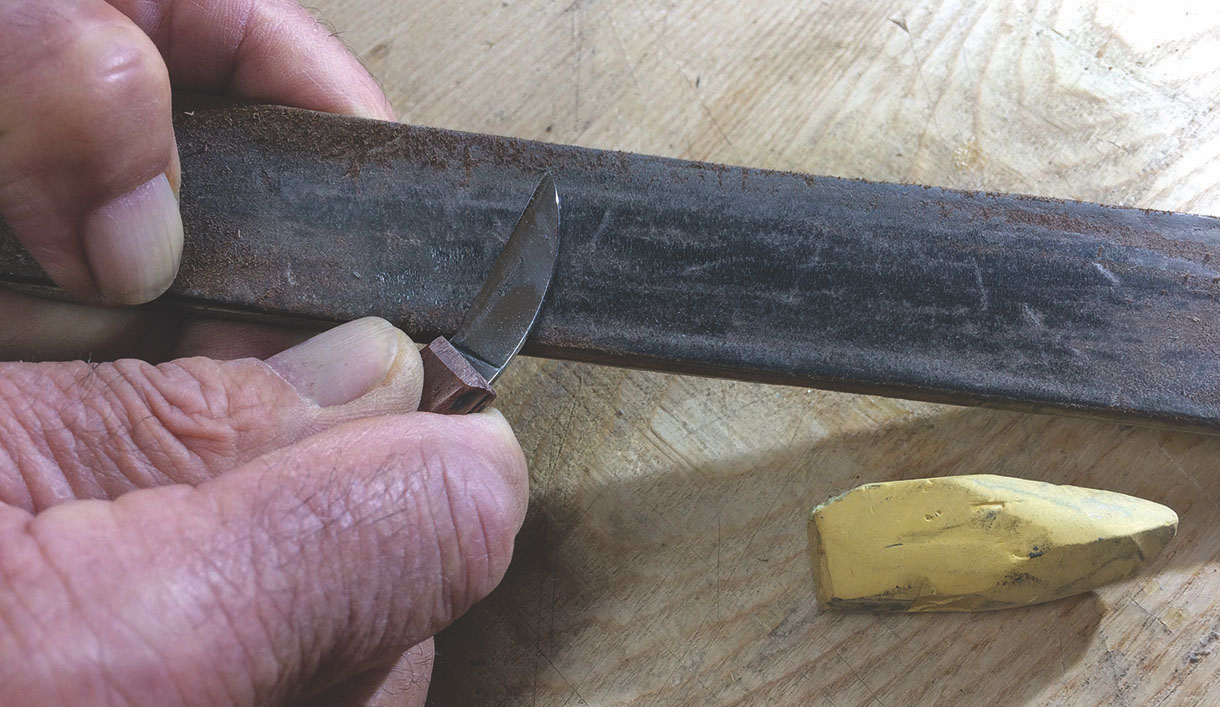
Stropping a blade
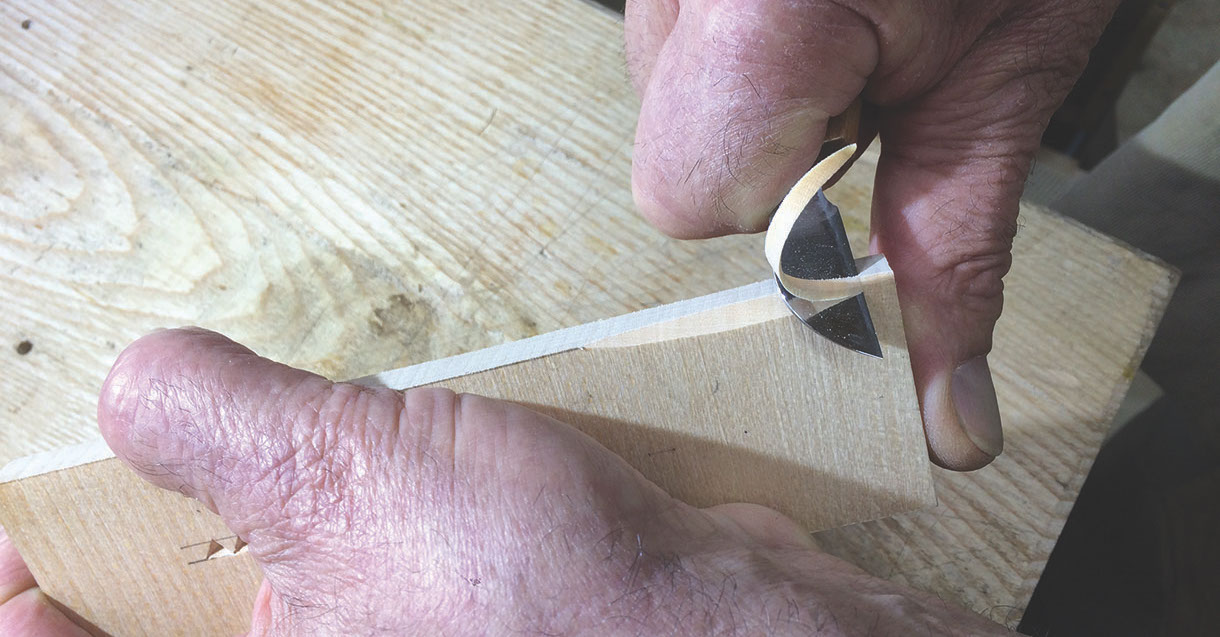
Testing the blade sharpness on some wood
Choosing your wood
When you start chip carving, due to their ease of cutting, it is best to use, either lime (Tilia vulgaris) or basswood (Tilia americana). You will need a practice board of approximately 200 x 150 x 13mm – the dimensions are not critical but this is a convenient size to hold. The surface should be smooth and clean. The old books always stated that they should be planed and that sandpaper should not be used as silica residues can damage a blade. These days modern abrasives are very suitable to sand the surface.
Lime is readily available but basswood is a little more difficult to obtain in the UK, however it is available in prepared boards which are excellent for beginners as it is a little softer than lime. Once you are proficient at chip carving you can try woods such as walnut (Junglans spp.), beech (Fagus spp.) or even sapele (Entandophragma cylindricum). Your knife needs to be very sharp and the chip size small.
One of the great advantages of chip carving is that you do not need a lot of space. There are two schools of thought regarding the carving position – some people find it more comfortable working at a table while others work on their knee. Both work well but we must pay due regard to safety. If you work at a table you need to use a modified bench hook, or at least a piece of non-slip matting, and if you work on your
knee it is best to use a cushion and carving board. Not only does this protect you but also raises the work to a more comfortable position.
Although accidents in chip carving are rare it is better to be safe rather than sorry, so I would suggest that you wear a protective glove on your free hand if you feel more comfortable that way. As I said in the last article, the thumb of the knife-holding hand should always rest on the wood. In this position the knife will not slip and you are very unlikely to cut yourself. However, if you feel more comfortable you could wear a glove on this hand as well. You should sit in a comfortable position and have adequate lighting. There are small portable, rechargeable LED lights which are ideal for the purpose.
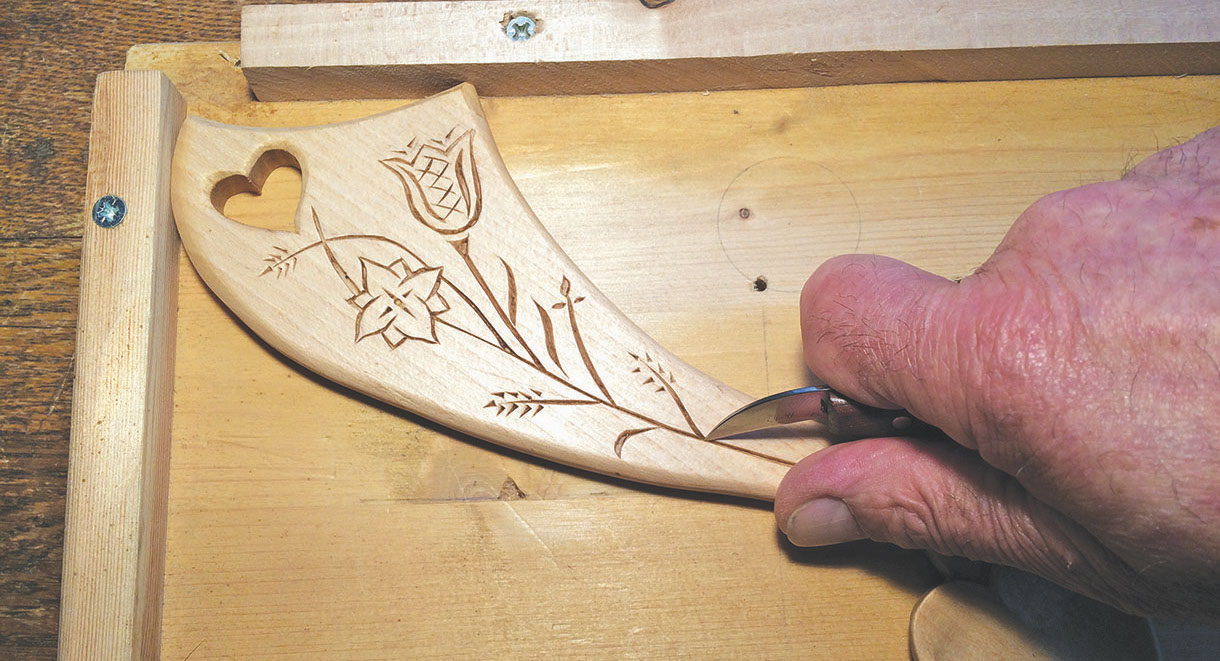
Using a modified bench hook
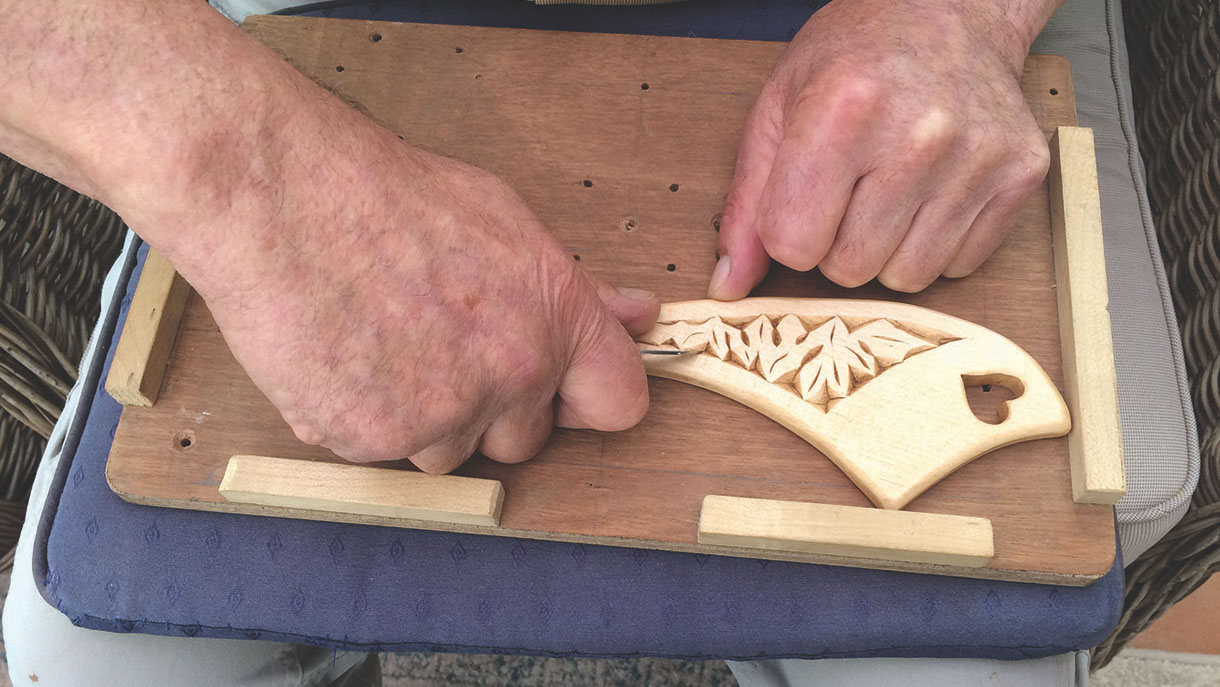
Working with a cushion and carving board
Making your first cuts
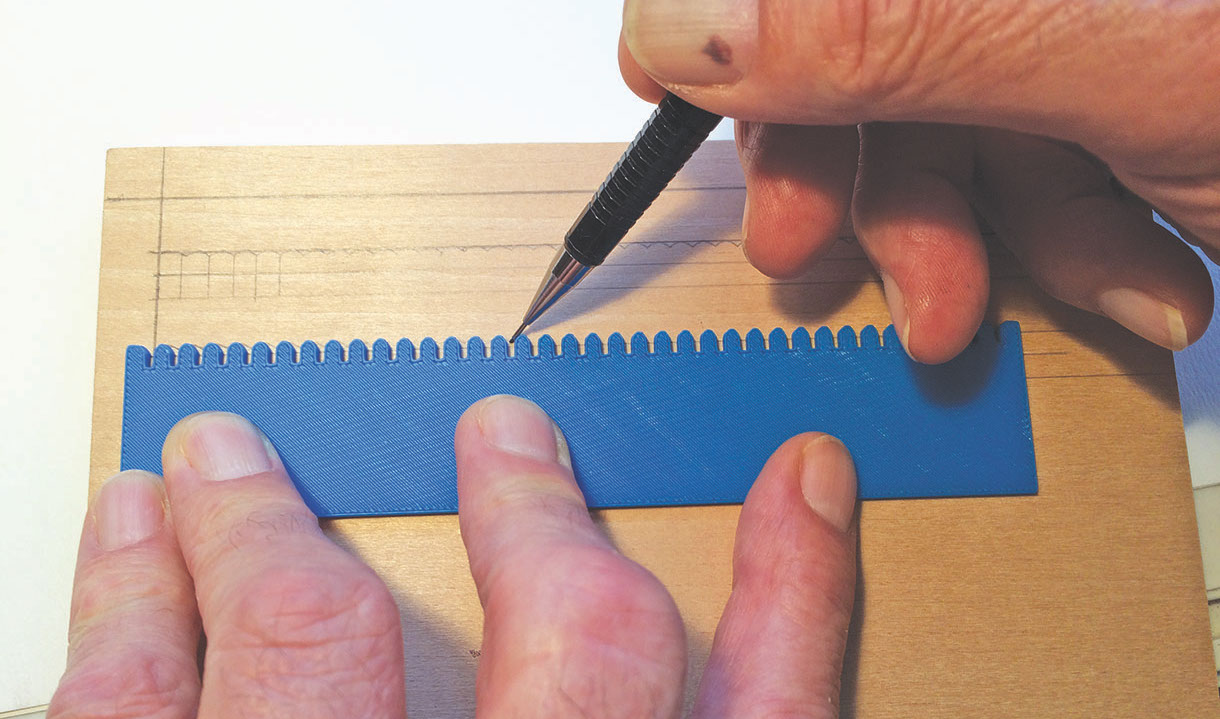
Showing 4mm grid and using a 4mm template
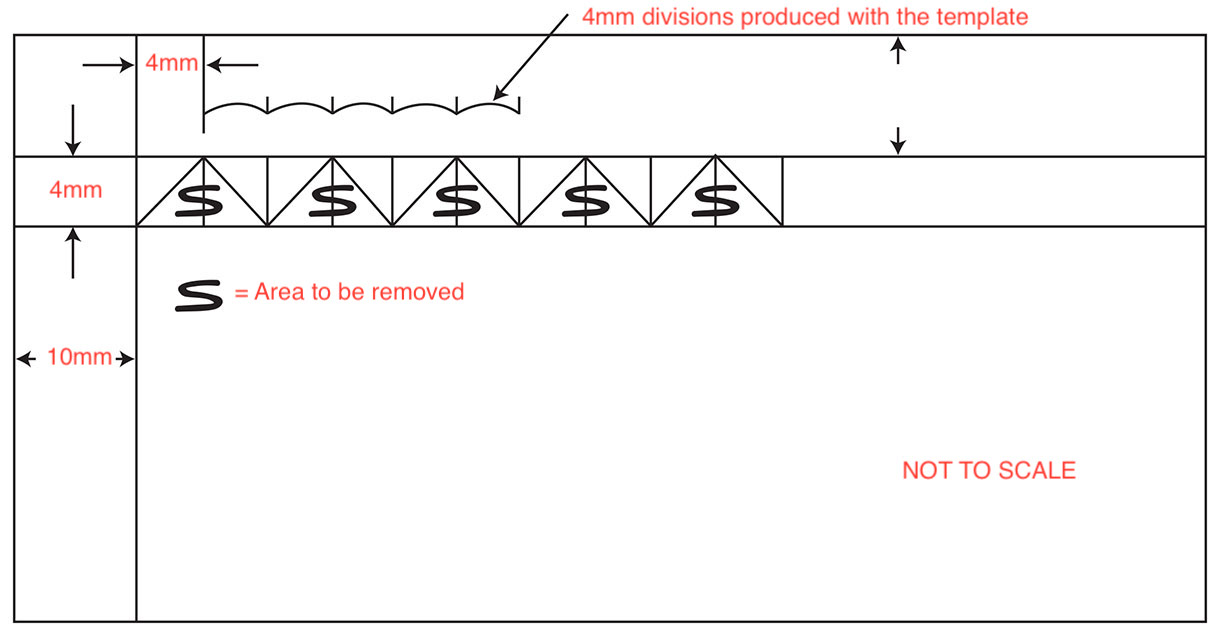
Marking the triangles

Showing the cutting angle of 650 and the order and direction of cutting a triangular chip
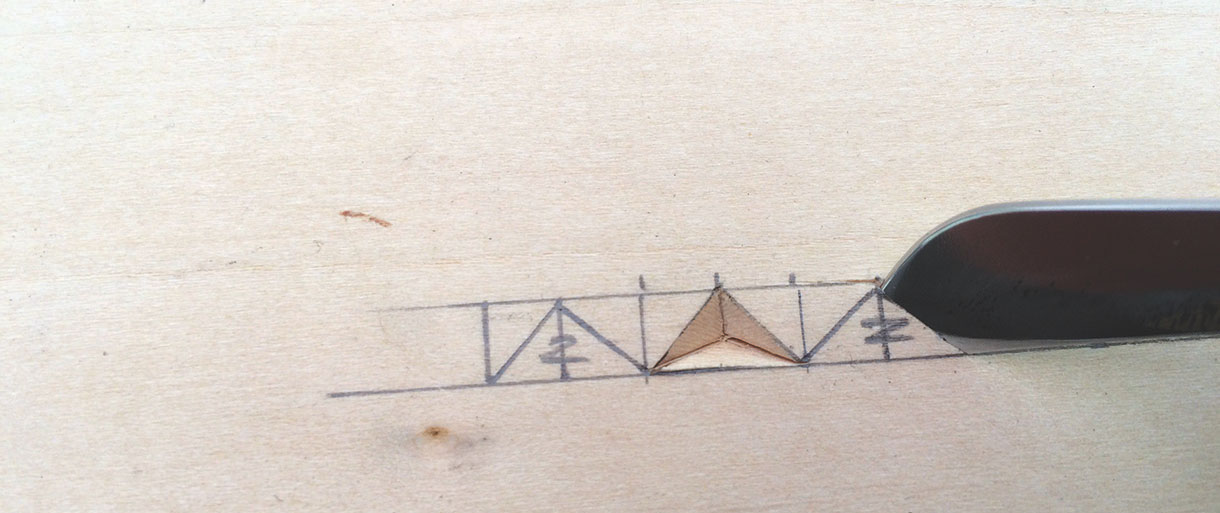
The three cuts to release the chip. Cut 1
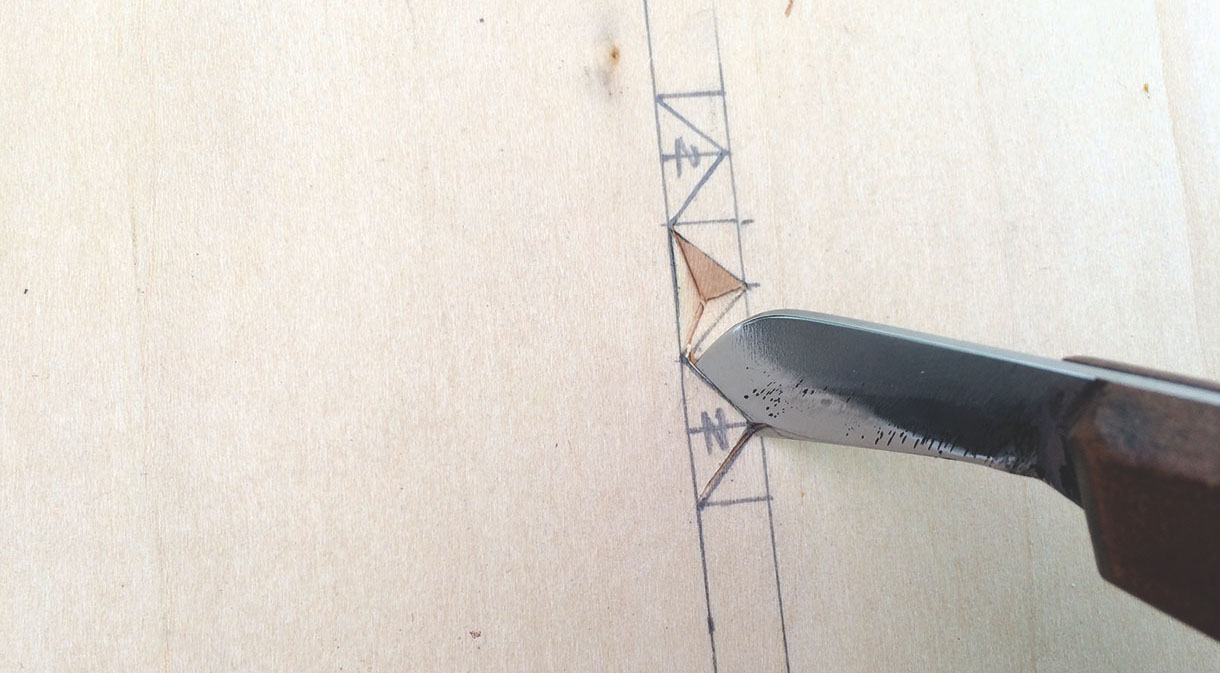
Cut 2
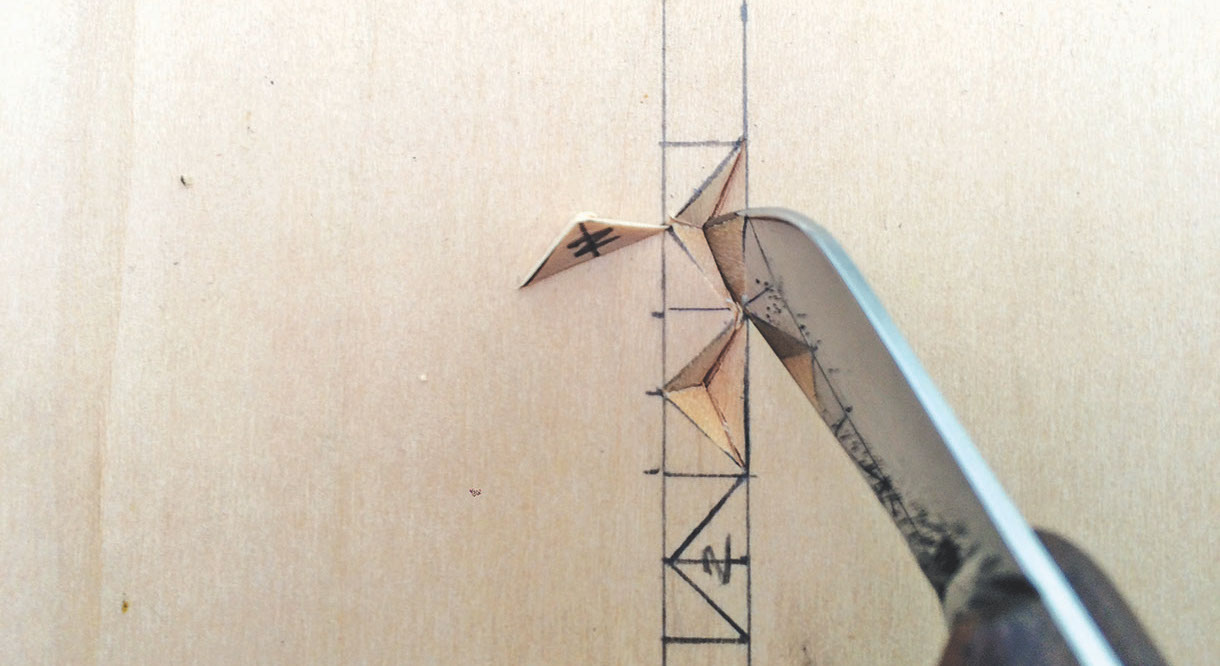
Cut 3
You are going to start by cutting a basic triangular chip and if this is done correctly with the cutting angle maintained at 65º for the three cuts, you will end up with a chip in the form of a pyramid. Using your T-square, draw two lines 4mm apart on your wood, as shown, then mark off a series of 4mm divisions along the top line from which you can use your T-square to draw the vertical lines to form the 4mm square grid.
I know that marking divisions at 4mm intervals can cause problems but, with a clearly marked ruler and a lot of patience, you can get a very accurate grid. Alternatively you could use a template with 4mm divisions. Just place the template on your practice board and run your pencil along it. This will produce a series of scallop-shaped marks exactly 4mm apart, from which you can mark your grid as described above.
Now join up the diagonal corners of the grid to form triangles.
Top tip: Before starting on your cuts, it is a good idea to mark the area of wood to be removed as it is easy to get confused when you first start.
Holding your cutting knife at an angle of 65° as shown, make your first cut by pushing the knife down into the wood, as in the diagram. At this stage, it is necessary for you to imagine the pyramid that you are going to remove and the position of the knife point in relation to the apex of the inverted pyramid. When you have made your first cut, rotate the board to make the second and third cuts. If you have done this correctly the chip will just pop out, if it does not you will need to go round the cuts again.
CAUTION: Never try to prise a chip out with your knife, –you could damage your work or, more importantly, you could damage the tip of your knife.
Some books on chip carving refer to the use of 5mm and even ¼in grids, but I do not recommend that you use them until you have mastered using the 4mm grid, as you will find the larger chips very hard to remove.
DID YOU KNOW: The pyramid-shaped chip that is removed using a 5mm grid is twice the volume of one from a 4mm grid and therefore much harder to remove.
There are chip carvers who advocate the use of two ways of holding the cutting knife. The first is the way I have shown, where the thumb is resting on the wood and, for the second cut, to flip the knife over and rest the thumb on top of the blade. Most of the people I have taught find this flip-over hold very difficult and personally I do not like the idea of taking my thumb off the wood for safety reasons. If you are comfortable with this method it should be noted that the order of cutting the triangle is the same but the direction of the second cut is reversed.
The stab knife
The stab knife, as the name implies, is used to press into the wood to make a decorative mark. It is held as shown and can be used to make a variety of patterns and enhance geometric or free-form work. Unlike the cutting knife it is sharpened at an angle of 30º on each side. Now that you have made your first cuts you need to master the art of removing triangular chips neatly and efficiently, so I will now impart the secret of achieving this – practice, practice, practice. In this article, we have considered the triangular cut, which is known for obvious reasons as the three-cut chip.
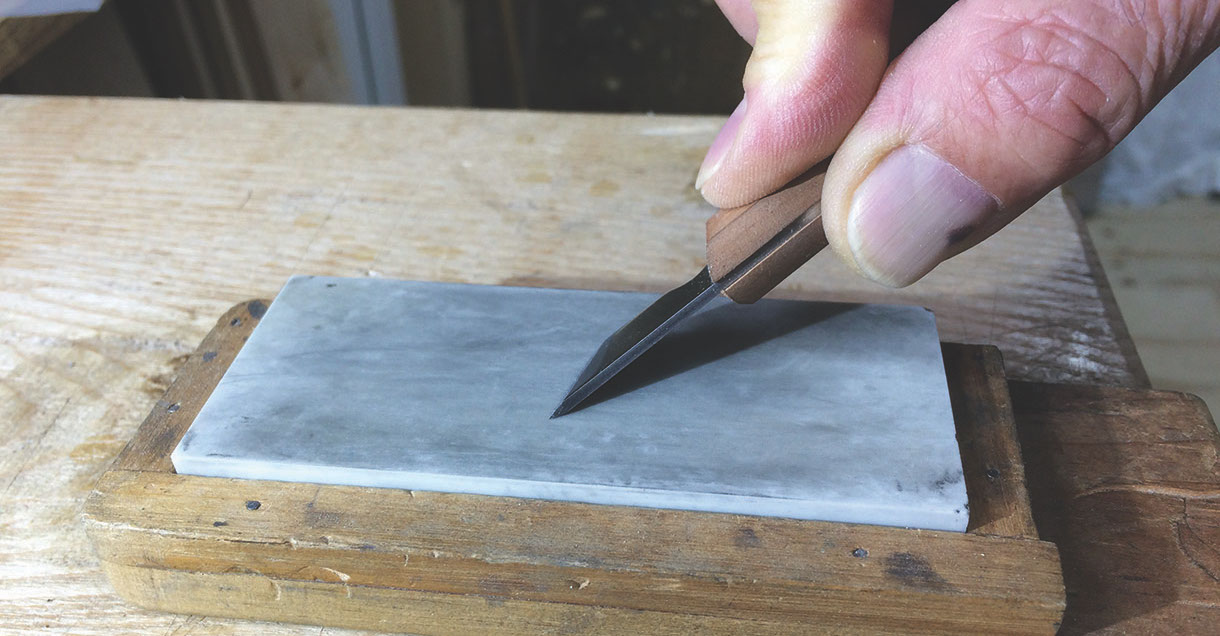
Sharpening the stab knife at 30º each side
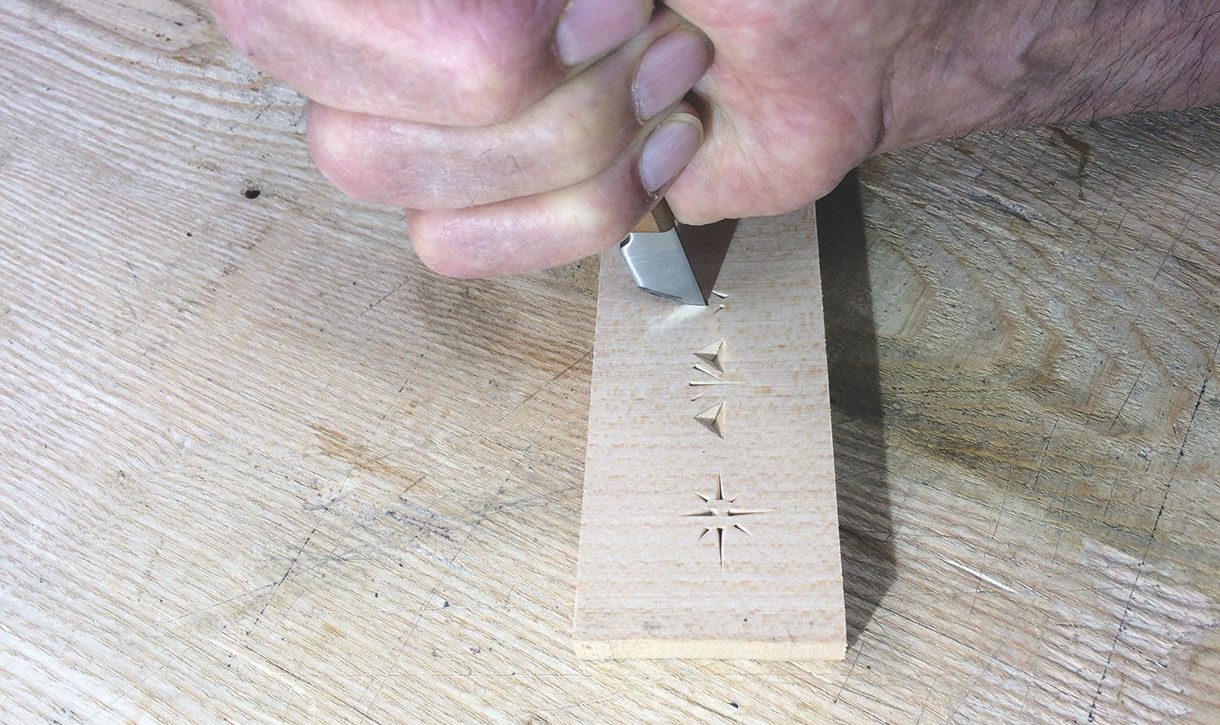
Using the stab knife
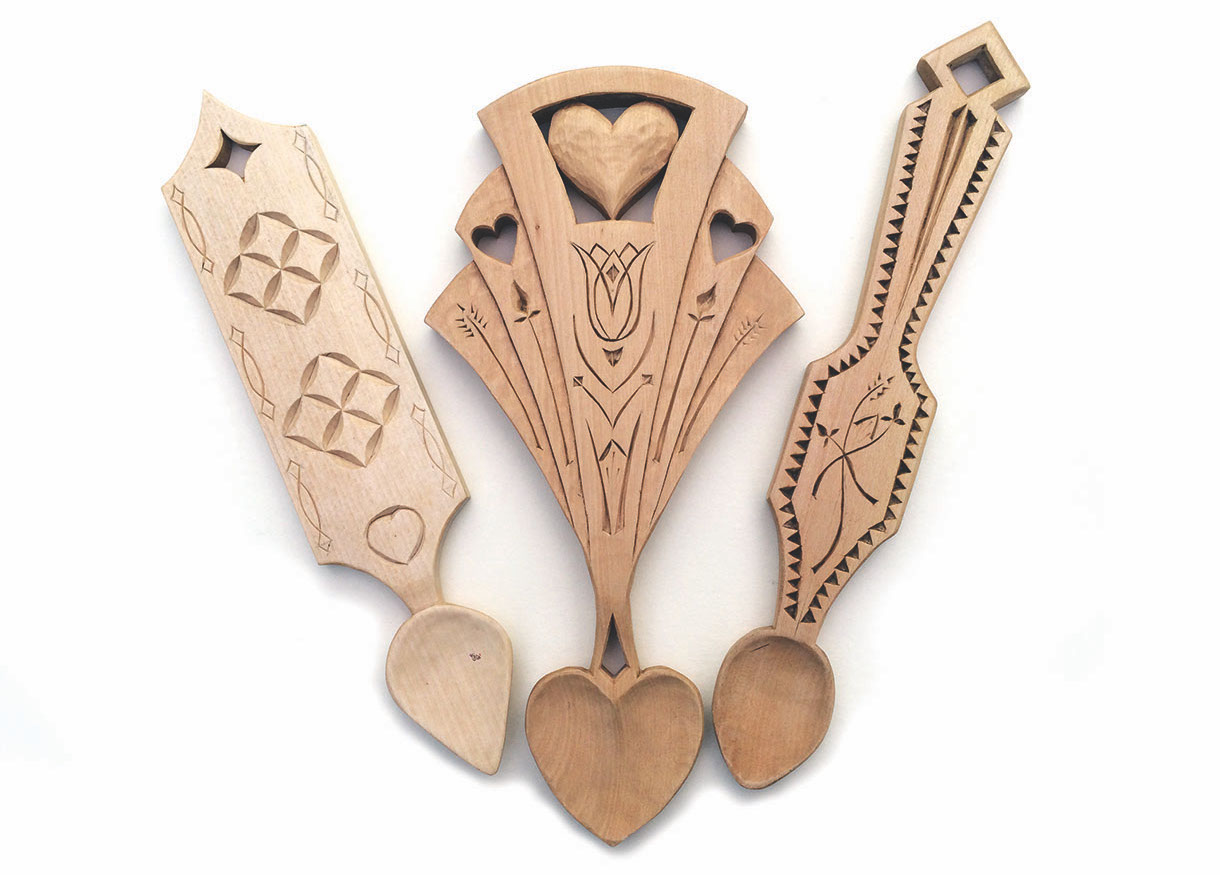
Three simple spoon designs for beginners


