Mirror Restoration:
A discovered bargain antique at the rubbish tip that needed plenty of TLC. The mystery then began…
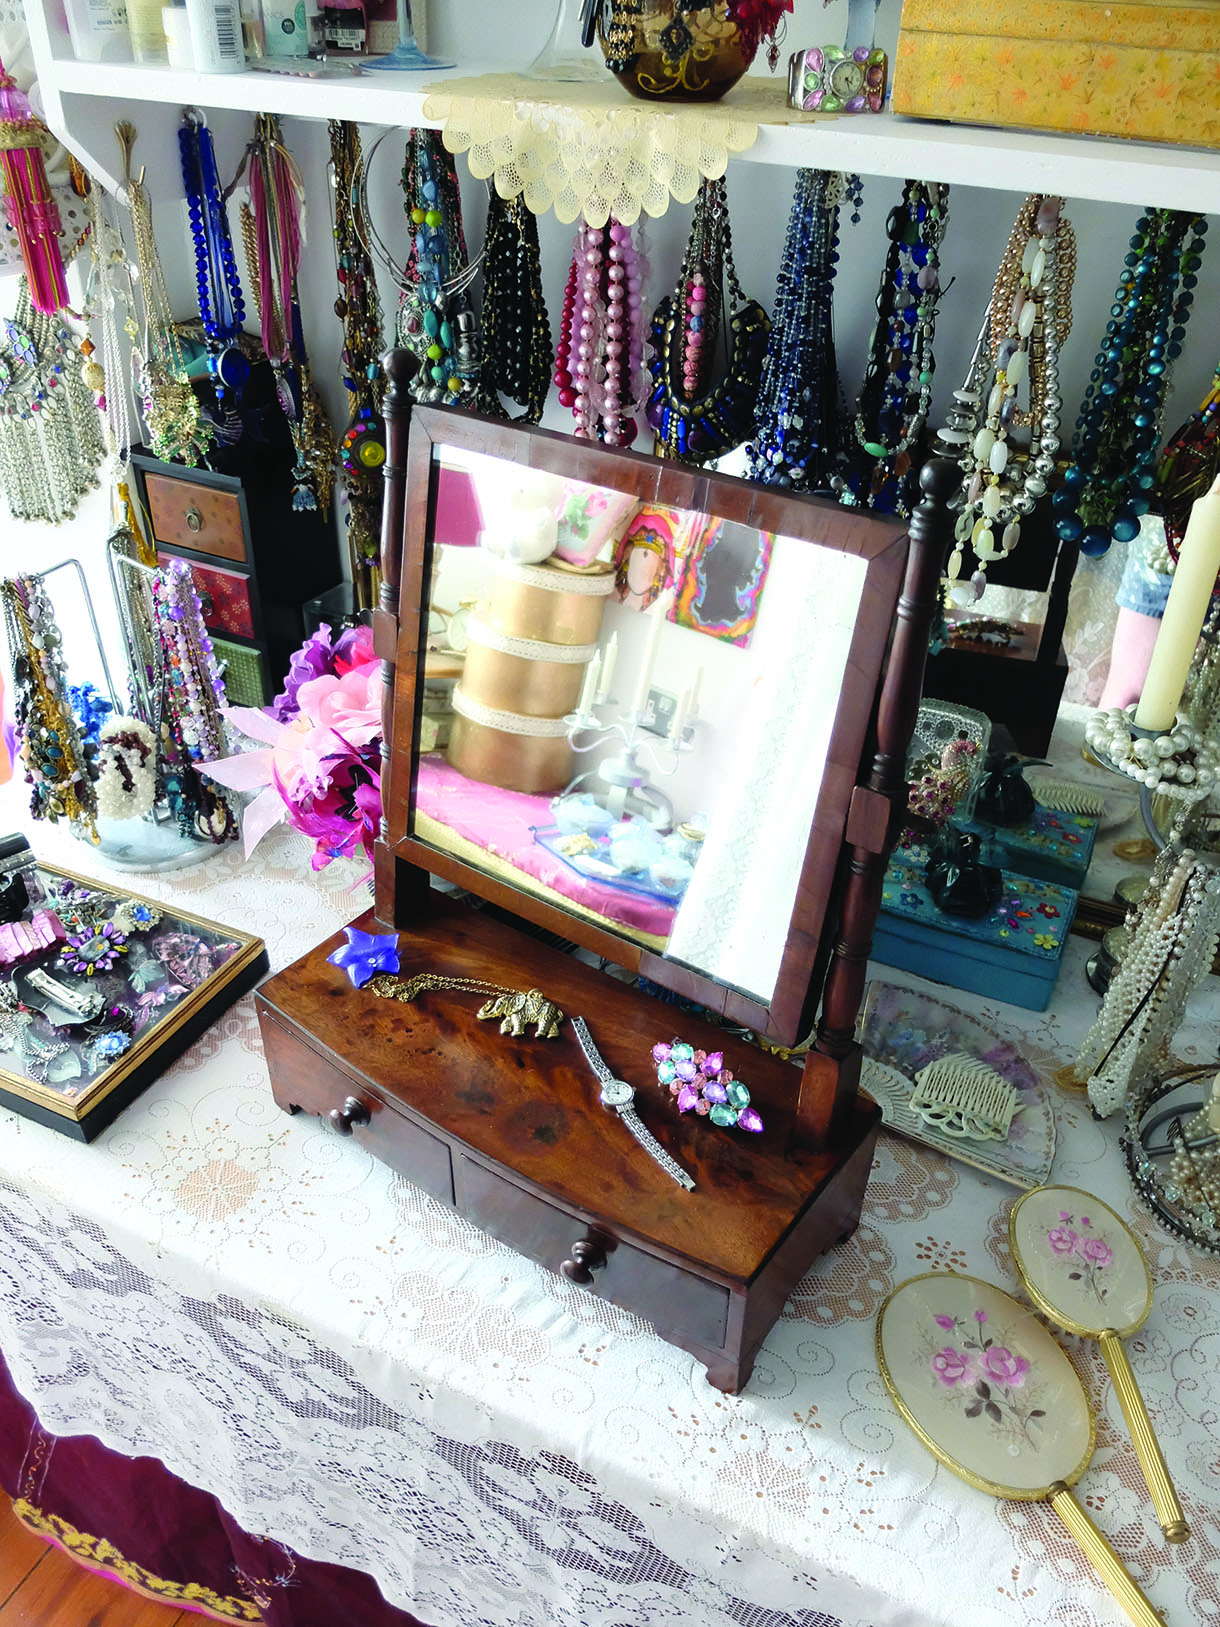
A discovered bargain antique at the rubbish tip that needed plenty of TLC. The mystery then began…
Assessing the find
On the face of it, this was a 19th-century dressing table mirror, known as a toilet mirror in the antiques trade, with a broken frame and some missing veneer. However, whenever considering antique restoration, each item needs very careful examination first. I had some useful input from my colleague, Furniture & Cabinetmaking Editor, Derek Jones to help me. Two pairs of eyes were needed to spot all the telltale signs of an altered piece of furniture. We found plenty of interesting clues.
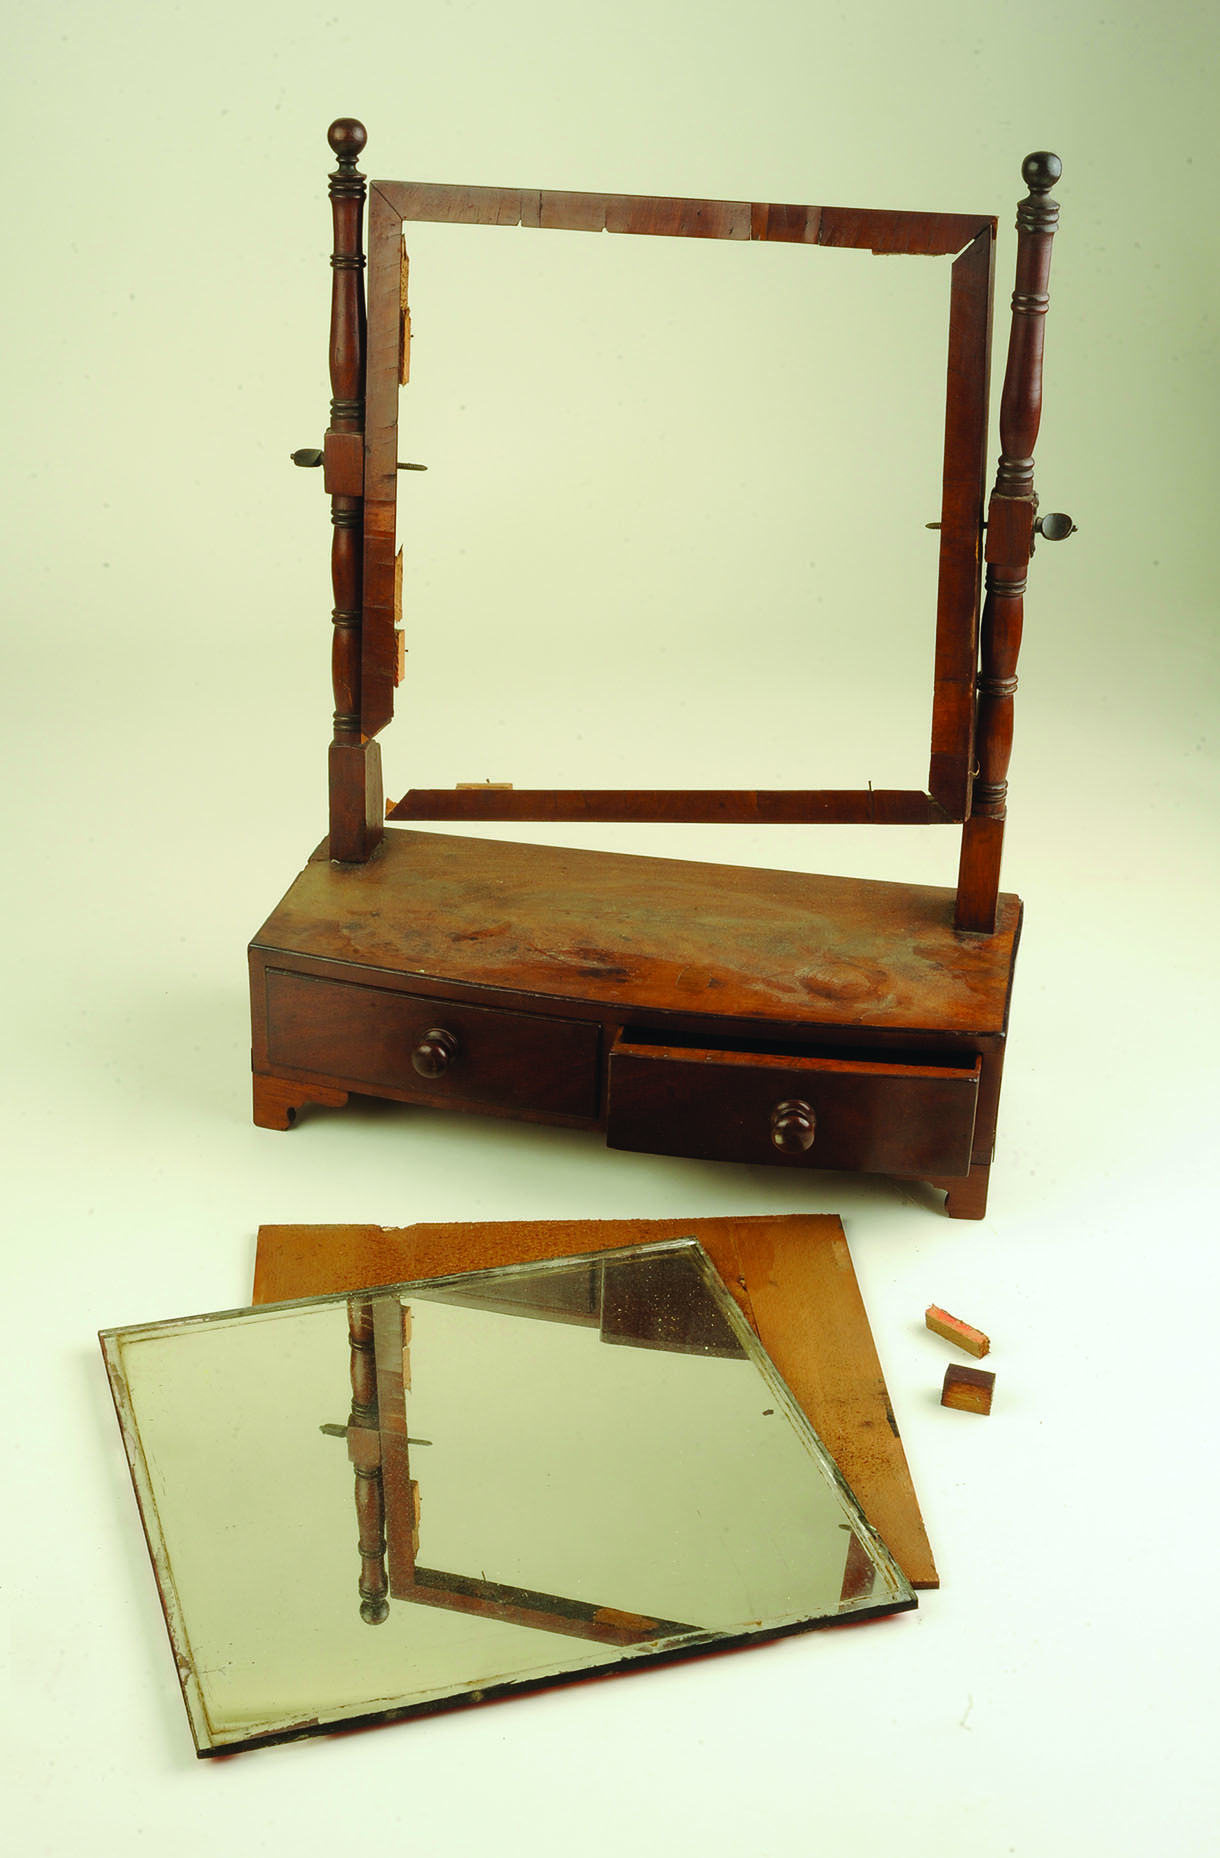
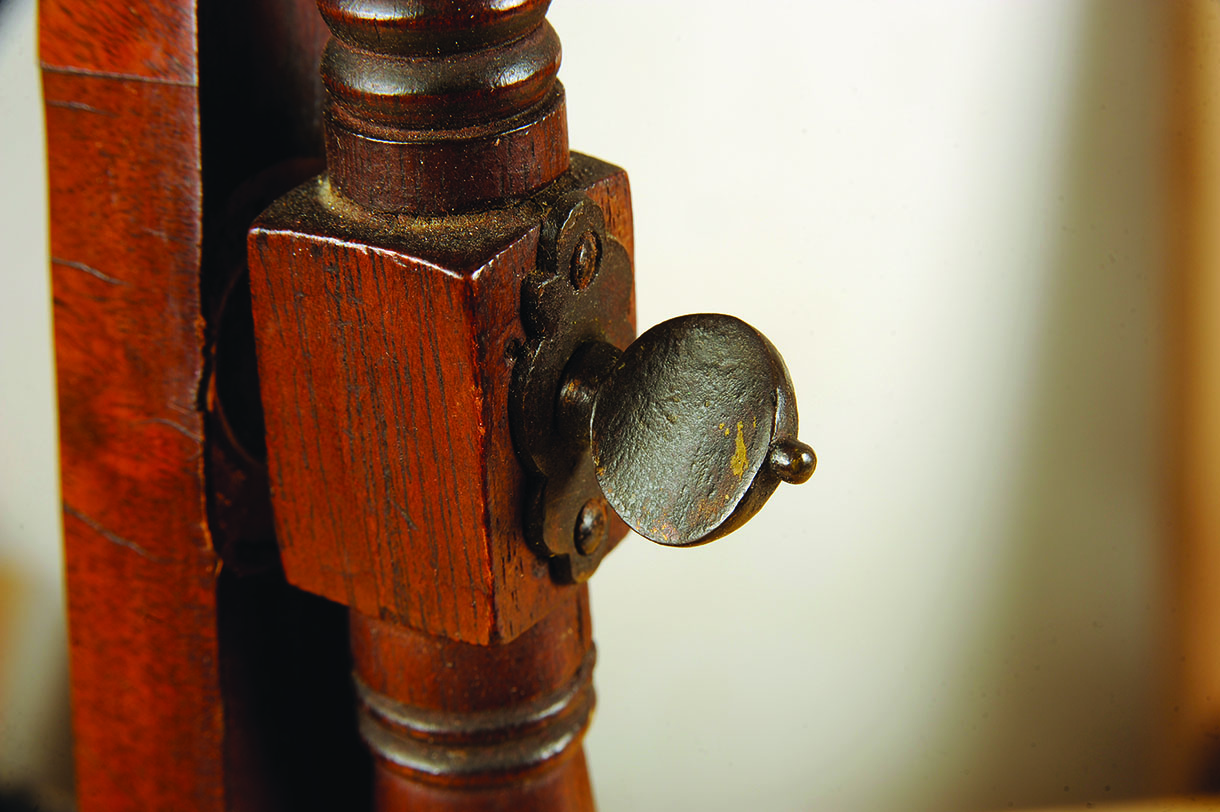
1. The turned mirror supports were suggestive of the Georgian period in their style. The screws that tightened the mirror seemed to be original
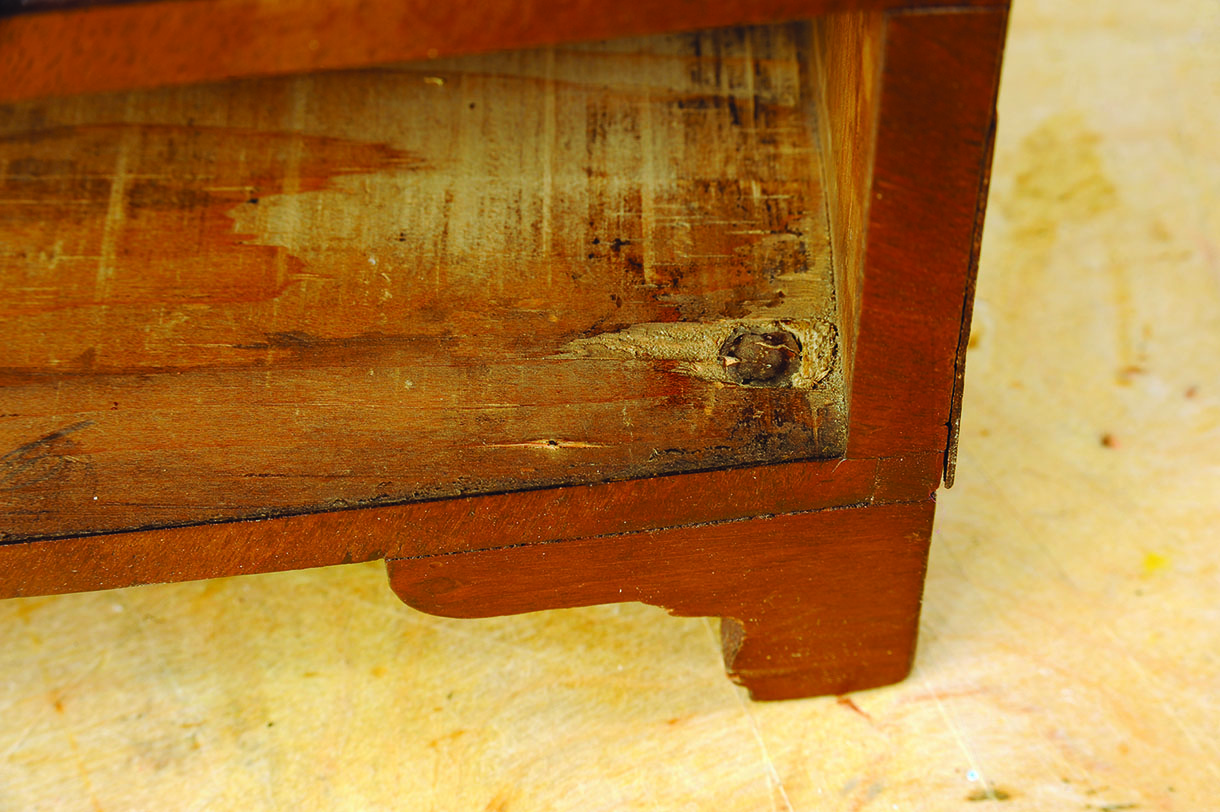
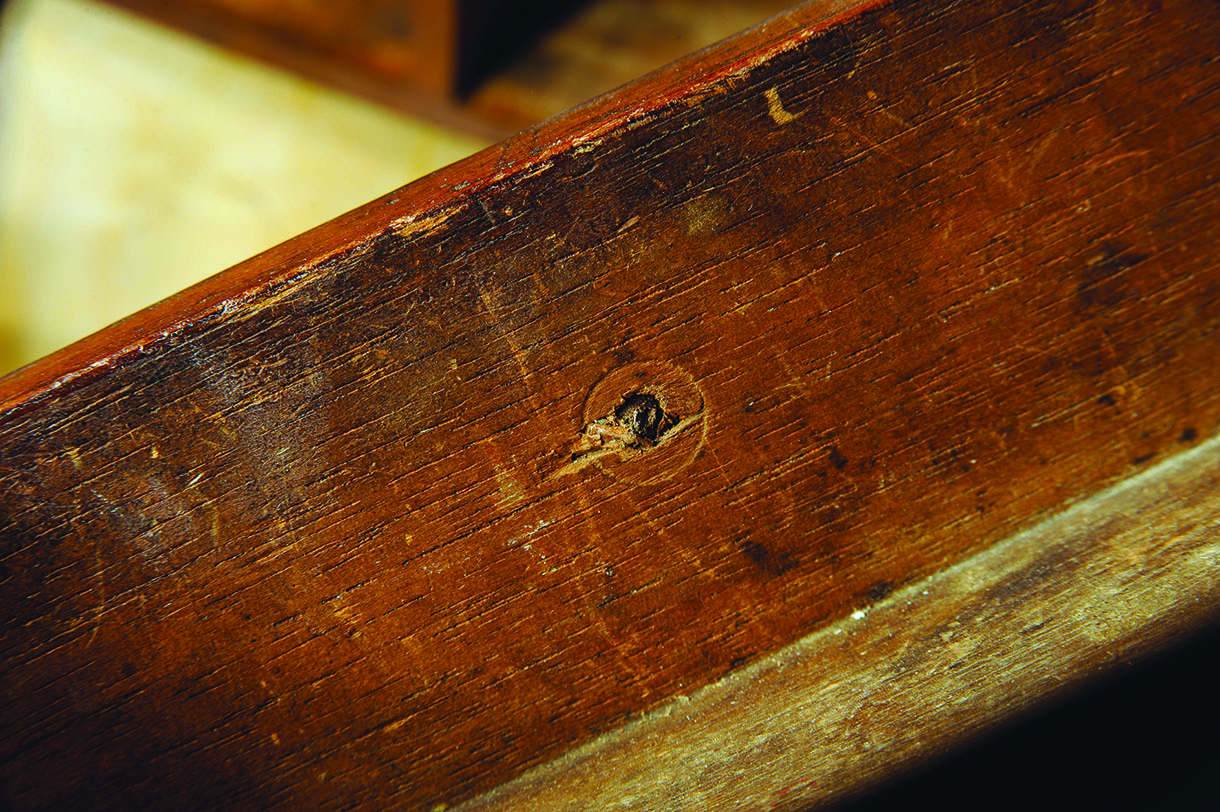
2. The bracket feet completely hid some small holes that could be found inside the carcass, which showed it started out with bun feet. It may be the originals got broken and bracket replacements seemed more in keeping with the current fashion of the time
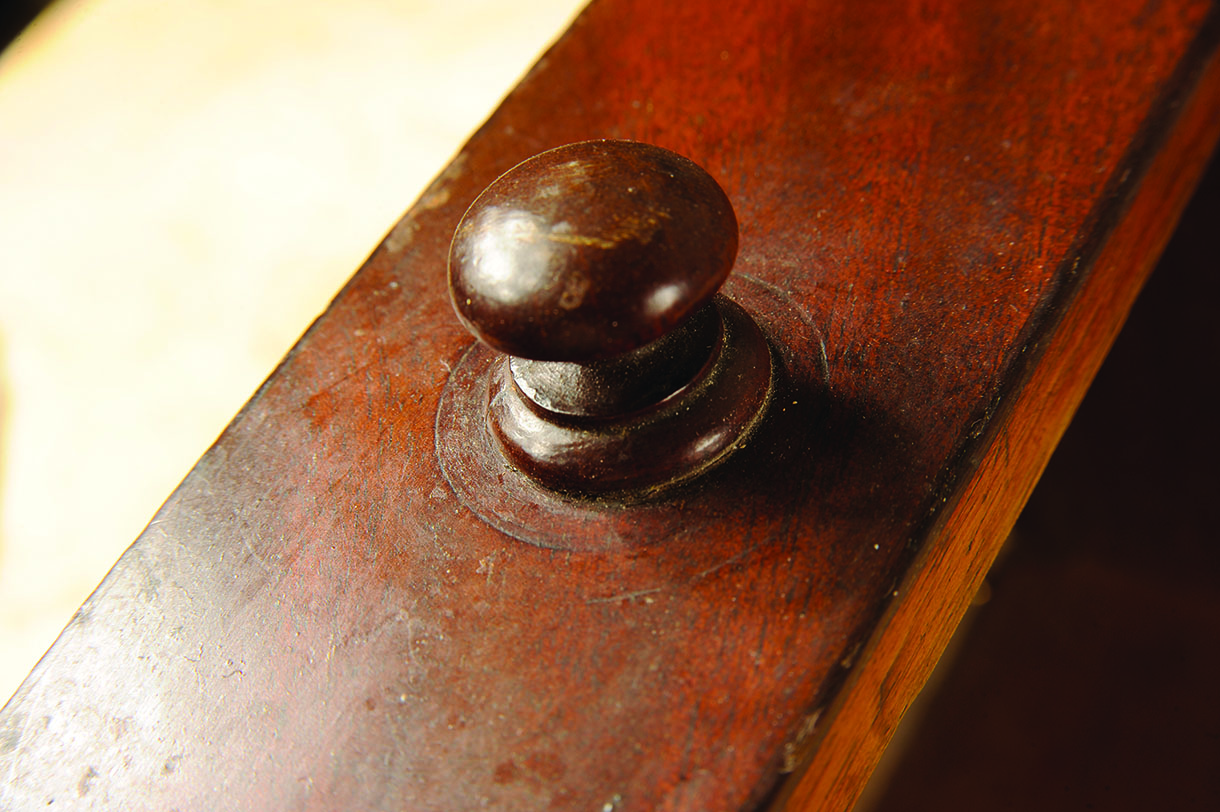
3. The drawer knobs were earlier rather than later Victorian as they were quite nicely shaped. Late Victorian styles tended to be rather bulbous and overdone. Looking carefully under natural light, large circular dents in the veneer were revealed, where brass plate handles or knobs were originally fitted
4. On the drawer reverse inside, small circular dents where the brass back nuts were fitted, could be seen
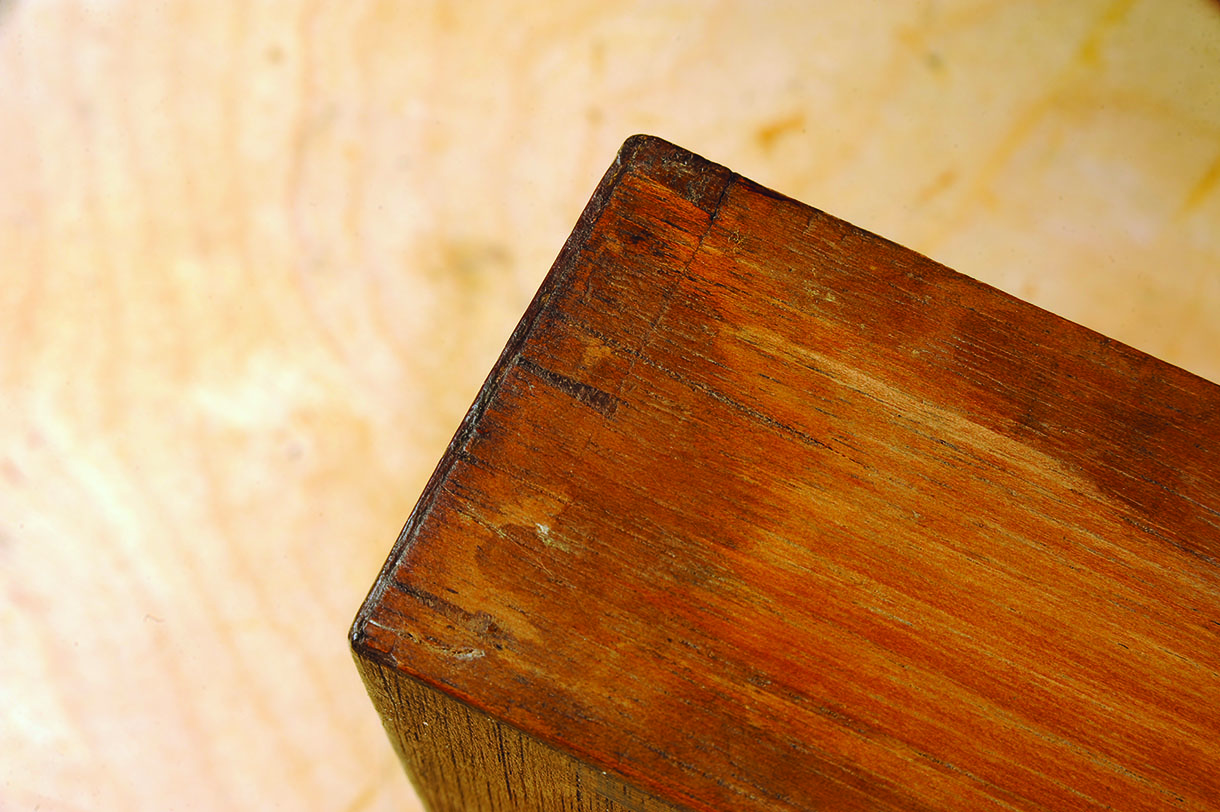
5. The drawer dovetails were very fine and well executed, not suggestive of a cheaper late Victorian mass manufacture. The drawer bottoms and sides were made of thin mahogany (Swietenia macrophylla), again a sign of good craftsmanship
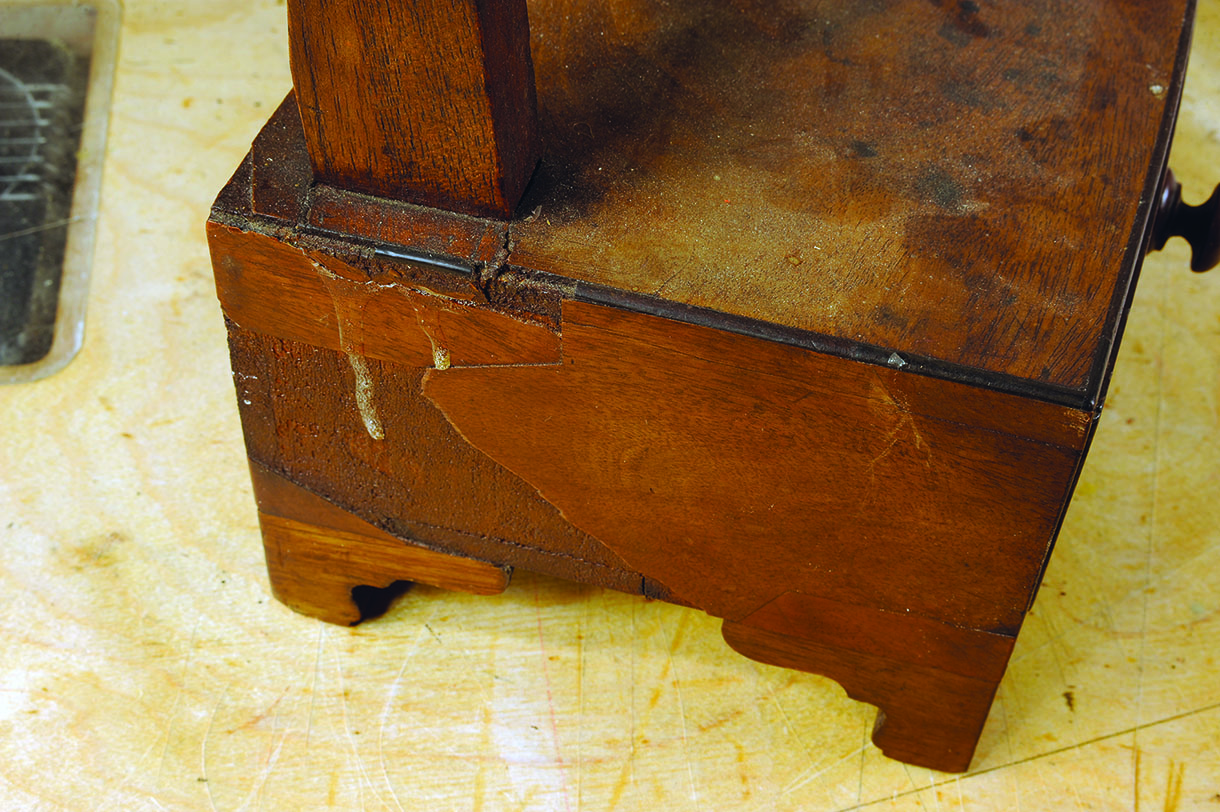
6. The mahogany feather crutch veneer was laid over a simple pine (Pinus sylvestris) carcass, which was perfectly acceptable. The ebony (Diospyros spp.) stringing around the edges appeared to be original. One end had a patchwork of five pieces of veneer and a lot more missing
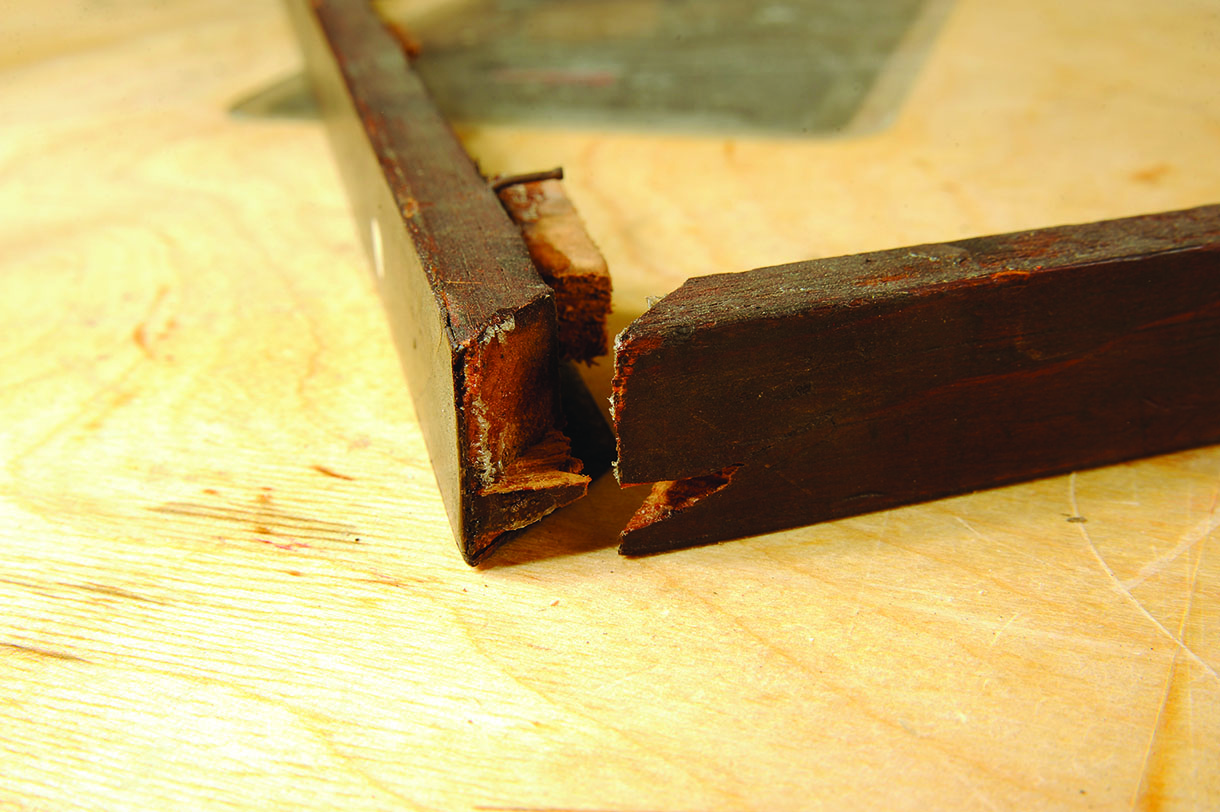
7. The thick mirror glass had a piece of coarse sawn pine behind it. It was dyed on the reverse and looked like a replacement piece. I wasn’t convinced that the mirror glass was the original as it hadn’t deteriorated much and had typical ‘Vic’ orange paint over the back of it. The original corner joints were nicely executed, tapered tongue and groove joints, now a bit damaged
Summary of assessment
This appeared to be an unfussy design of a late Georgian toilet mirror that had been repaired and ‘improved’ in the mid-Victorian era. As the bun feet and brass plate handles were missing, it was decided to restore to the last incarnation, as this was the least invasive way to treat it. However, it was a worthy restoration due to the level of repair and replacement needed.
Mirror frame repair
8. The frame had some crude blocks glued in place to hold the mirror, which looked like replacement ones. These needed cleaning and re-gluing together using ‘reversible’ animal glue to facilitate any future restoration. The mirror was inserted and the frame closed around it and gently pushed together to leave until the glue was set
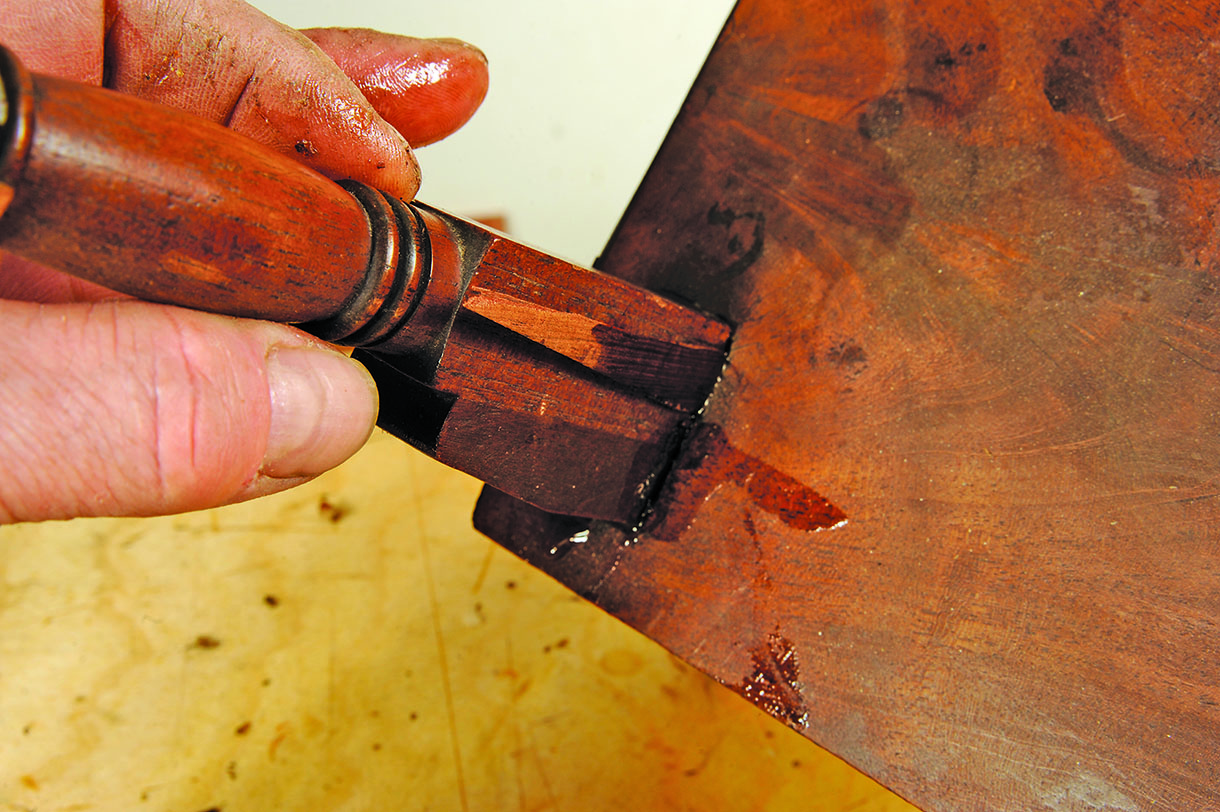
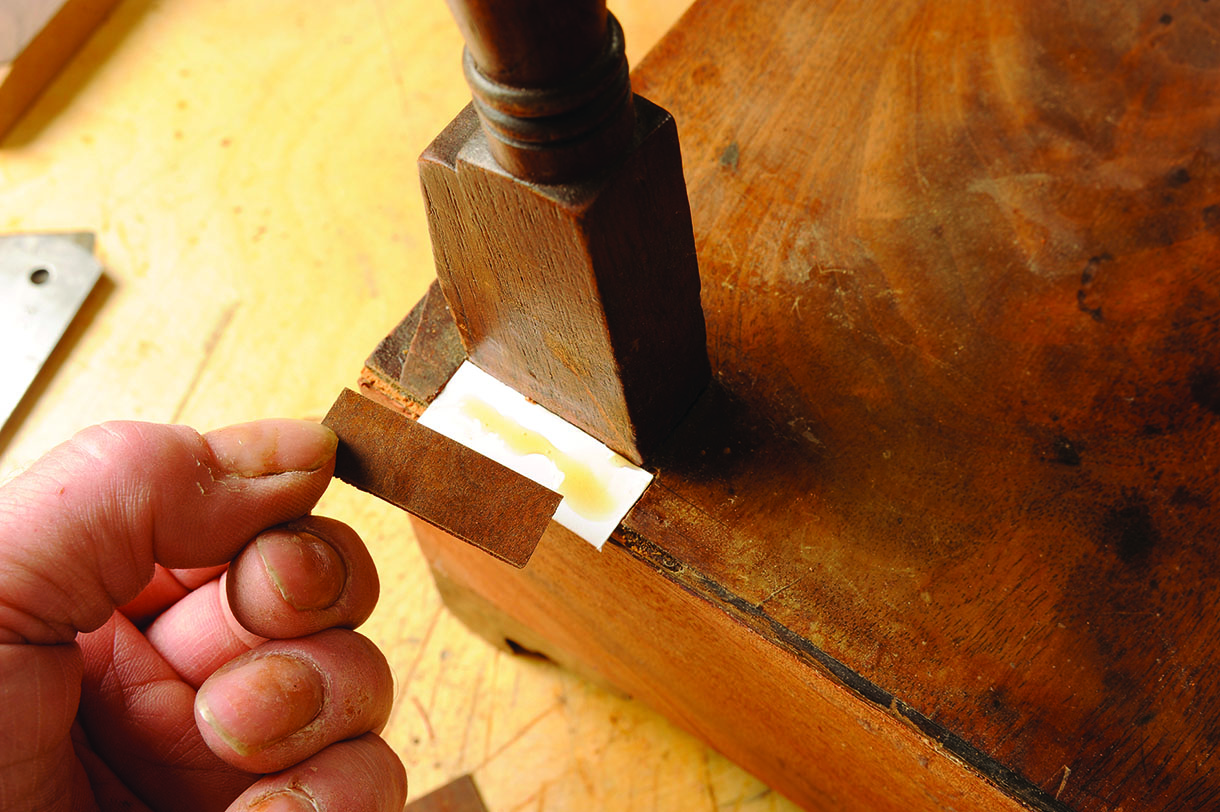
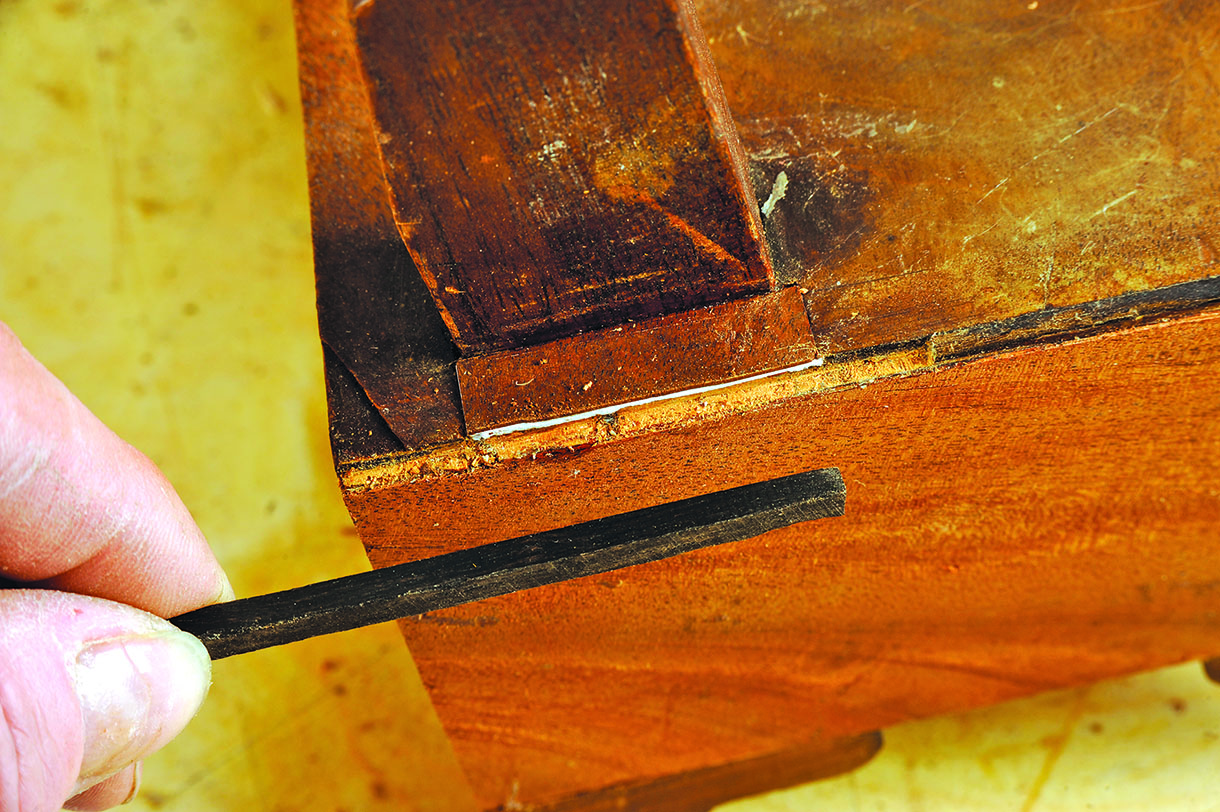
9. One of the turned supports for the mirror was quite loose, so I dealt with this problem using some hide glue and a slip of veneer to close the gap at the side. Once dry, I needed to trim off surplus glue and veneer on top and inside the carcass
Veneer repairs
10. A piece of modern mahogany veneer with a curl pattern was selected as the replacement for the patchwork of existing veneers. This would look neater and the old pieces could be used for patching elsewhere
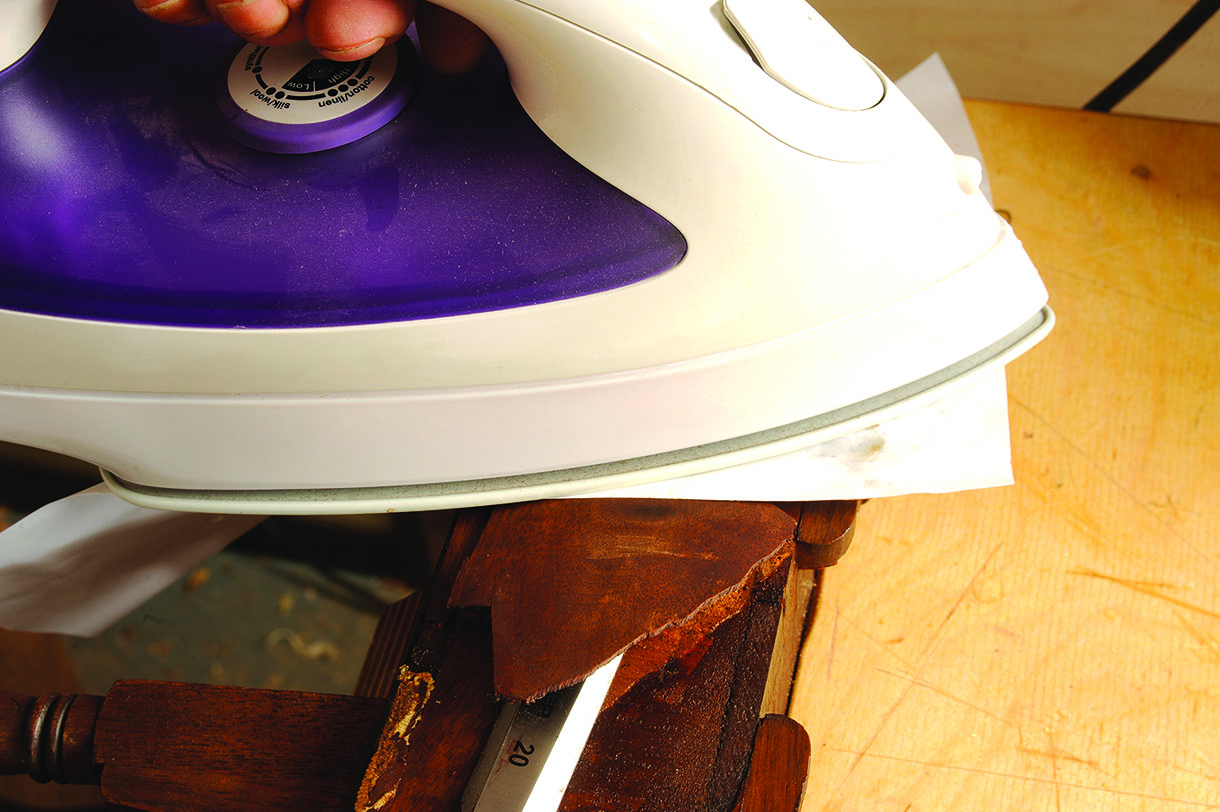
11. A steam iron at full heat through a sheet of damped paper served to eventually soften the hard glue, so old veneer could be lifted with a chisel
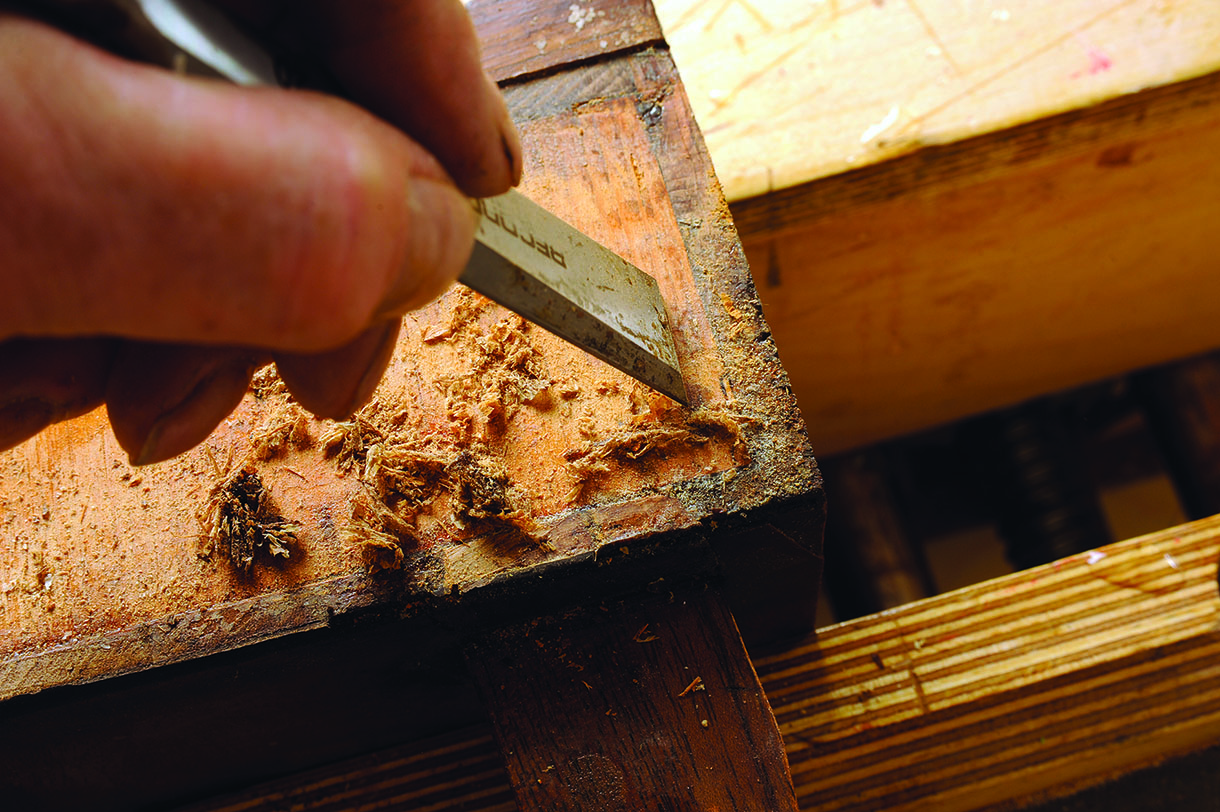
12. The next job was gently removing the bulk of the glue with a paring action, using a freshly sharpened chisel. After that, the chisel was used upright, in scraper fashion, to get back to bare wood
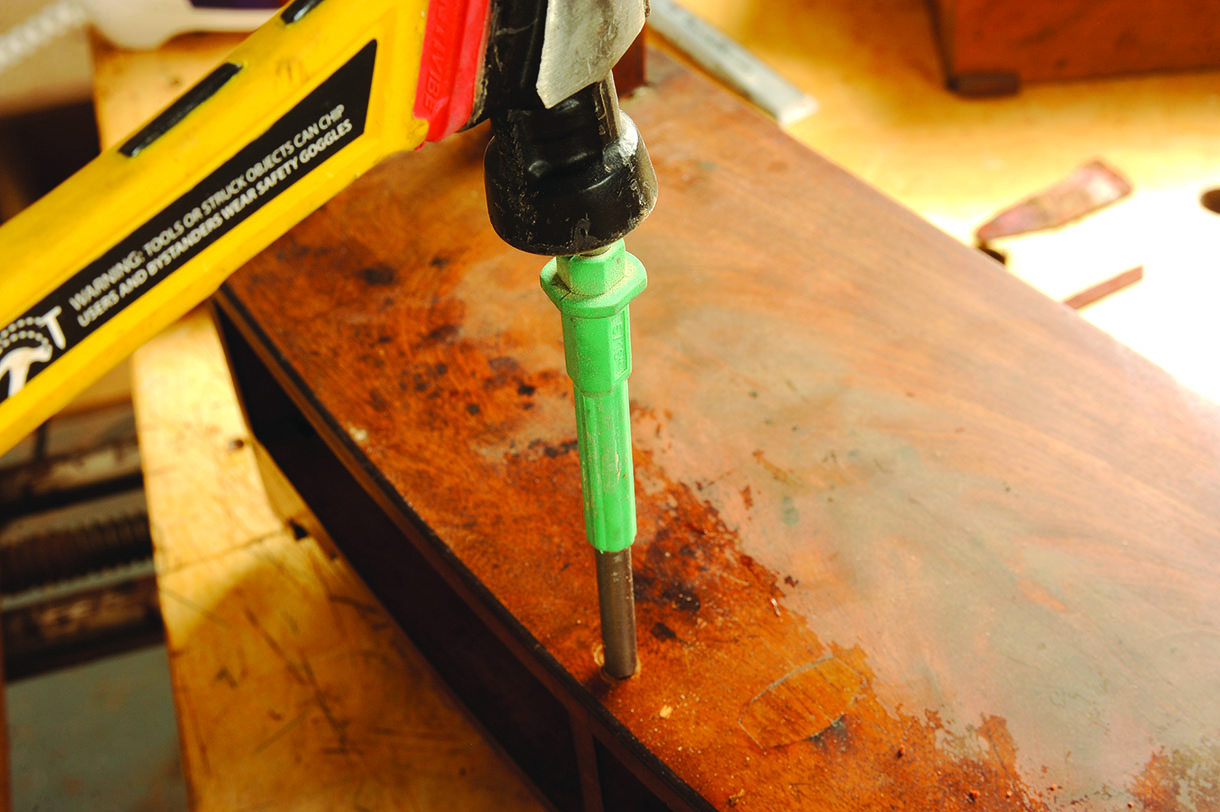
13. The top of the mirror stand had a ‘proud’ bump where a nail or pin had distorted the veneer over time. I used a large, flat punch to administer a blow, just hard enough to flatten out the small bump
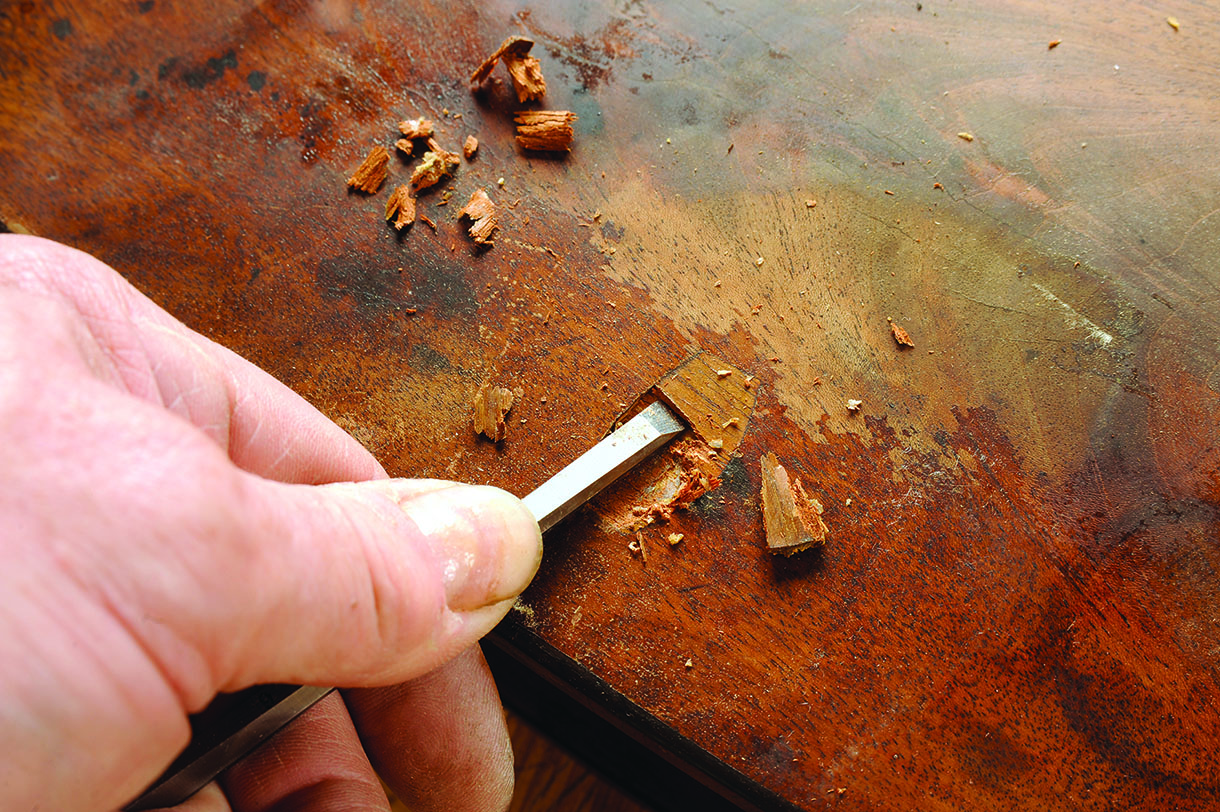
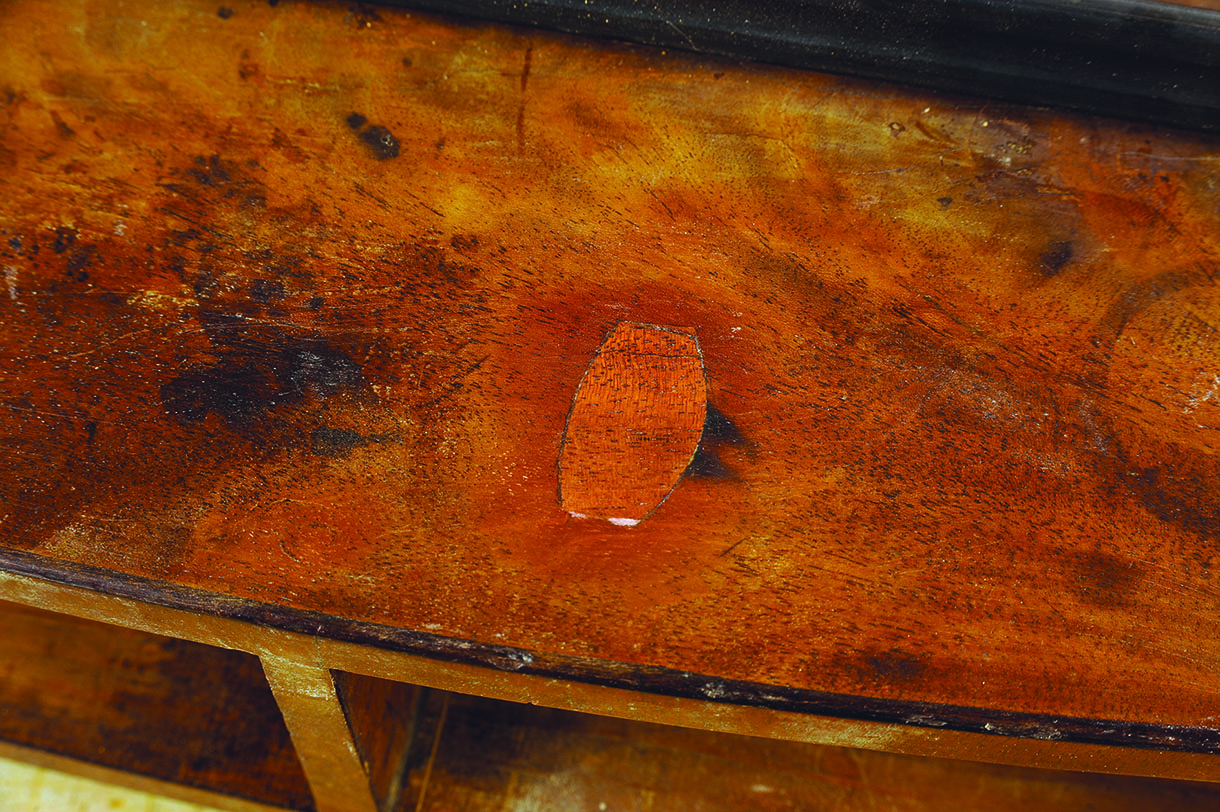
14. There was a rather horrific ill-matched thick patch put in where there had been a cigarette burn. Worst of all, it had sunk slightly, so it looked too obvious and had to go
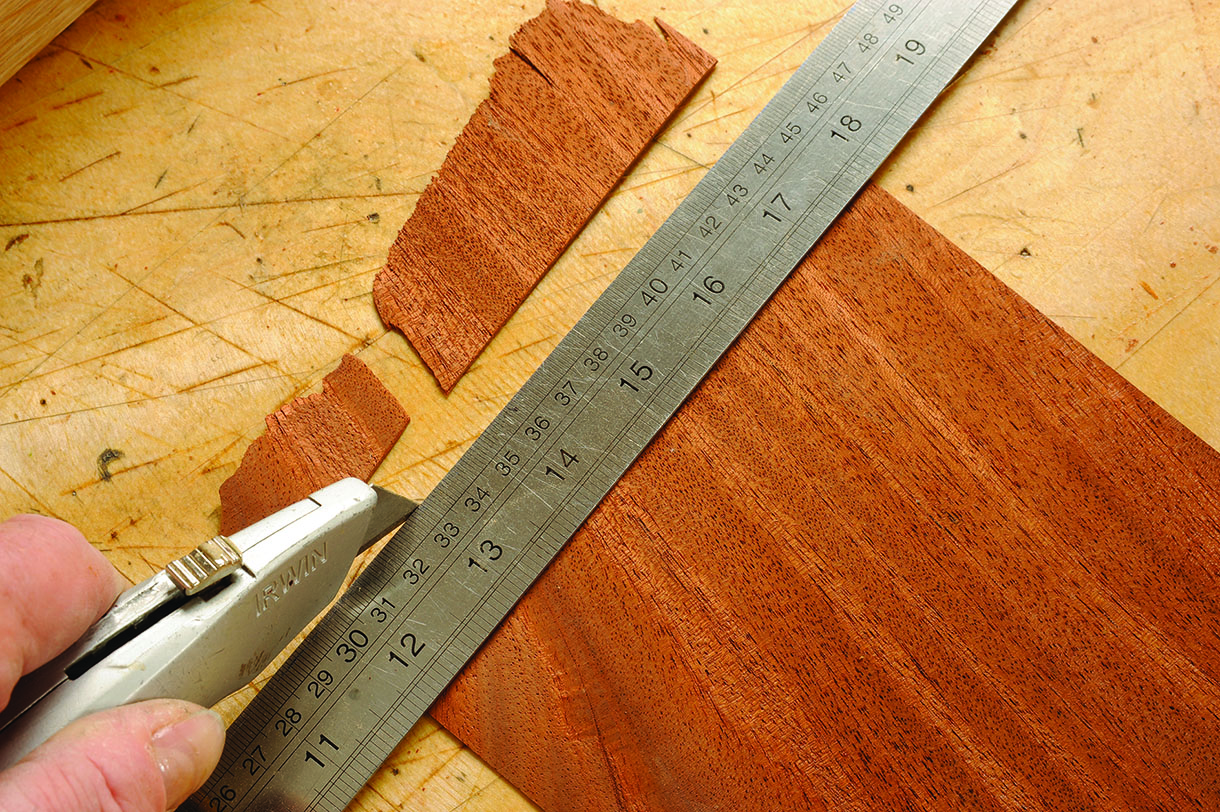
15. Fortunately, the modern knife-cut veneers were not much thinner than the originals. The replacement end veneer had to be cut to neatly fit between the bracket feet and the ebony line above. Apart from showing the curl shape, the position of the grain wasn’t considered crucial as the original placement of grain seemed rather random
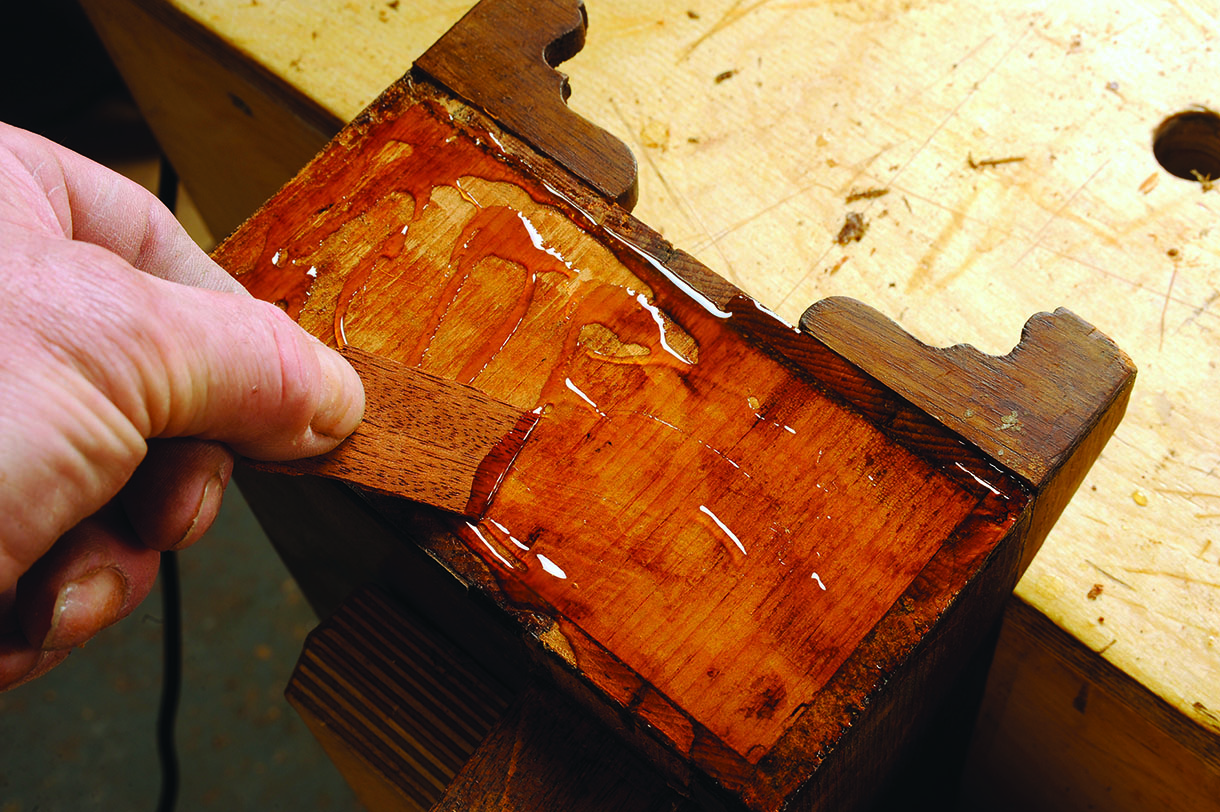
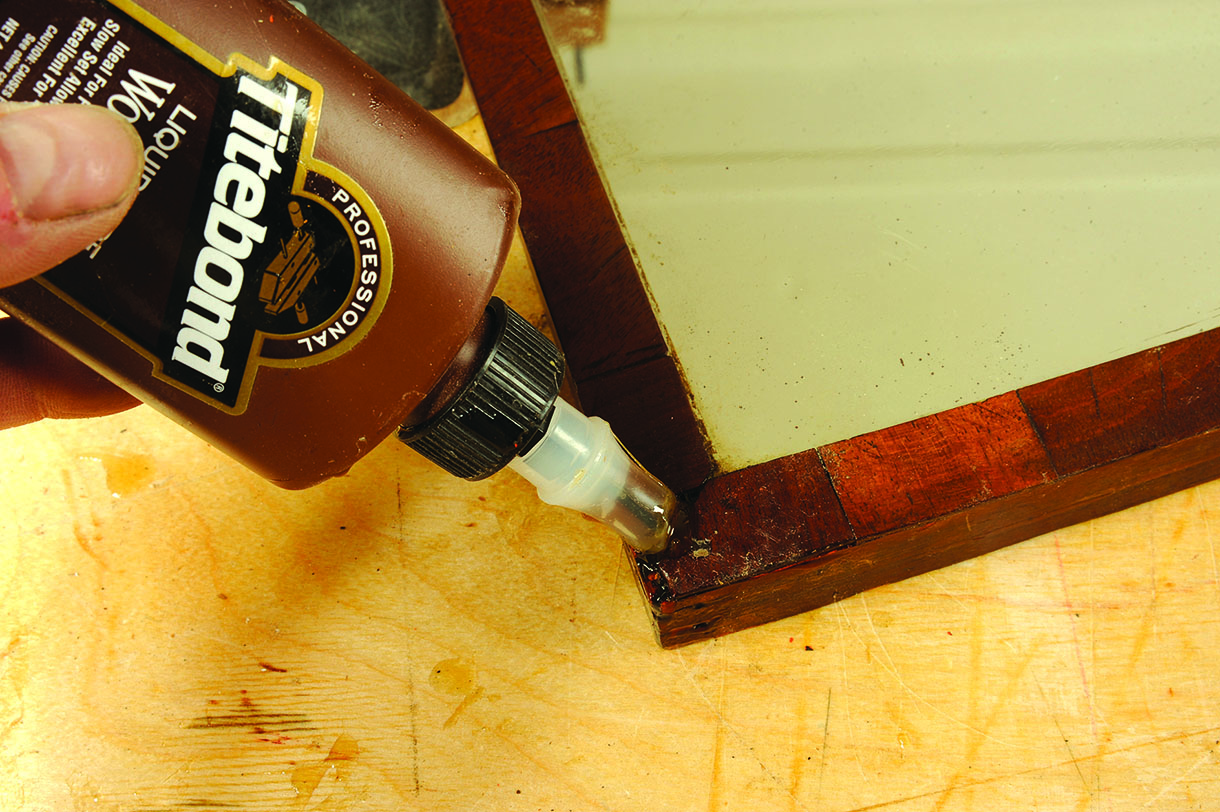
16. Liquid hide glue was smeared all over the end, ready for clamping. As this was a ready-made liquid glue, and the repair areas were small, ‘hammer veneering’ with hot glue was not considered appropriate
17. Each repair was left overnight throughout this restoration, so in total the work was spread over about five days to ensure that the glue set properly each time
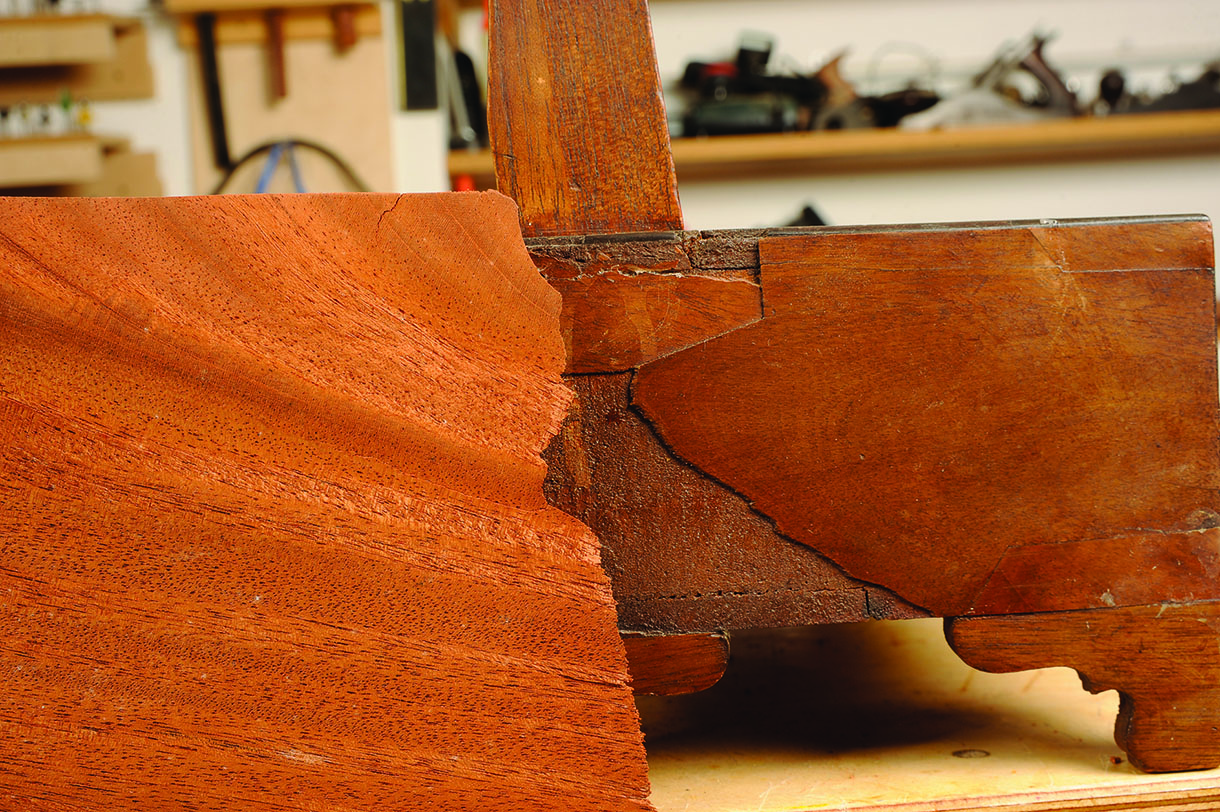
18. The weight of the mirror had caused stress to where the side supports fitted into the top of the base.
The veneer sections next to the supports needed re-gluing. One side required a piece of a business card to be glued underneath, to bring the veneer flush with the top
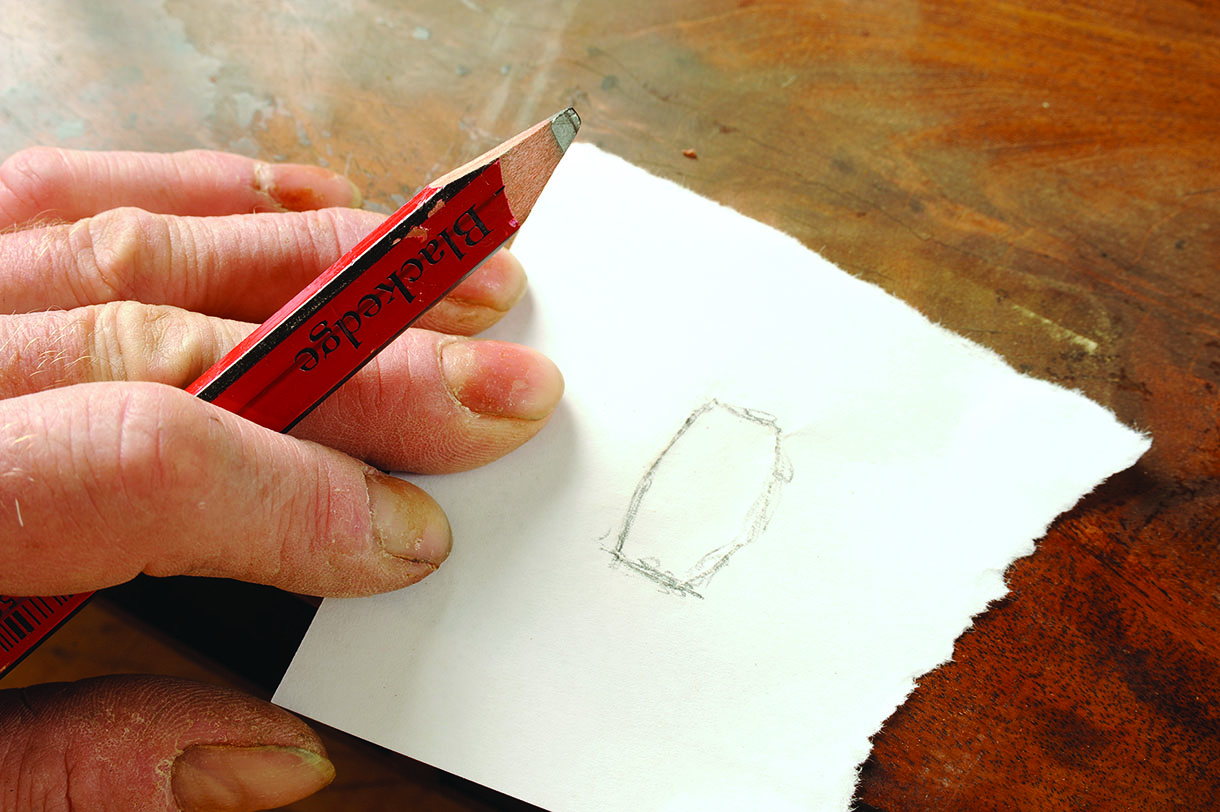
19. I really wished the cigarette burn was still on the top because it could have been disguised. Instead, I was going to have to fit an equally dodgy patch because the edges would show at the very least. Pencil was used to show the area clearly, but I would normally rely on finger dent pressure to give an accurate outline
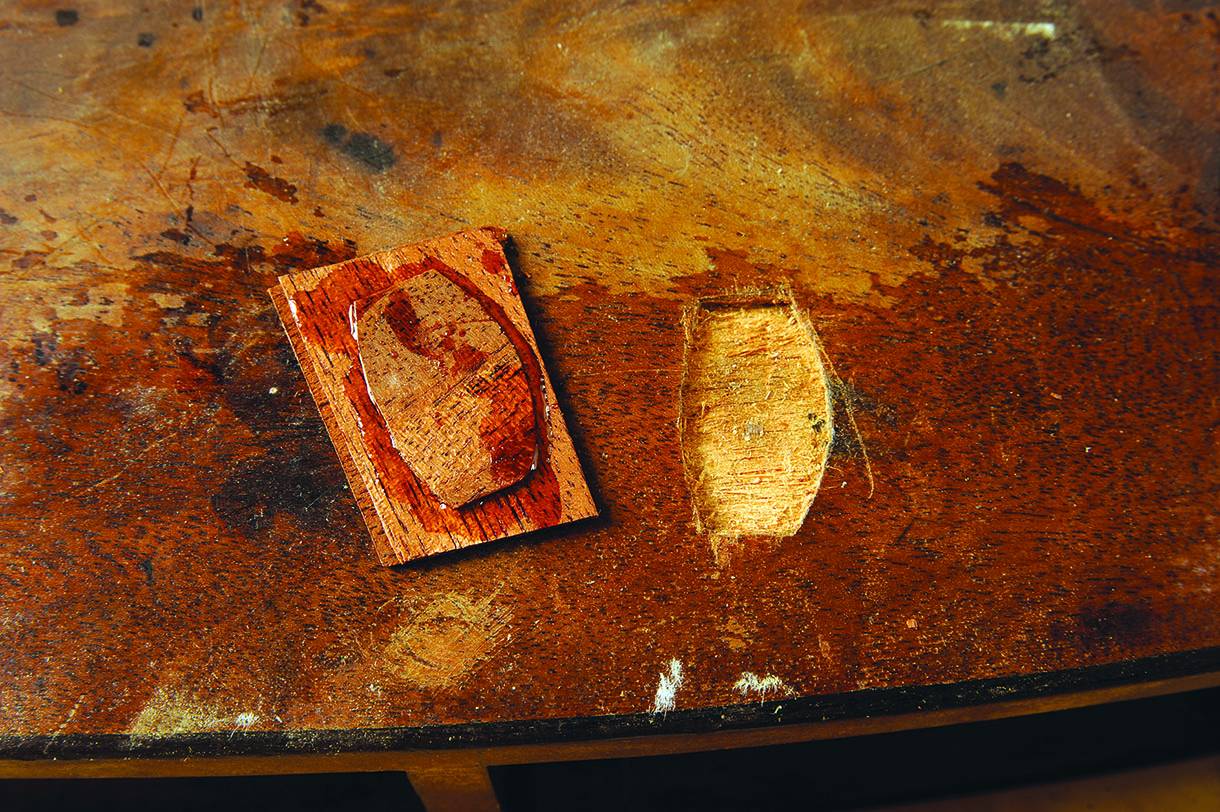
20. First, I cut a patch, checked the fit and trimmed it lightly with scissors. Next, this was glued to two more thicknesses of veneer, left to dry then cut around again. That gave me the three thickness patch I needed
to achieve a flush fit
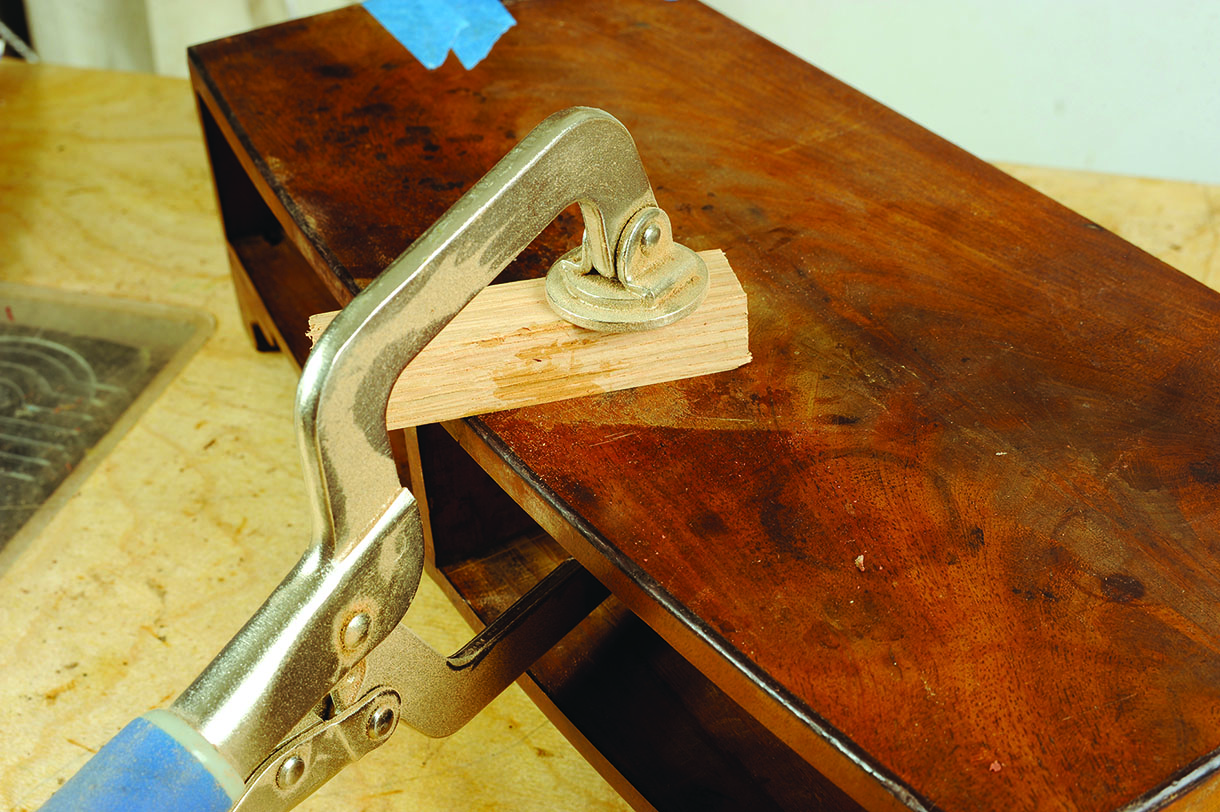
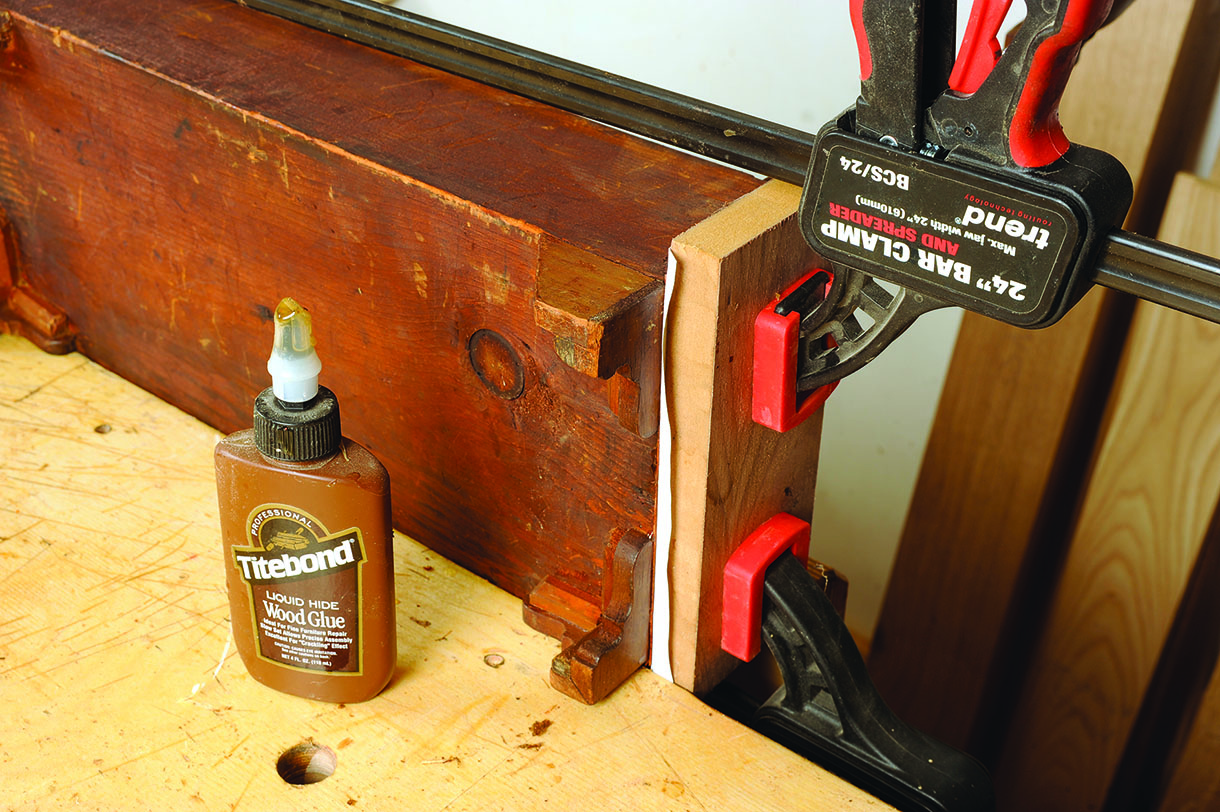
21. A deep reach mole-type clamp helped to add maximum pressure, ensuring the patch was level when the glue had set. This would minimise the chance of it looking uneven when the piece was viewed against the light
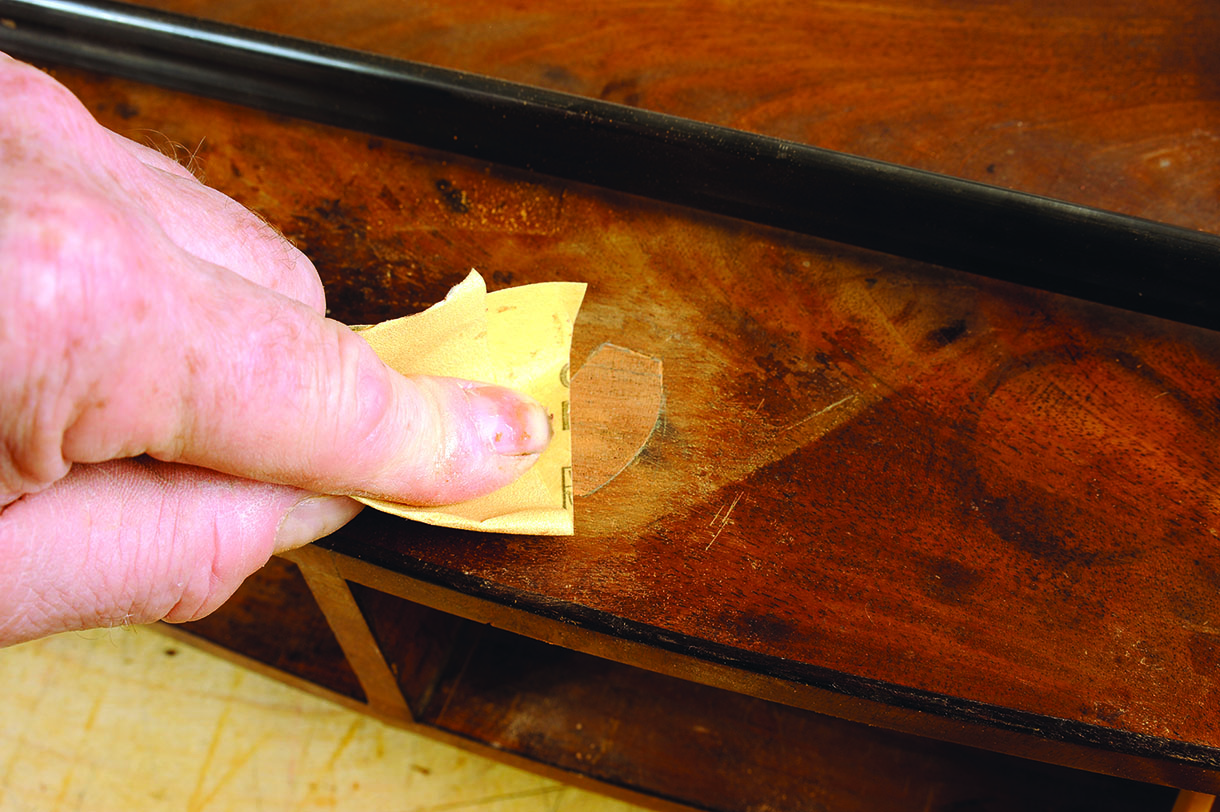
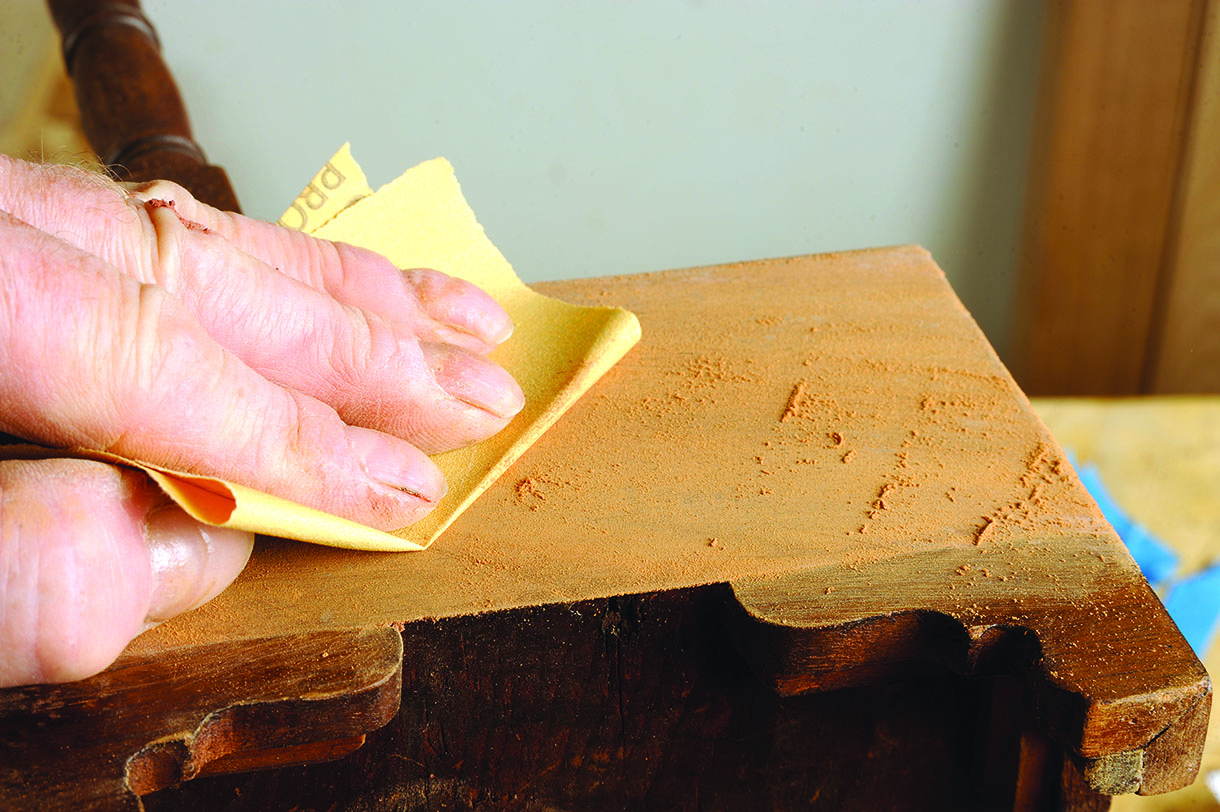
22. It seemed a little scary, but I had to sand the patch to get it completely level and to smooth the grain. This sanding inevitably reached the area around the patch
23. A coat of sanding sealer revealed a rather sore looking repair area, as any remaining old French polish plus the faded veneer surface was now removed. This would need some crafty disguising to blend it in. The acquired, aged surface is hard to replicate during restoration. Care is needed to avoid taking away too much of the original finish and causing lasting damage
24. I cut a strip from a block of ebony to make the thin lines. These were simply glued and held in place with low tack masking tape
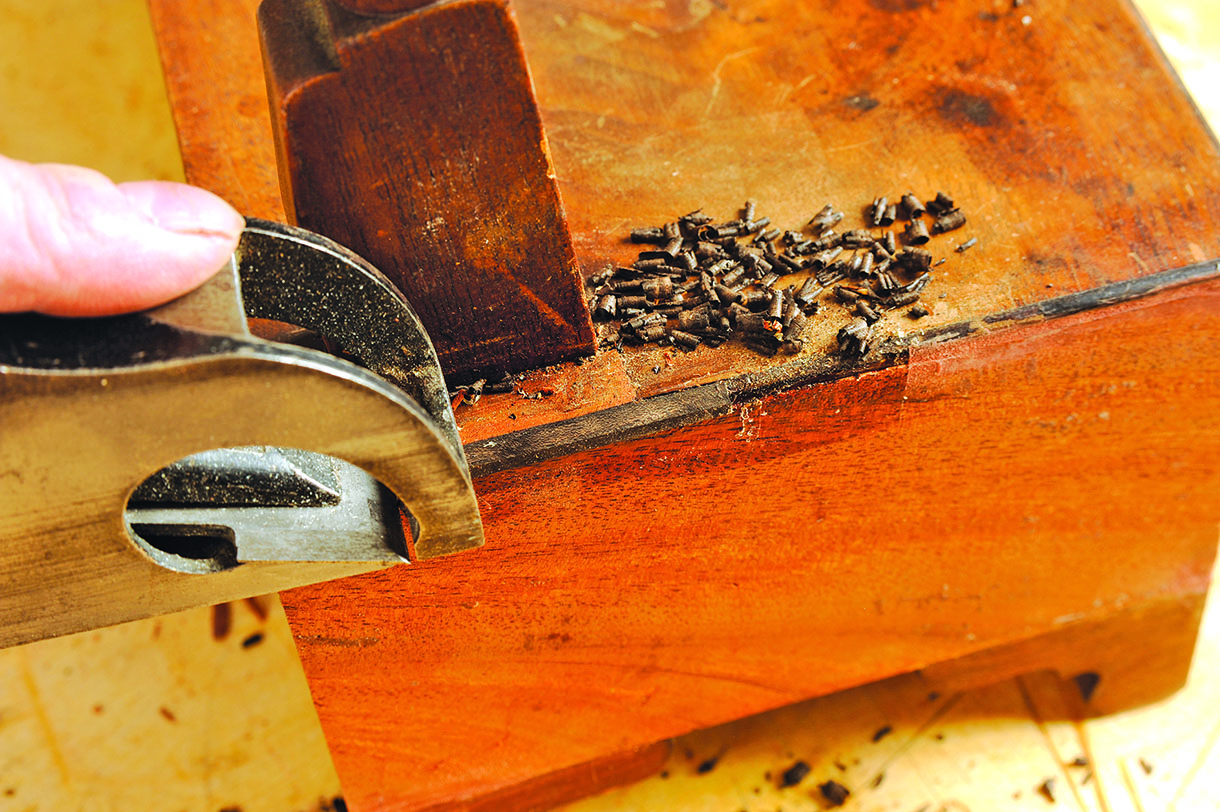
25. A finely set, short bullnose rebate plane was used to trim the ebony flush to the veneer and rounded off to match. Ebony seems very smooth but it has a grain angle like any wood and must be respected. The direction of planing was dictated by the grain in the ebony lines
26. The newly veneered end could then be sanded without using a sanding block, following the contours of the carcass underneath. Antique surfaces are rarely truly flat. A couple of veneer chips in the mirror frame were then glued back, supported on paper which had been pushed under the veneer edging. One drawer had a split, which was filled with a strip of veneer coated in hide glue
Finishing
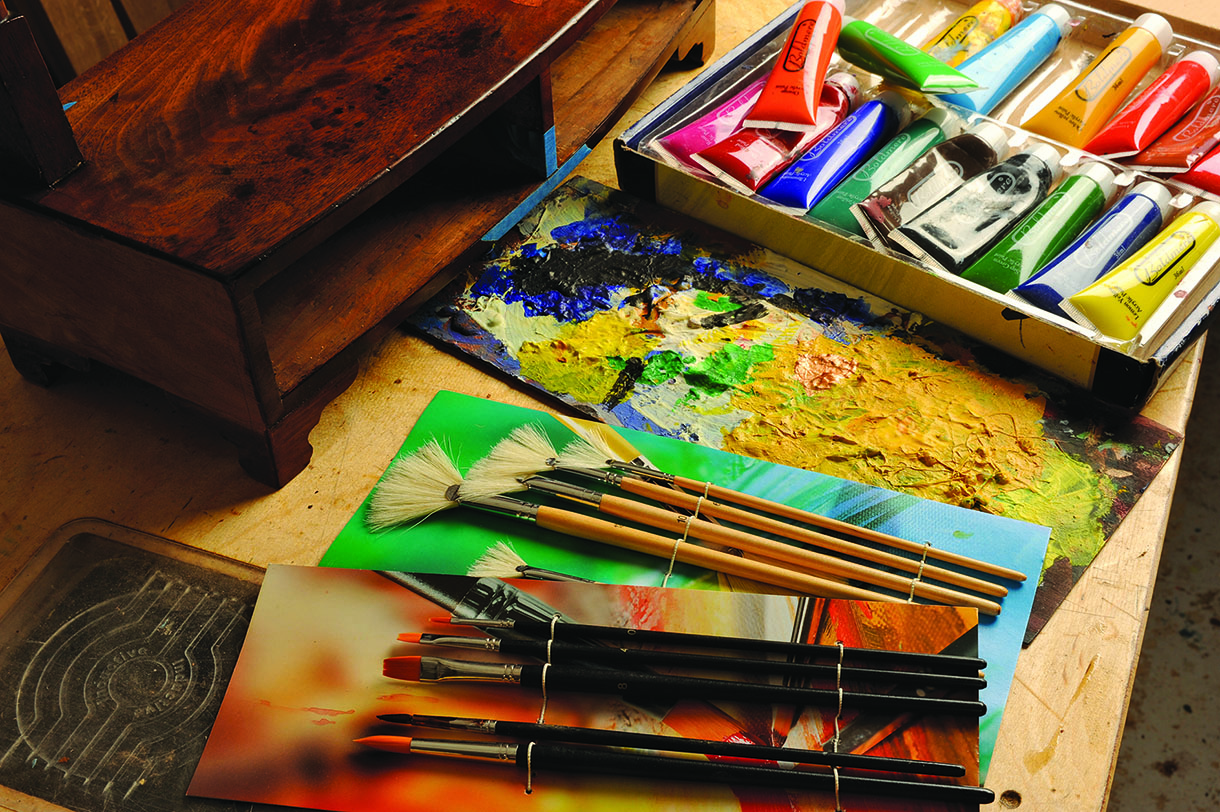
27. Out came the full acrylic paint kit. Unlike dyes, which can give richer colours and allow some reflectance of light, paint obliterates grain and prevents any reflectance so it has to be used with great care
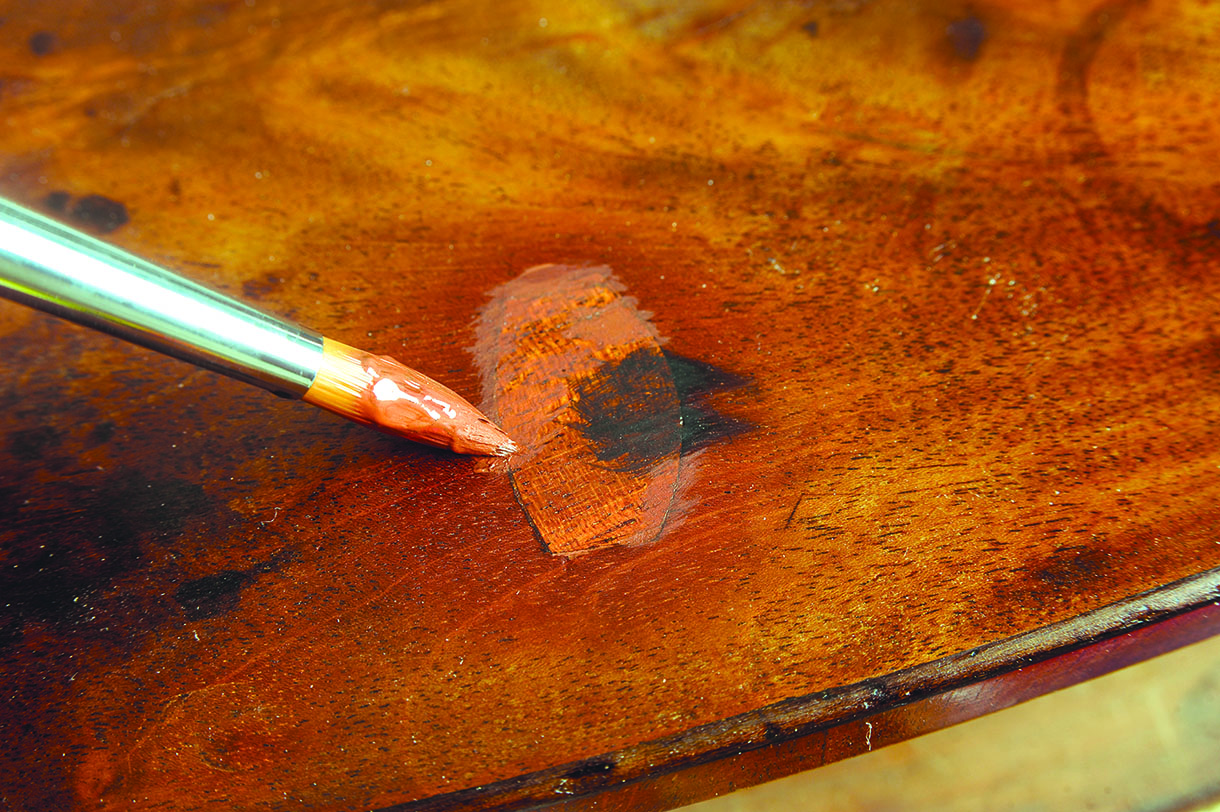
28. The burn patch had some of its ‘burn’ reintroduced and the cut edges blurred over with a brownish acrylic paint. After each light coat of paint, the repair was sealed by dabbing on clear French polish
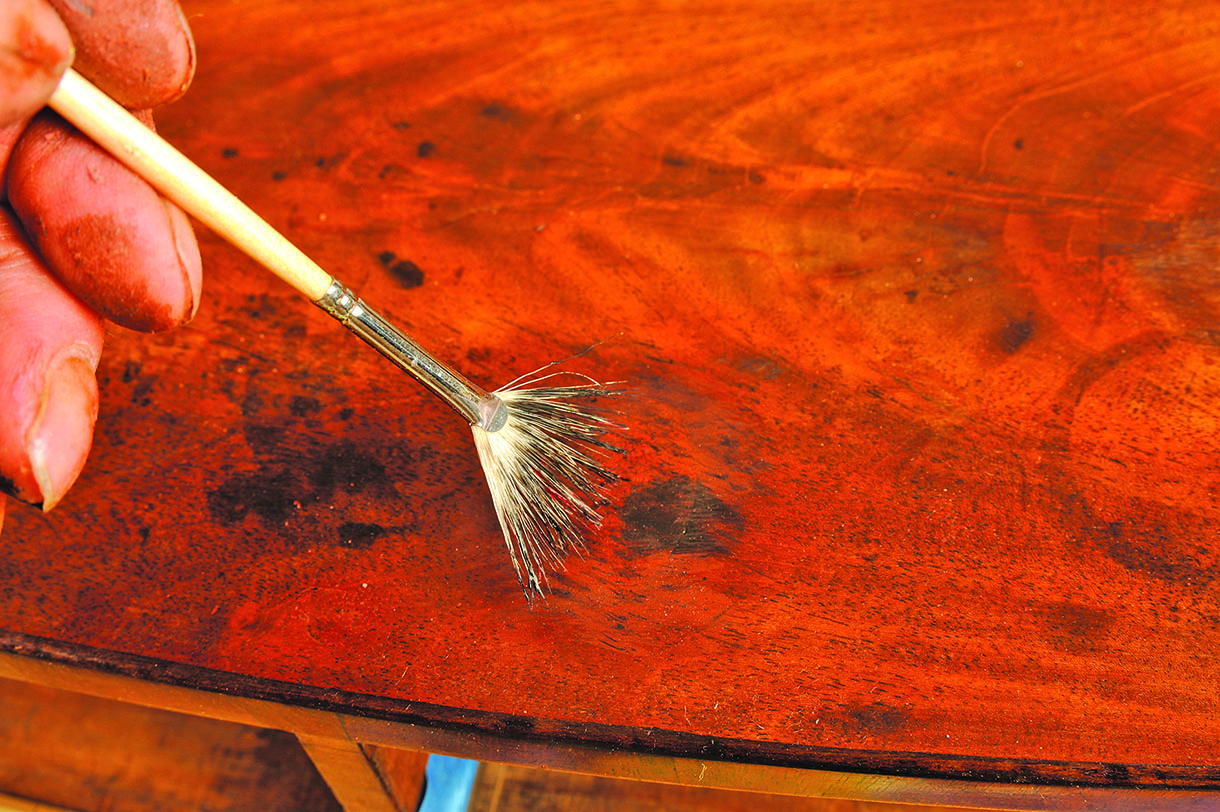
29. Next, a fantail brush and a semi-dry black-brown colour was used, ‘touch-and-lift’, to create tiny grain flecks. Then a light ‘skeining’ of a yellowy ochre shade was run across the area and dabbed with a fingertip
to blend it in
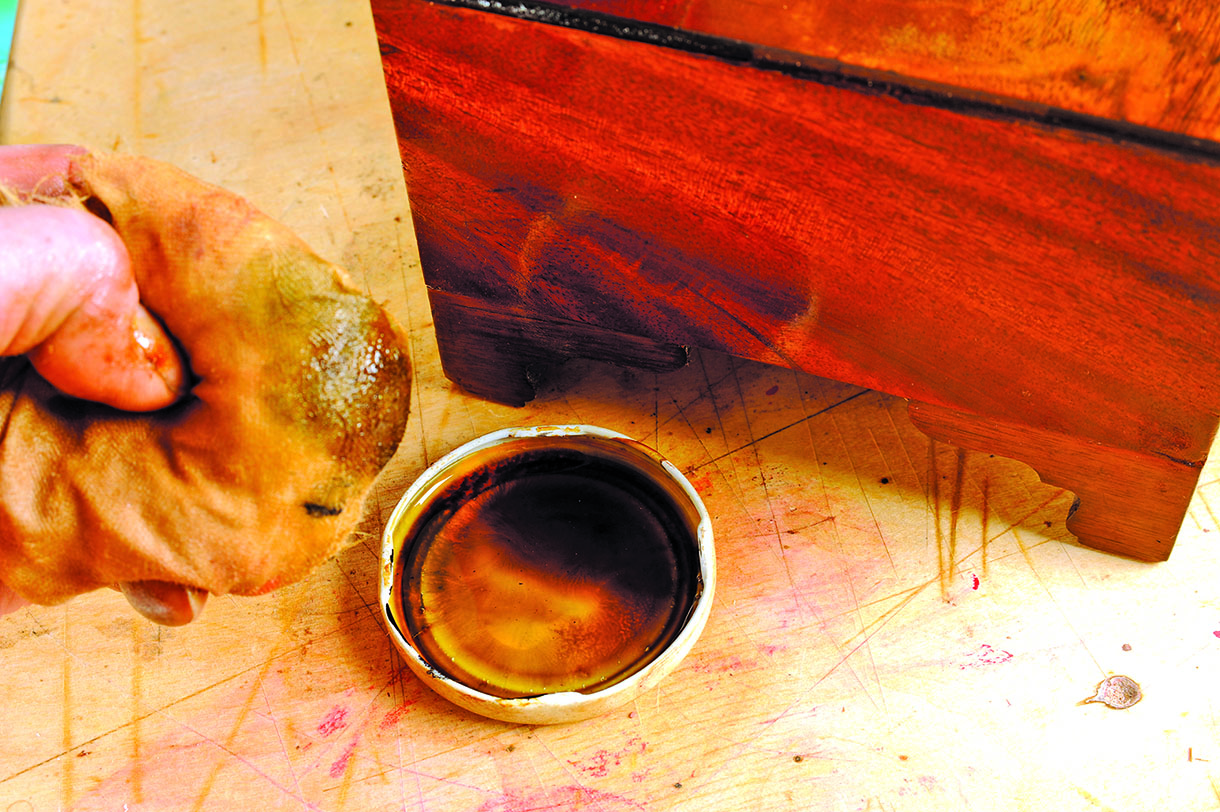
30. The new end veneer was repeatedly coated with French polish on a ‘rubber’. First clear, then brown and finally a touch of black polish were added to the mix to dull the veneer down
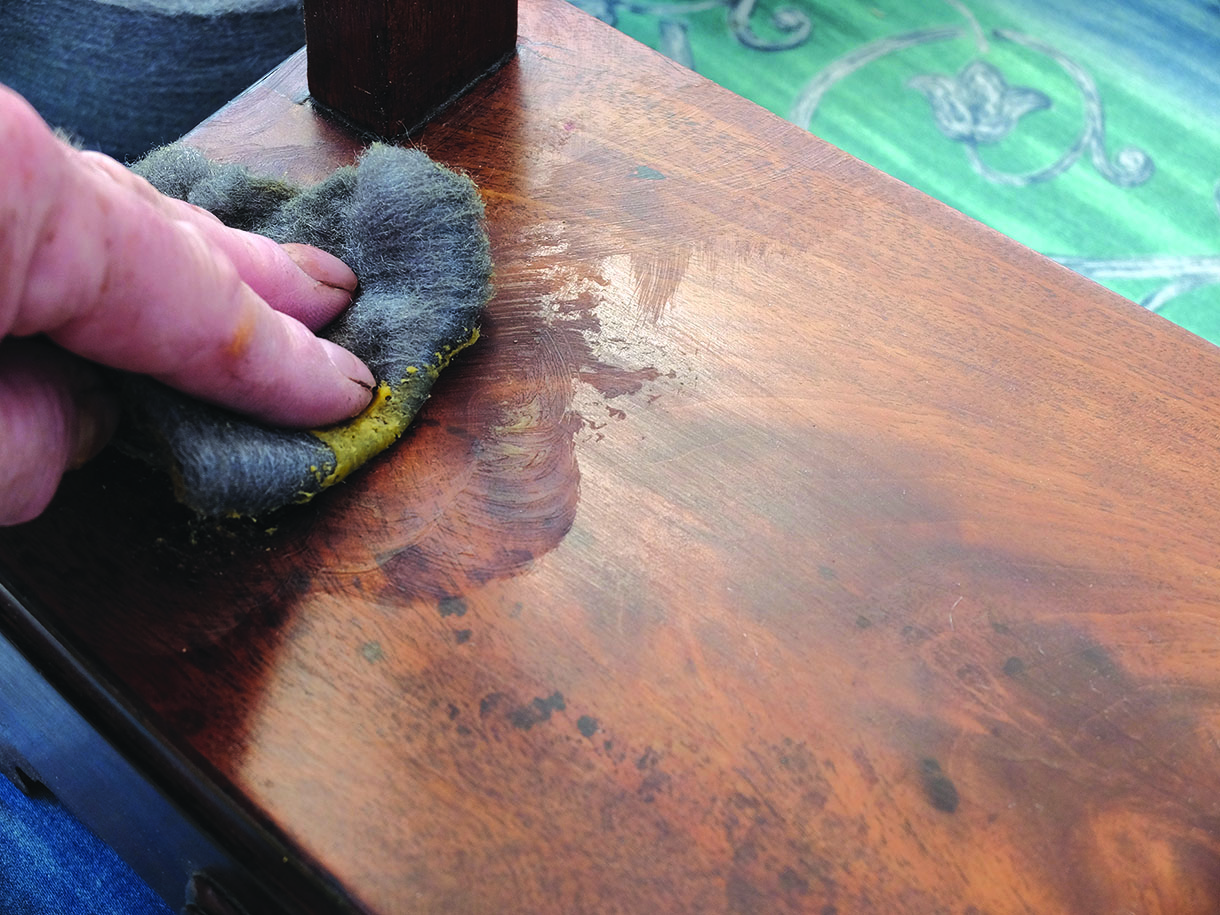
31. The last two jobs were to wipe a couple of coats of clear French polish over the entire carcass and when dry, rub all over with ‘0000’ wire wool and hardening wax. This had proved a complicated but highly satisfying job – quite well done, I like to think
")

