Double-Ended Spoons:
Dave Western shows the techniques required to create a double-ended spoon.
Dave Western shows the techniques required to create a double-ended spoon
A couple of years ago I came across a lovely little double-ended spoon held in the collection of the extraordinary Skansen Museum in Stockholm, Sweden. The spoon itself was modest and simple with no flashy adornments, but it was nevertheless a wonderfully evocative object. Not much seemed to be known about its purpose, but it was suggested that it was probably used at a wedding celebration, perhaps for the couple to eat a first meal together. With the bowls placed so close to one another, using this spoon would certainly be romantic.
The memory of this elegant and mysterious little spoon stayed in my subconscious until I realised that a couple of exquisite little pieces of wood I had been saving, despite being too small for my regular spoons, were perfect for my version of the Swedish double-ended spoon. I made one, which led to my making another, and that led to another, and before long I was obsessed with double-ended spoons.
In this brief article, I’ll share the pattern and a couple of techniques for making this straightforward spoon. For those of you who are like me and just can’t leave well enough alone, I have also included a couple of patterns for more complex versions, ranging from very traditional to a bit more contemporary. They are lots of fun to carve just for the sake of it, but if you happen to know anyone getting married, you can present them with a unique gift that will make their cake-eating ceremony a lot more fun and romantic than simply using plastic forks or throwing handfuls of the stuff at each other.
Cutting the blanks
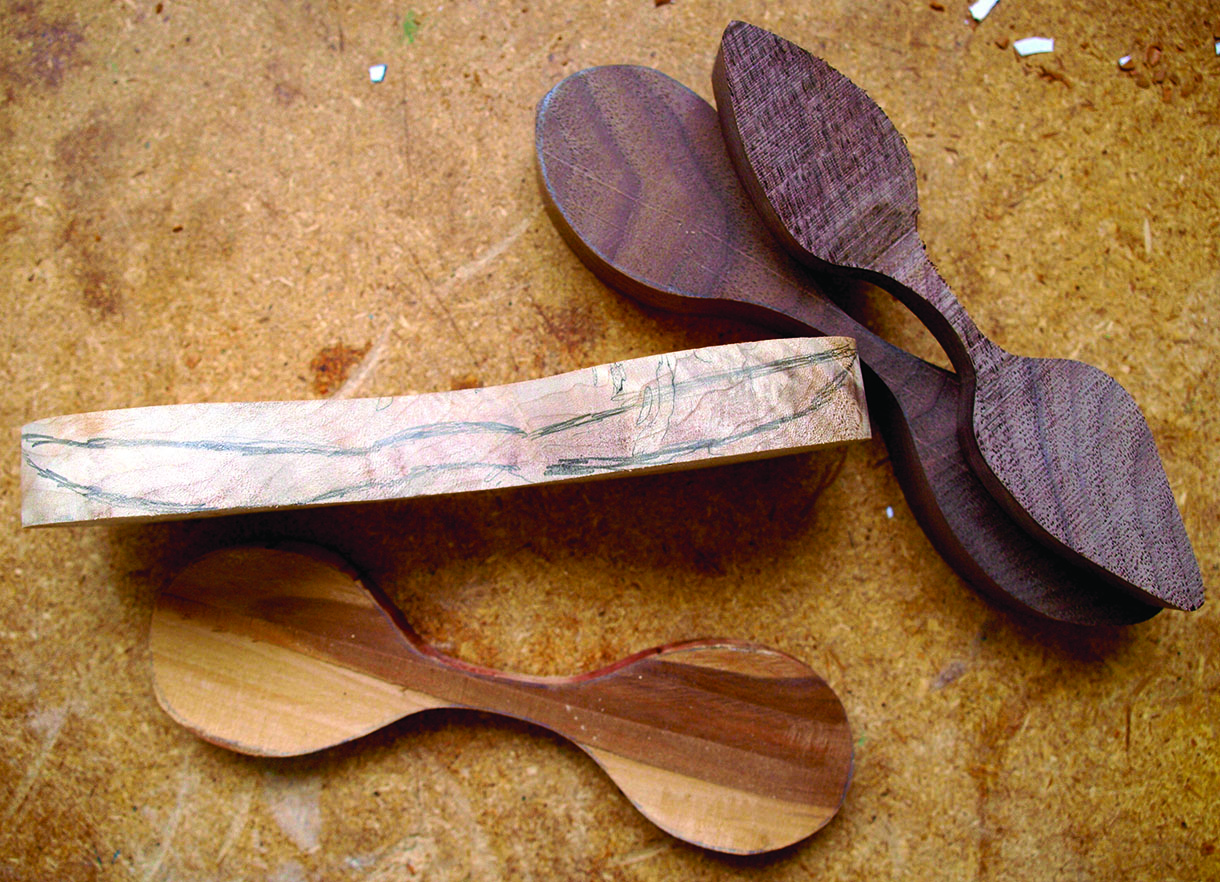
This little spoon is at its best with a highly figured or grained wood – the more unusual the better. The spoons in the main picture were carved from a variety of tiny scraps such as plumb, walnut, juniper and a couple of stunning pieces of heavily spalted maple. The pattern can easily be modified to make a longer,
shorter, narrower or wider spoon, depending on the wood at hand.
Depending on the thickness of your scraps, you might opt to make a curved handle or tilted bowls. Thin wood limits your options to straighter spoons, but it is much easier to cut out and deal with. A thick block lets you play with the angles a bit more and make a spoon that has a bit more ‘movement’ and feels more vibrant in the hand.

Mark out the shape of the spoon
Blank marked and ready to cut alongside
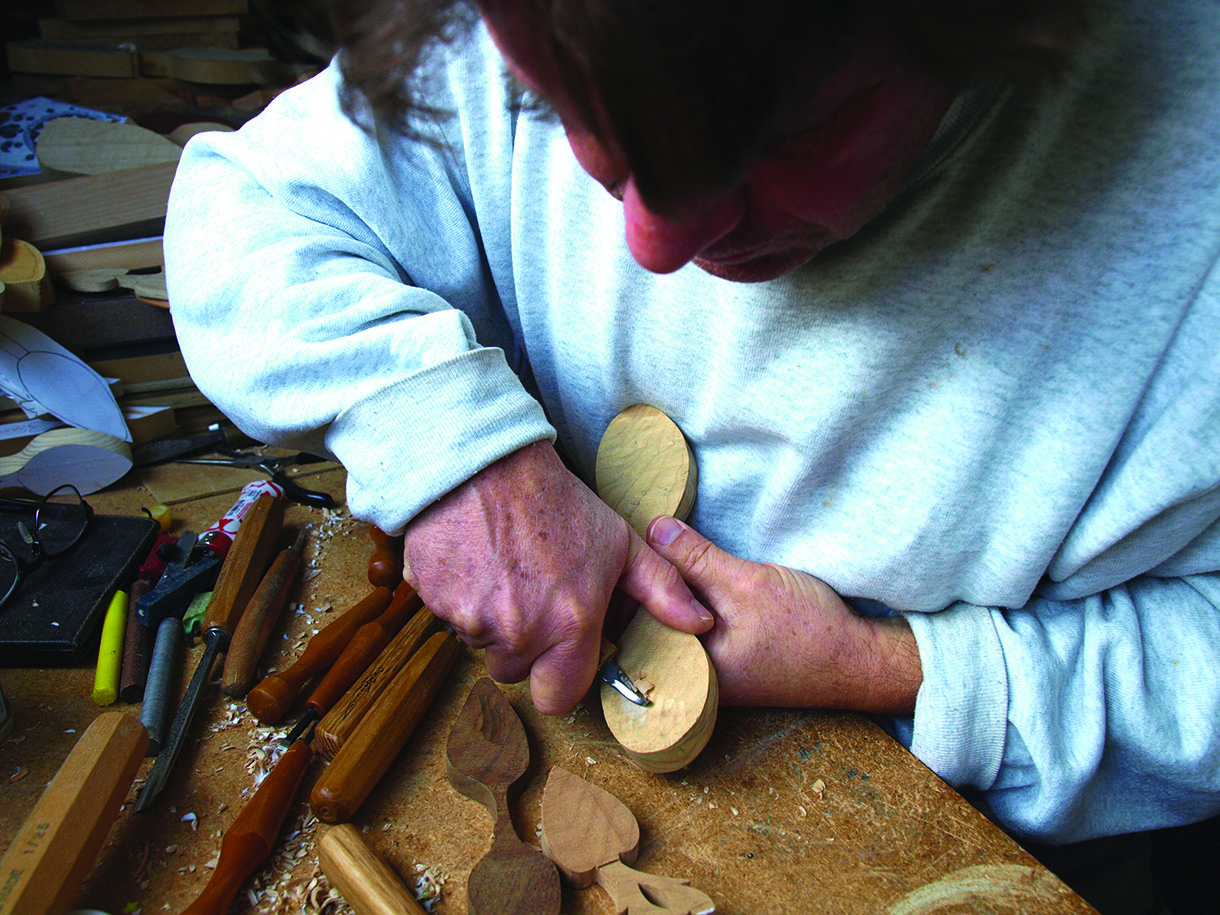
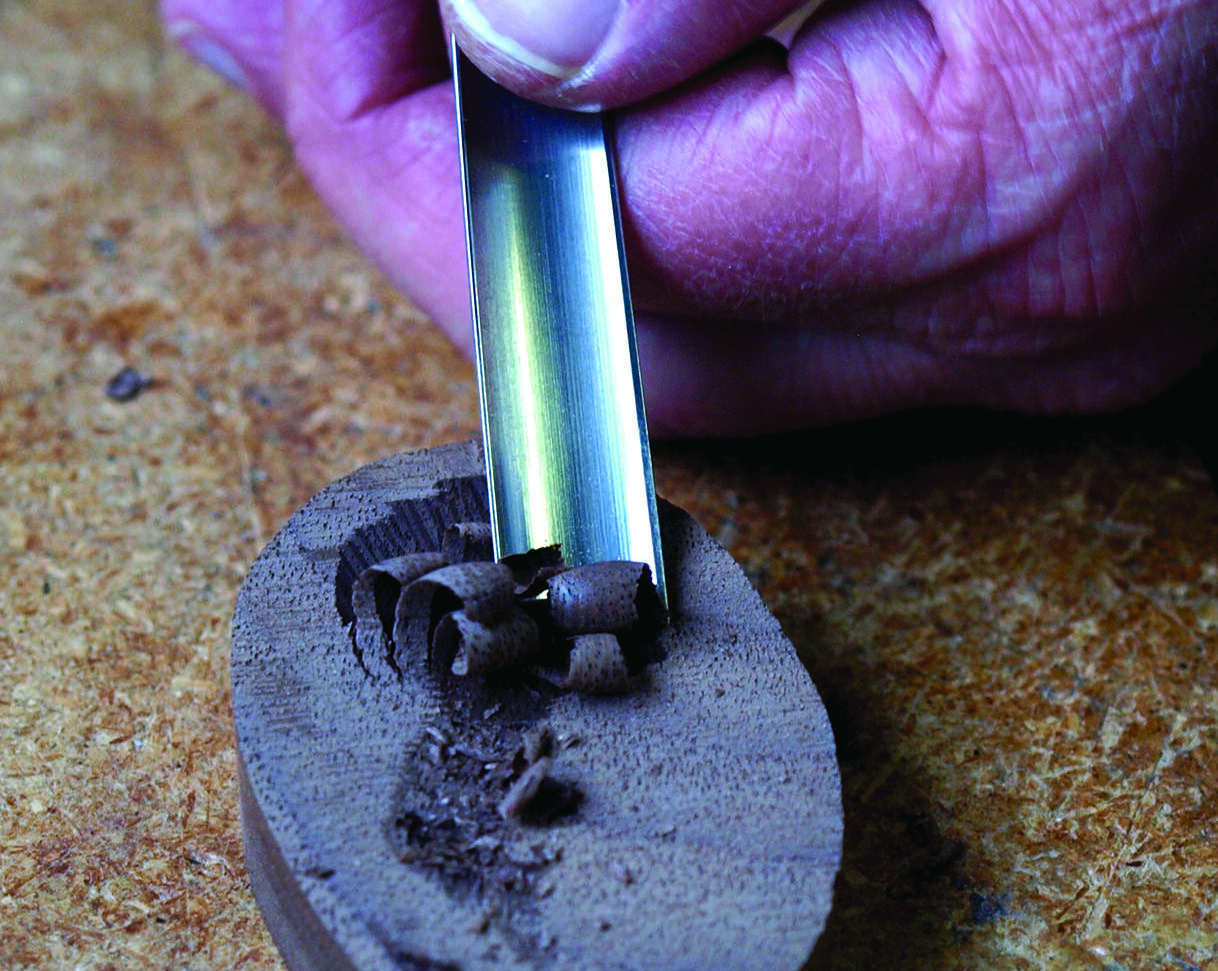
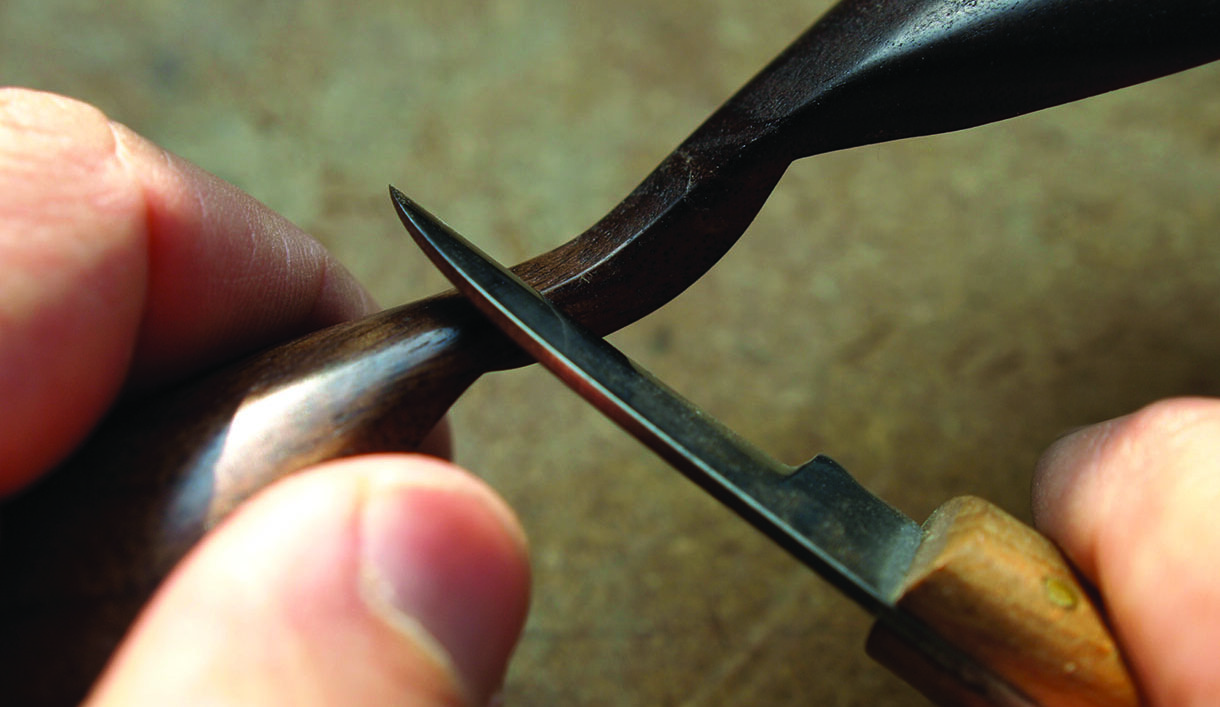
Carving the spoon bowl
If you decide to use wood with wild or irregular grain, be aware that carving the bowls becomes more problematic. You may have to fight against ropey grain which frequently changes direction or is prone to splitting. I make use of gouges and bent knives and proceed very cautiously. Note that the handle can become a breaking point, so ignore the urge to thin it too early in the process. I’ll often clamp the spoon to the bench if the wood is particularly troublesome.
If the wood is carving easily, I will generally revert to my bent knife and hold the spoon in my hand as I carve. Again, I watch to make sure I don’t create undue pressure on the handle section. I like to work the bowl fairly but not excessively deep. It is a hard point to judge, but there is a fine line between a bowl which is too shallow and thus looks unfinished and a bowl which has gone a touch too deep and looks a bit overworked. Alas, only experience can tell you when you are hitting that point.
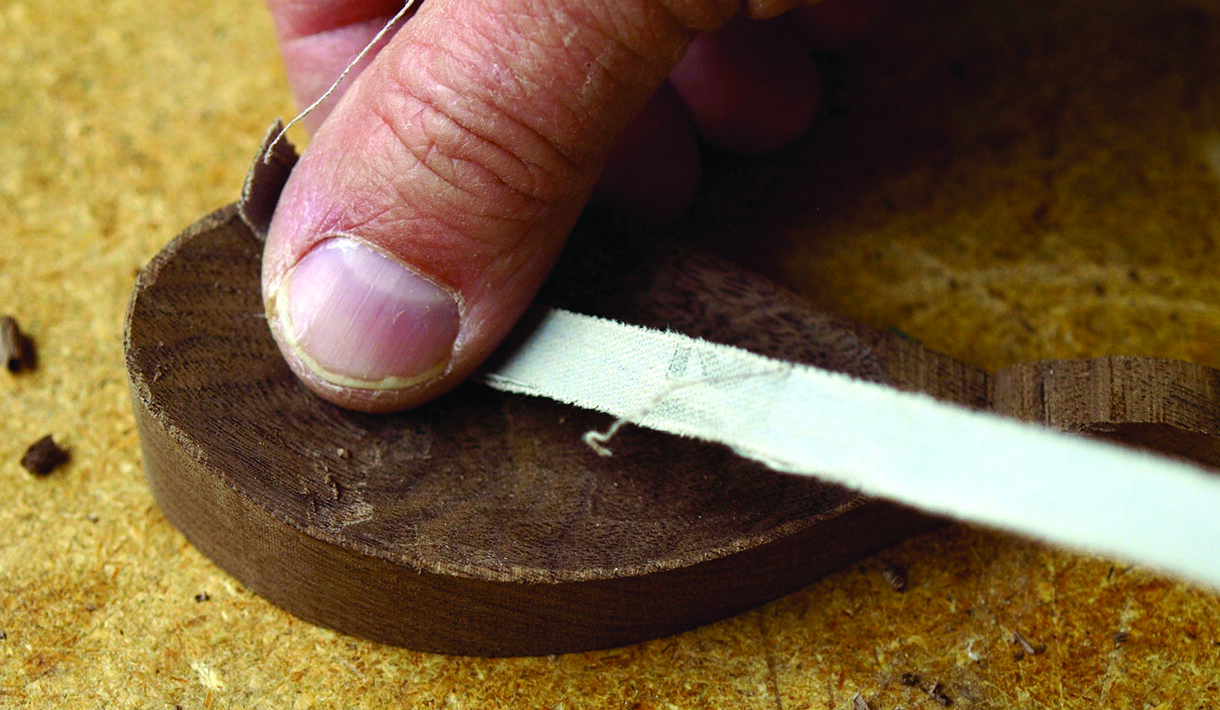
As with all my spoons, I like my bowls to be silky smooth and as fairly curved as possible. If the wood is uncooperative or a bit chippy, I will often use cloth-backed abrasive to fair rough areas even. I drag the abrasive under my thumb, using the pad of my thumb to shape the abrasive to the shape of whatever section I happen to be sanding. I don’t use undue pressure and I make sure not to sand too long in one place.
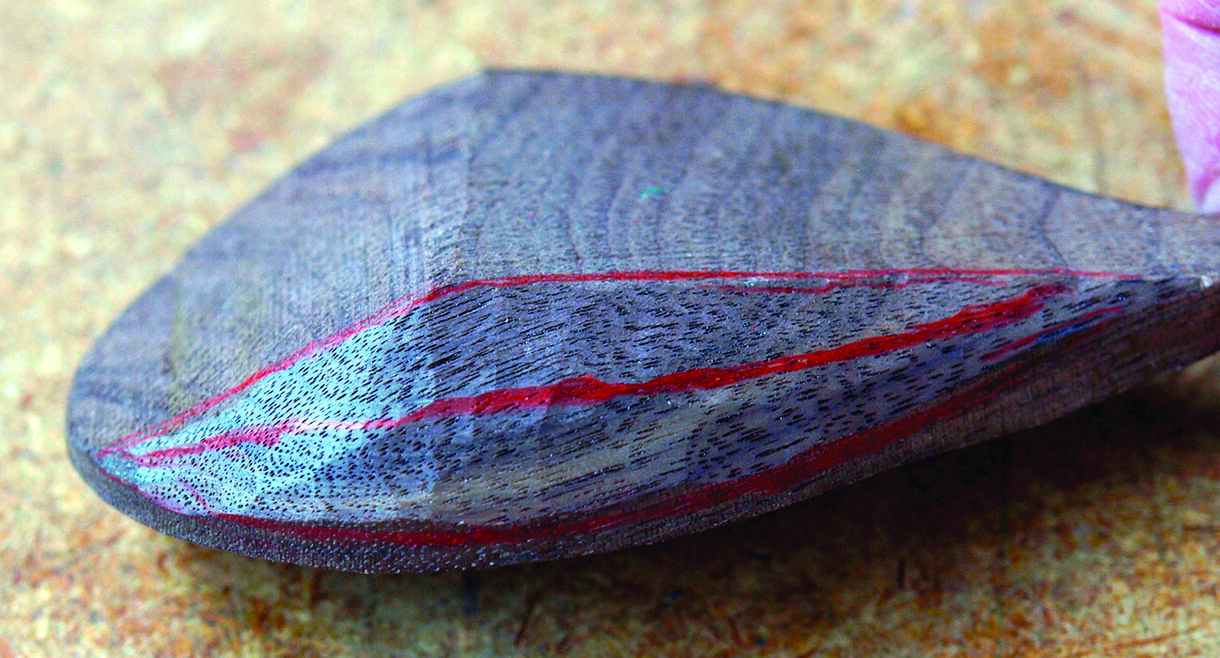
Bowls can be a source of disagreement among carvers. I happen to prefer a highly finished look for mine, but other carvers are equally adamant that their surfaces remain ‘off the knife’. Although I find the look a bit ‘rustic’ for some of the spoons I make, there is no doubt that an off-the-knife finish can be brighter and perhaps more vivid than a heavily smoothed surface finish. It definitely has a unique appearance and for certain spoons is absolutely the right way to go. This photo shows how, in the initial stages of smoothing, the brightness of a cut edge is lost. If you commit to smoothing, be sure to smooth into the finest grits and always with the grain.
Starting to shape the bowl of the spoon
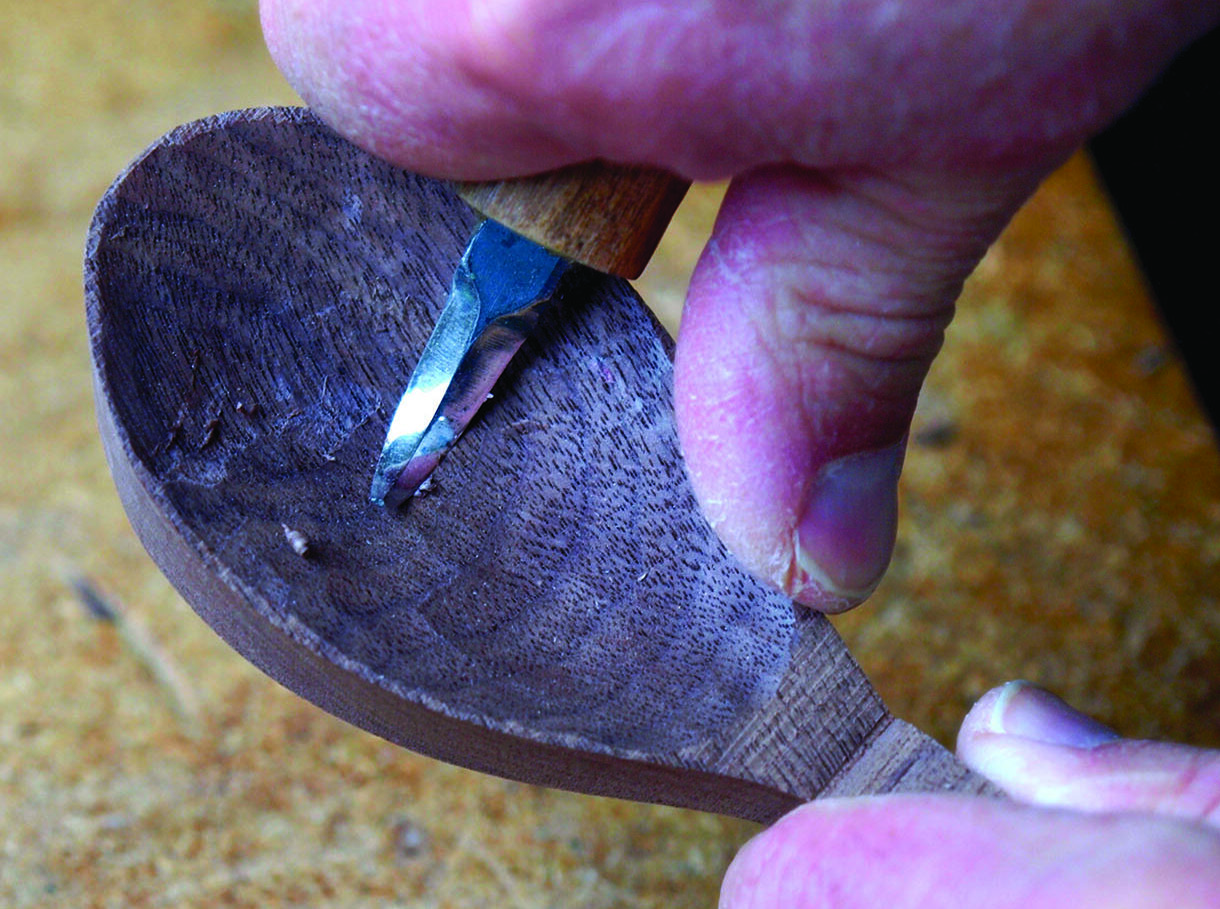
A curved knife or a curve-bladed gouge will help refine the inside shape
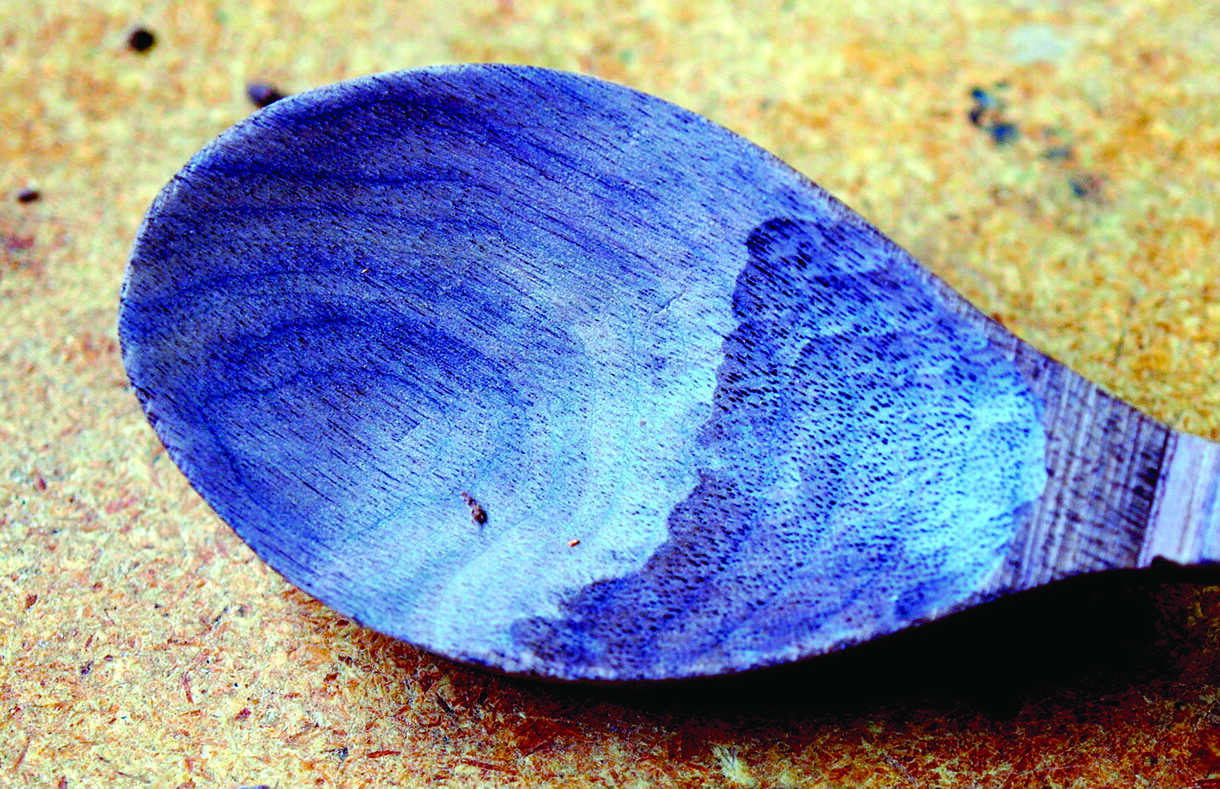
Abrasives help refine the surface if you are after a smooth feel
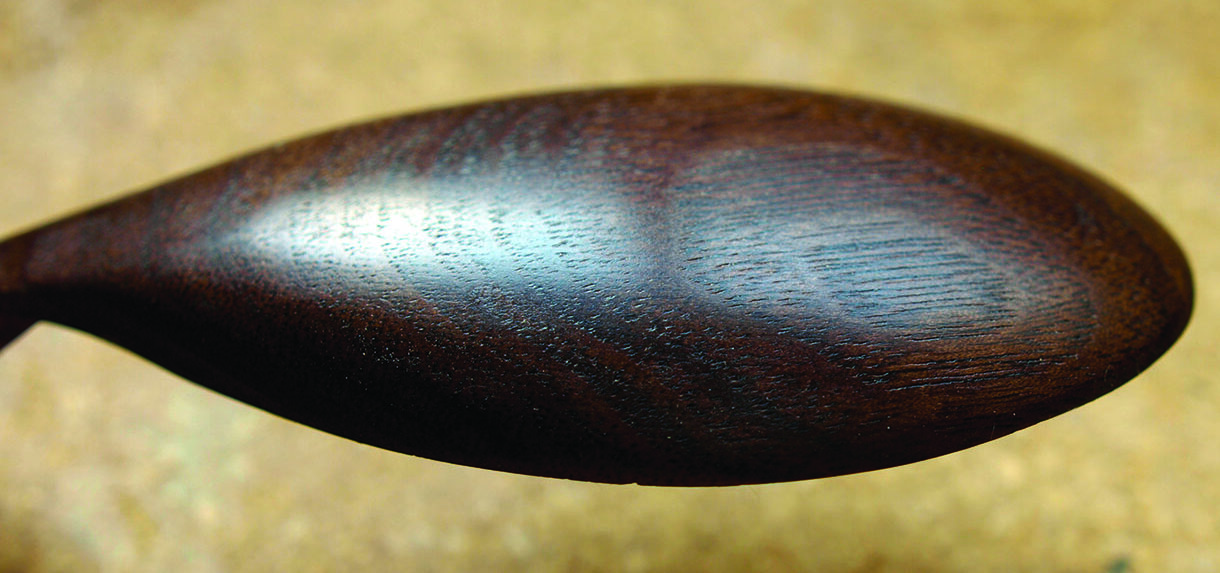
The difference between a tool and sanded finish
Shaping the back of the spoon bowl
To shape the back of the bowl, I generally angle a ‘ramp’ to the tip of the bowl with a saw or large chisels. Getting rid of that material quickly makes shaping the bowl much simpler later on. With the bowl ready for cutting, I mark a series of chamfered facets which I then go on to subdivide until the bowl approaches roundness. This method keeps some semblance of order as material is removed.
For the back of the spoon’s bowl I really do love to smooth as much as possible. I like to get the sides as thin and elegant as is safely possible and I like to sand things down to a really silky finish. It’s time-consuming work, but a sleek, graceful bowl is worth it.
Shaping the back
Sanded and finished
Creating the handle
With the bowls safely carved and finished, some fun shaping can go on with the handle section. There’s not much to be done except for some gentle shaping, but vigilance must be maintained and only careful pressure applied while holding and cutting. This is an area that can break easily, especially with figured woods, so be cautious.
Gentle refinement of the handle
Finishing
With the spoons completed, a bit of beeswax polish or perhaps some mineral oil and then a beeswax polish is all that is necessary if you intend to use the spoon for a wedding or ceremony. If you have a particularly spectacular piece of timber you wish to preserve, you might want to give it three or four coats of Danish oil, culminating with a 1000 grit wet paper sanding on the last coat. Rub the spoon thoroughly dry and leave to cure before a final beeswax polish.
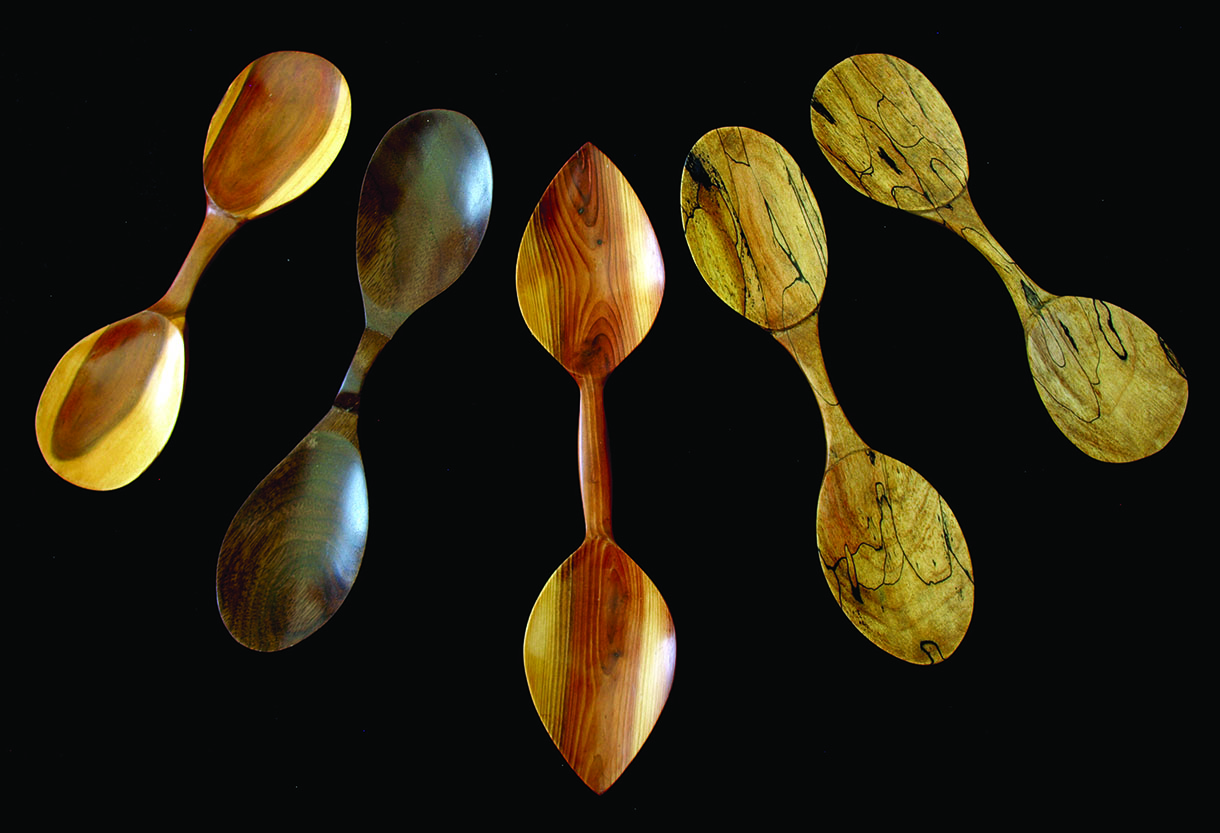
Various spoons finished and ready to use
Alternative designs
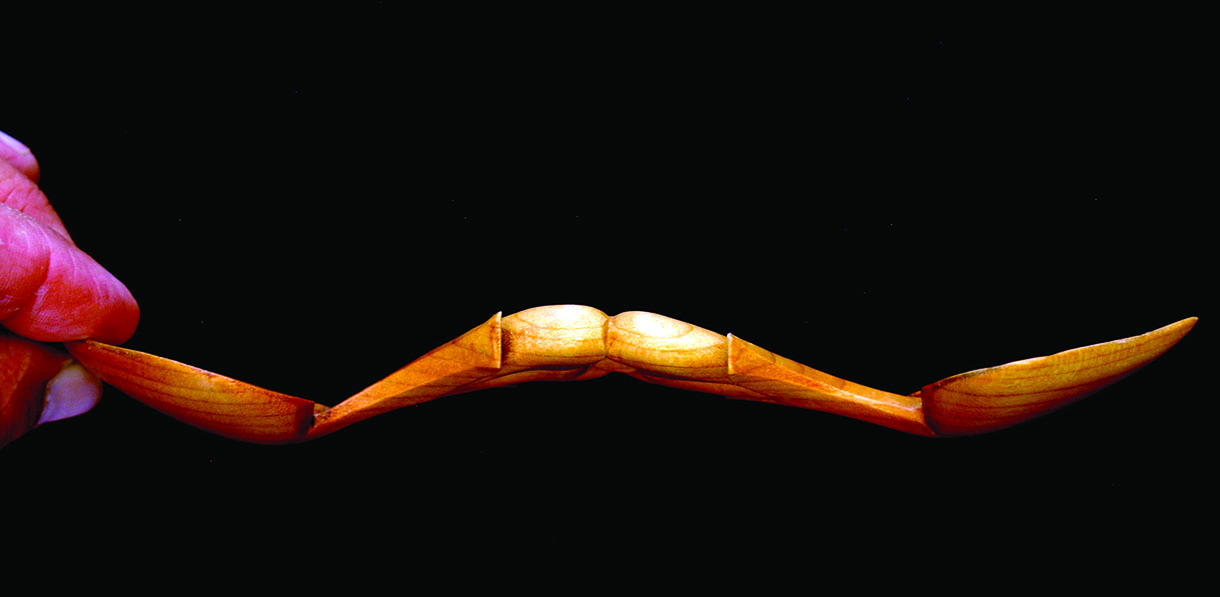
If you decide this spoon is just too easy you can jazz things up a bit by turning it into a ‘gycklarsked’ or joke spoon. The Swedes were fond of wedding spoons featuring bowls aligned in opposing directions, which likely made eating with them almost impossible. No doubt, at the height of the celebrations, watching a newly wed couple attempting to use a joke spoon made for great entertainment. To convert the simple double-bowl pattern into a joke spoon, you will need to reverse the directions in which the bowls face and angle the handle to an accommodating degree.
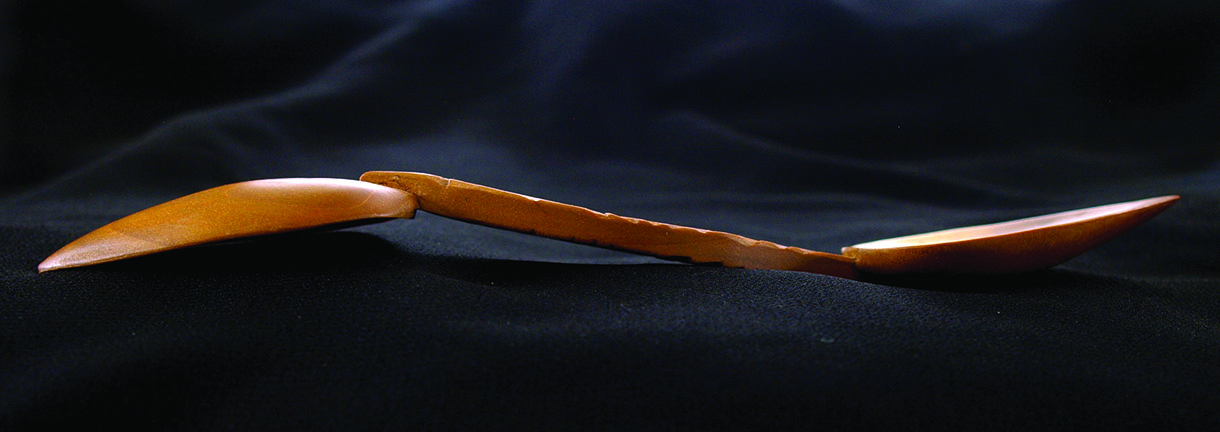
Double-ended spoon with bowls in opposing directions
Double-ended spoon with bowls in opposing directions
Complex pattern
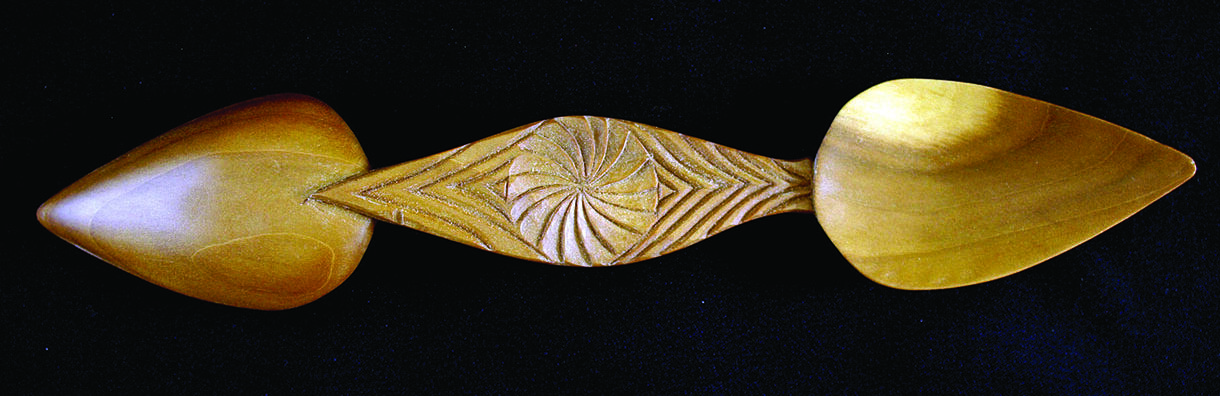
For those of you who want more of a challenge, I am including this little romantic double-ended spoon that makes both a lovely gift and is a nice test of your carving skills. I make mine with a very pronounced curve to the stem and I try to tilt the bowls as much as possible. I also take the time to finish both front and back faces as it not only gives a more complete look to the piece, it also makes the hearts satisfyingly rounded and voluptuous. I use a fairly dense wood such as cherry, walnut or maple for this design as it holds detail nicely and allows me to really polish it to a glorious, smooth finish. Please note, this is a copyright design which I welcome you to use for practice, gift-giving or even to donate for fund raising events; I only request you refrain from selling commercially.
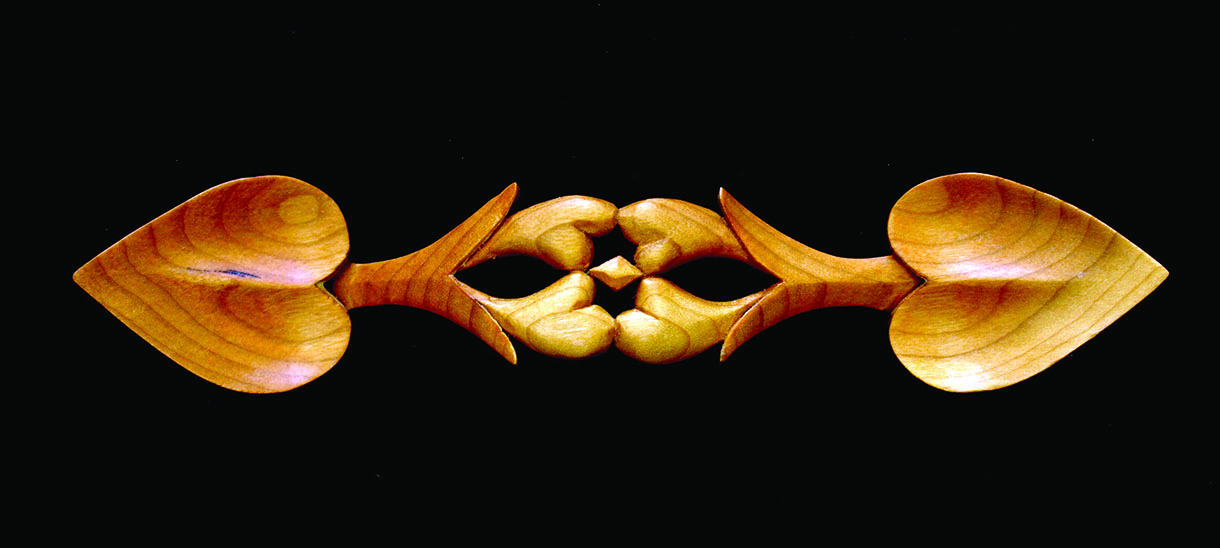

A double-ended spoon with a more complex handle


")