Spoon Carver’s Axe Block:
Lee Stoffer swings into action to make an axe block in green wood for spoon carving

Lee Stoffer swings into action to make an axe block in green wood for spoon carving
Carving spoons from green wood using hand tools is a great way to hone skills and learn a lot about the way the wood behaves. Only a few simple cutting tools are required, the first of which is an axe, but another important accessory that can often be overlooked is a decent chopping block to help with the axe work. I’ve tried various set ups over time and thought it was worth sharing my experiences.
I will show you a few tips to make a practical, portable axe block with some useful features that make hewing a spoon blank just a little bit easier. The block I’ll be describing in this article is designed to be used while standing and incorporates the most important functional features of my trusted old favourite.
You will need a section of hardwood log; cherry or ash work well and I usually use a knotty piece that’s no use for anything else. It should be at least 200mm in diameter and 300–400mm long. A larger piece is not a problem but will be heavier to move around. Some fairly straight, cleavable hardwood for the legs is preferable, in this case I’ll be using ash.
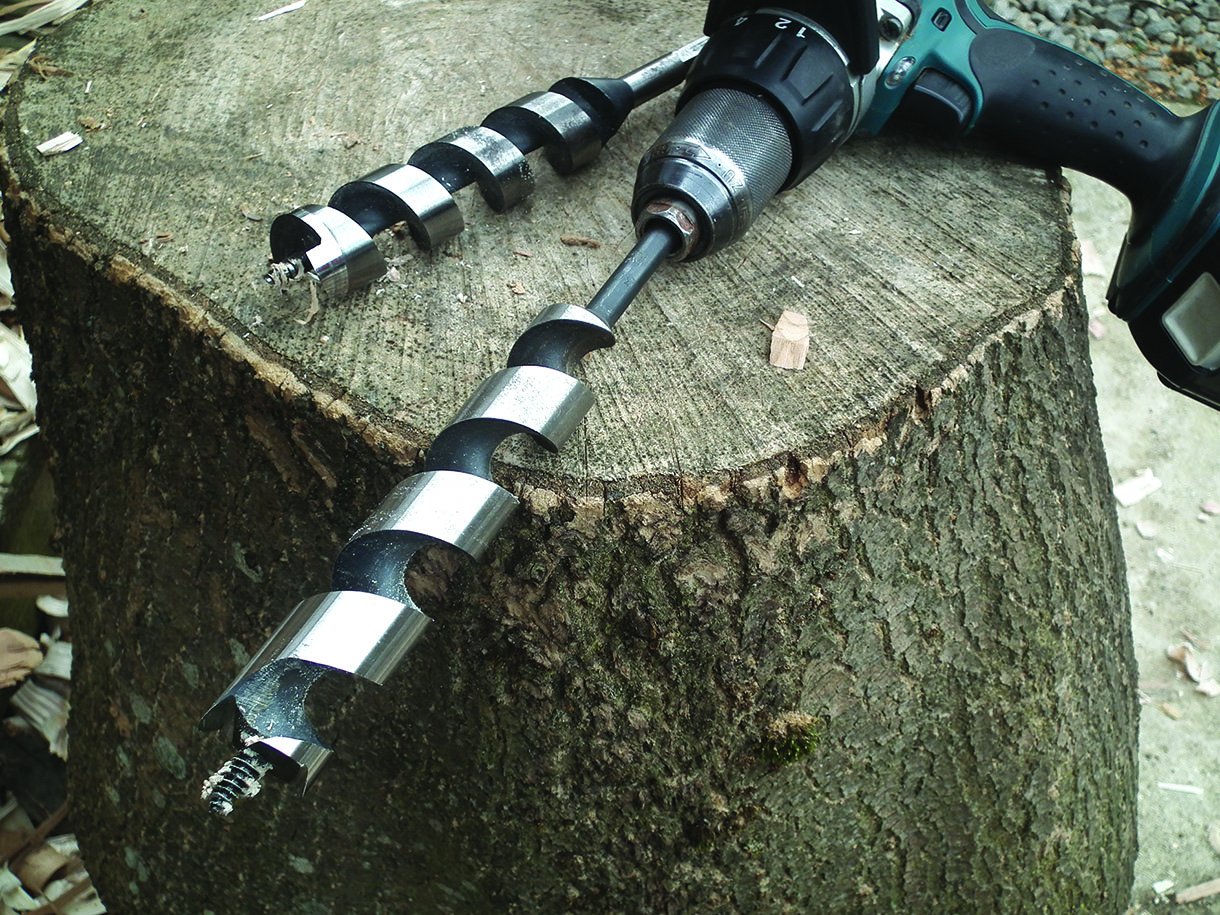
This project can be completed using green or seasoned material. I prefer the log to be at least part seasoned and to have already developed a radial crack for a couple of crucial reasons: one, it is useful for function in the finished block and two, a crack can be avoided when working out positions for the legs. I’ll be using power tools for this project, including a drill with low gear for slow speed and maximum torque, an impact driver for attaching and adjusting the leg positioning jig, as well as some green woodworking
tools to cleave and shape the legs.
Tools used
• Chainsaw
• 18V drill
• 32mm and 30mm auger bits
• Impact driver
• Froe
• Club
• Axe
• Drawknife
Wood
• Log of cherry (Prunus spp.) or ash (Fraxinus excelsior), 200mm diameter x 400mm long
• Straight hardwood for legs, e.g. ash
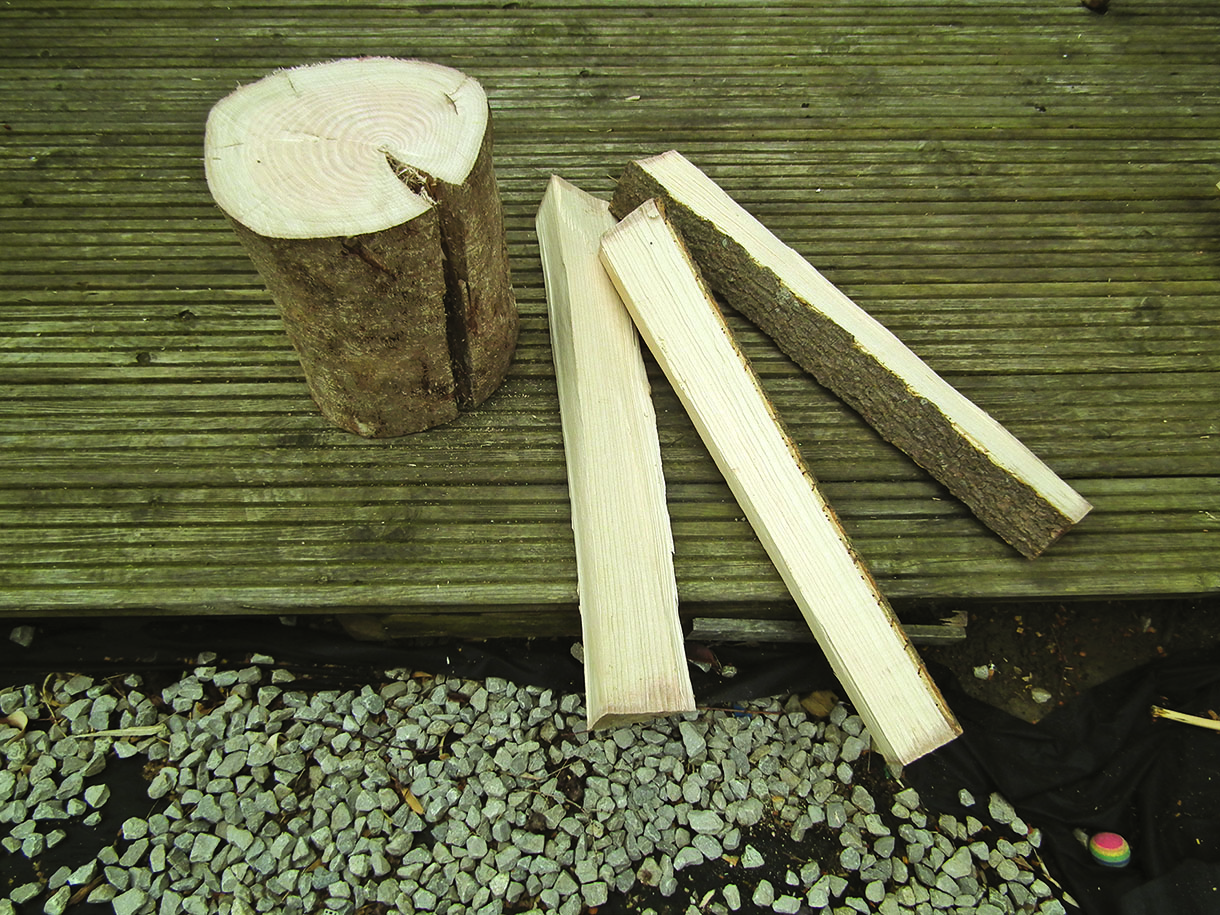
An ash log and cleaved ash legs were used for this project
Health and safety
Edge tools and chainsaws are both dangerous. Only attempt to use hand or powered cutting tools if you have received appropriate training and have correct PPE (Personal Protection Equipment)
Perfect dimensions
I started with a log 700mm long for the legs. The finished legs are actually 620mm long on the finished block pictured and the block log itself is 320mm high. Allowing for the splay and tenon fit, the overall working height of the finished block is 820mm, to suit a user around 6ft in height. Adjust these dimensions accordingly to suit
your preferred working height.
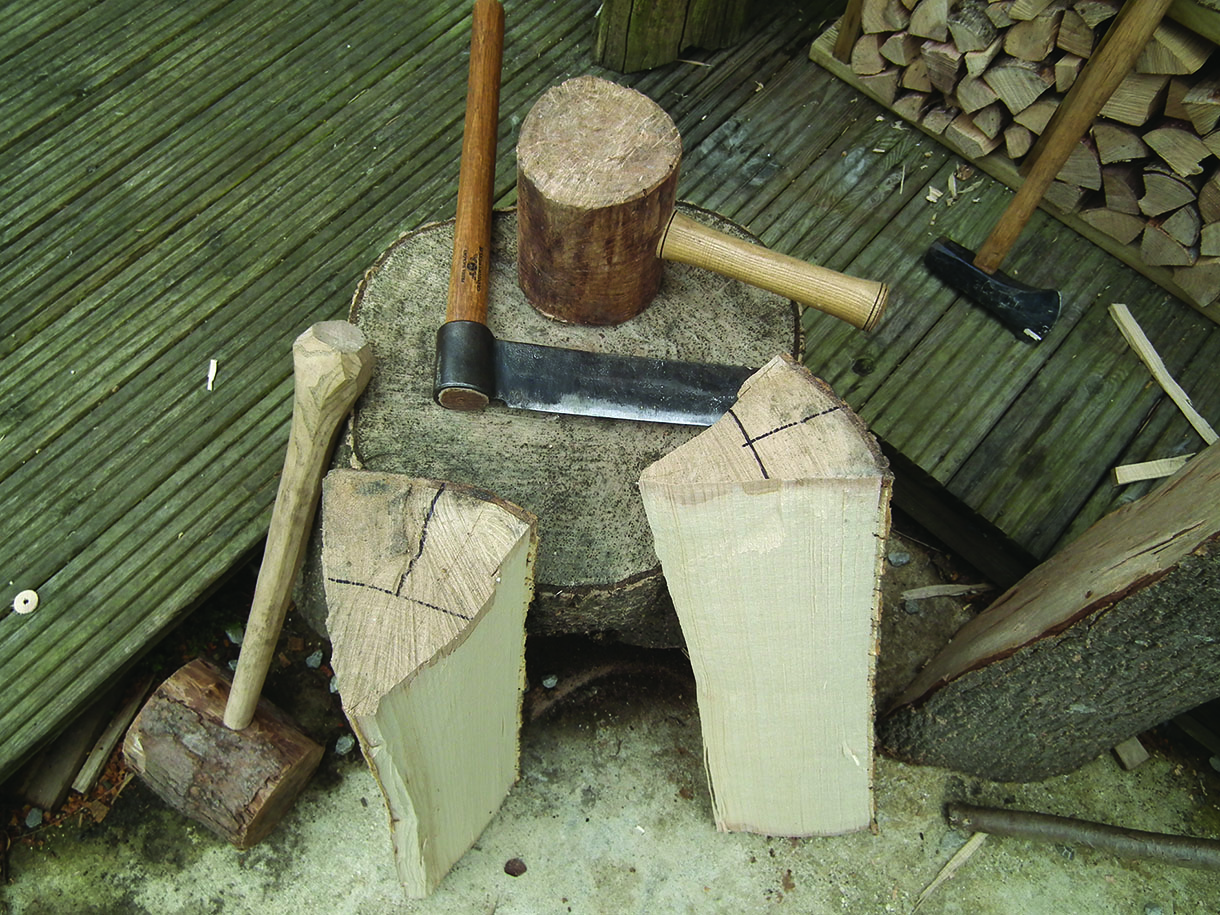
1. First, select and cleave some green ash for the legs
2. I got three leg billets from a 1/8 section of a log that was 400mm diameter by 700mm long
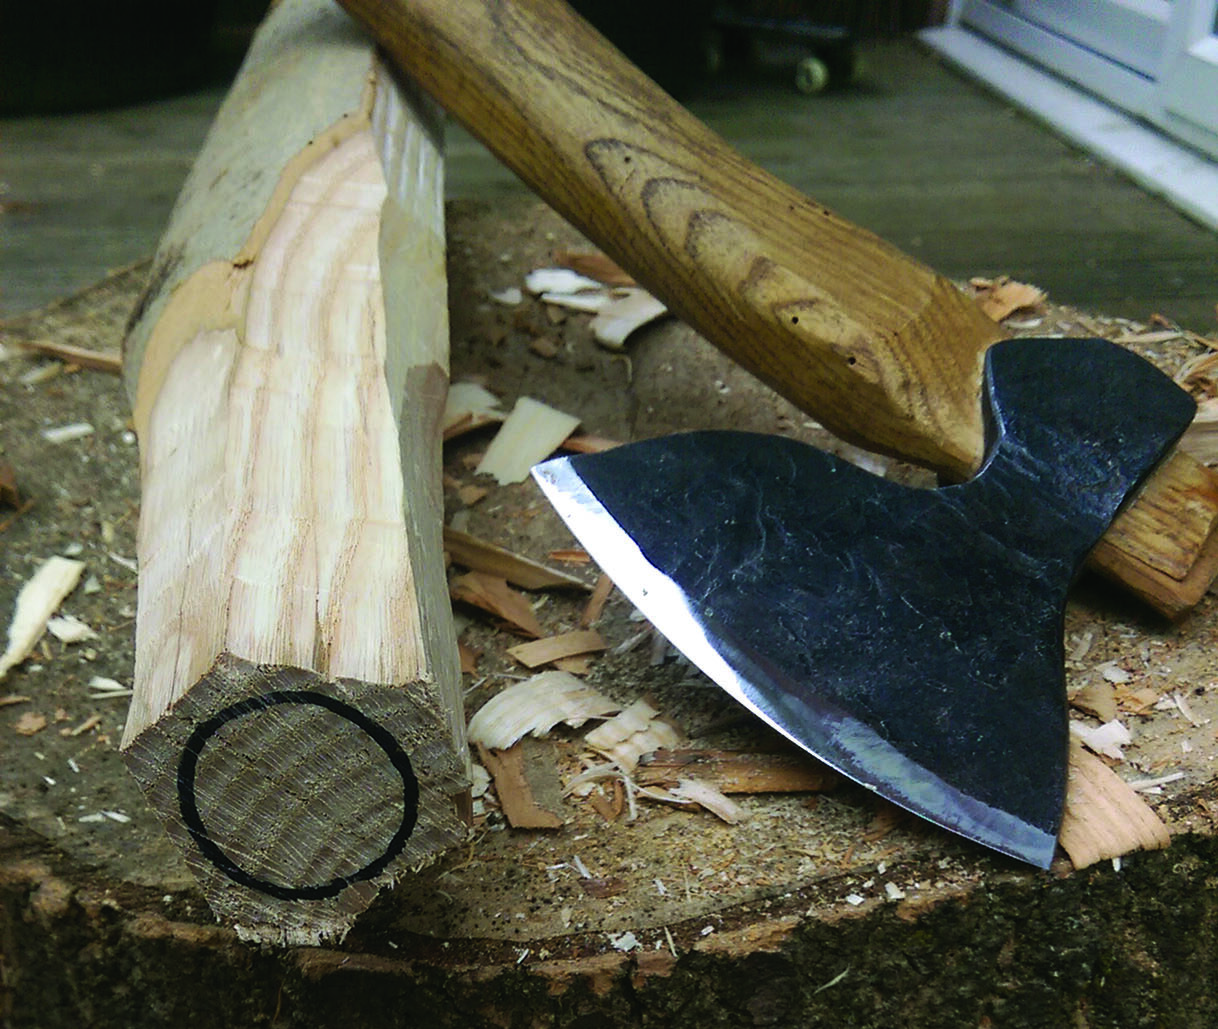
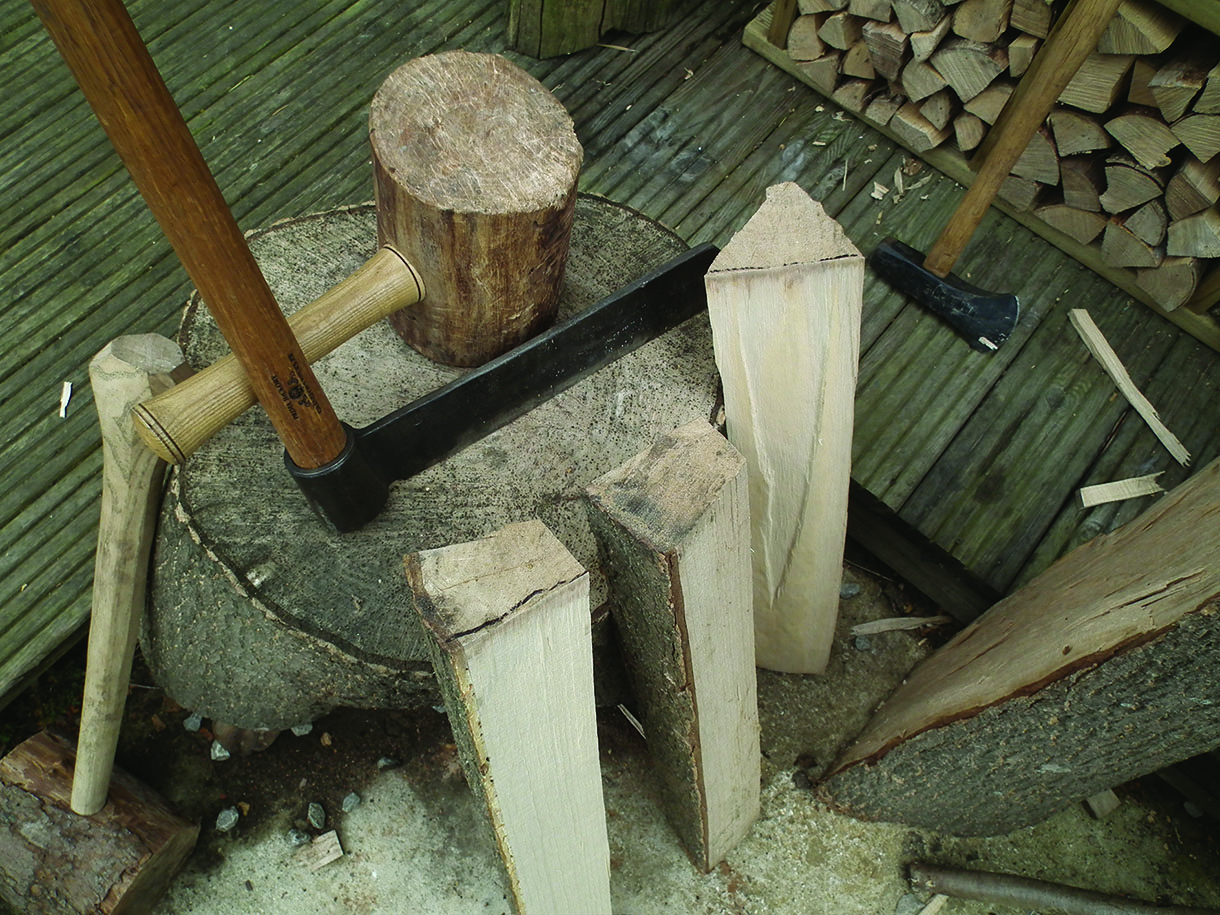
3. Knock the sharp edges off each billet with an axe and taper one end down to around 40–45mm diameter, starting the taper 150–200mm from the end of the billet
4. Use a slice of waste pipe with an internal diameter of approximately 32mm, as a guide to mark out the tenon. This is the size of the auger you’ll use for the mortise. Leave the legs to dry, ideally until the moisture content comes down to under 15%
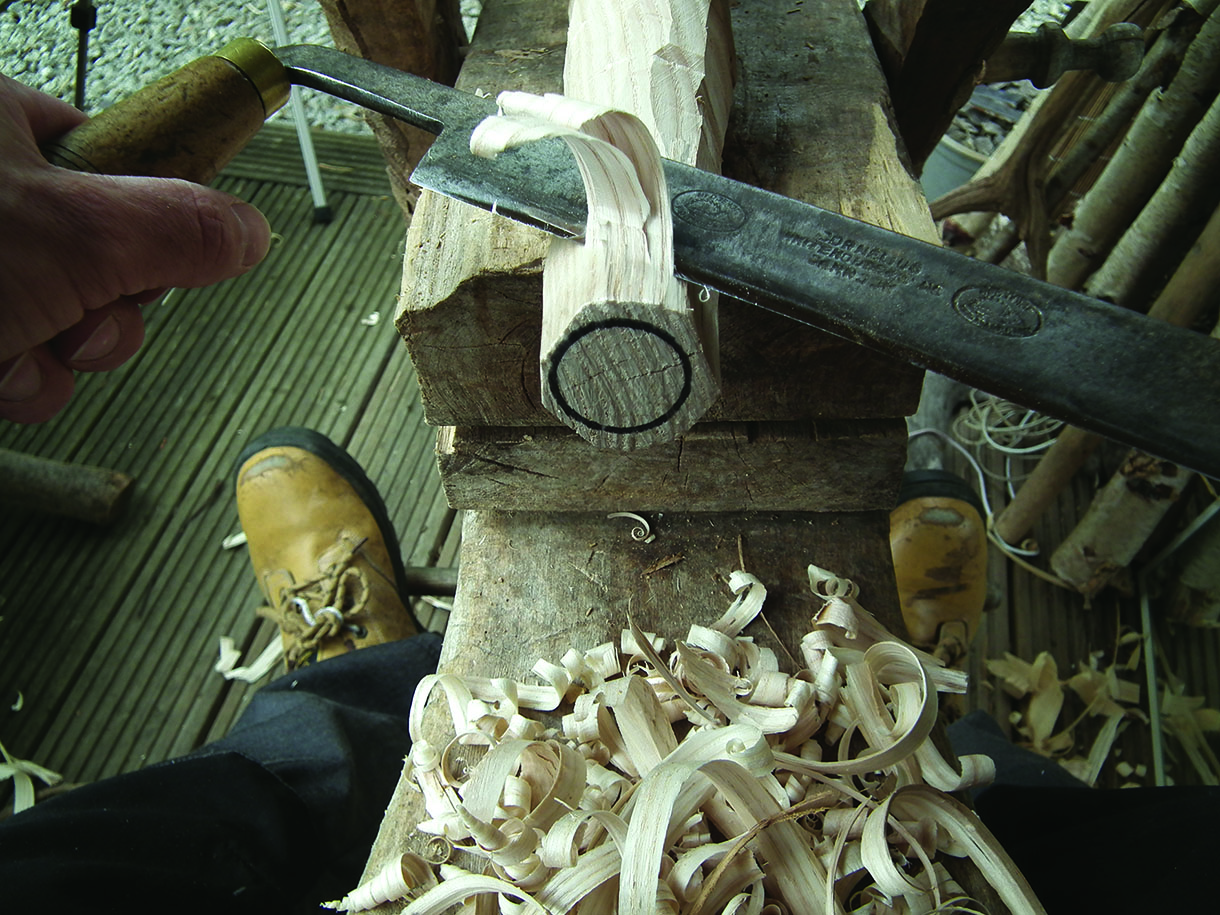
5. When the legs have dried out, begin final shaping of the tapered tenon. I’m using a drawknife and my shaving horse for this job, but you could use a power tenon cutter or turn the legs on a lathe
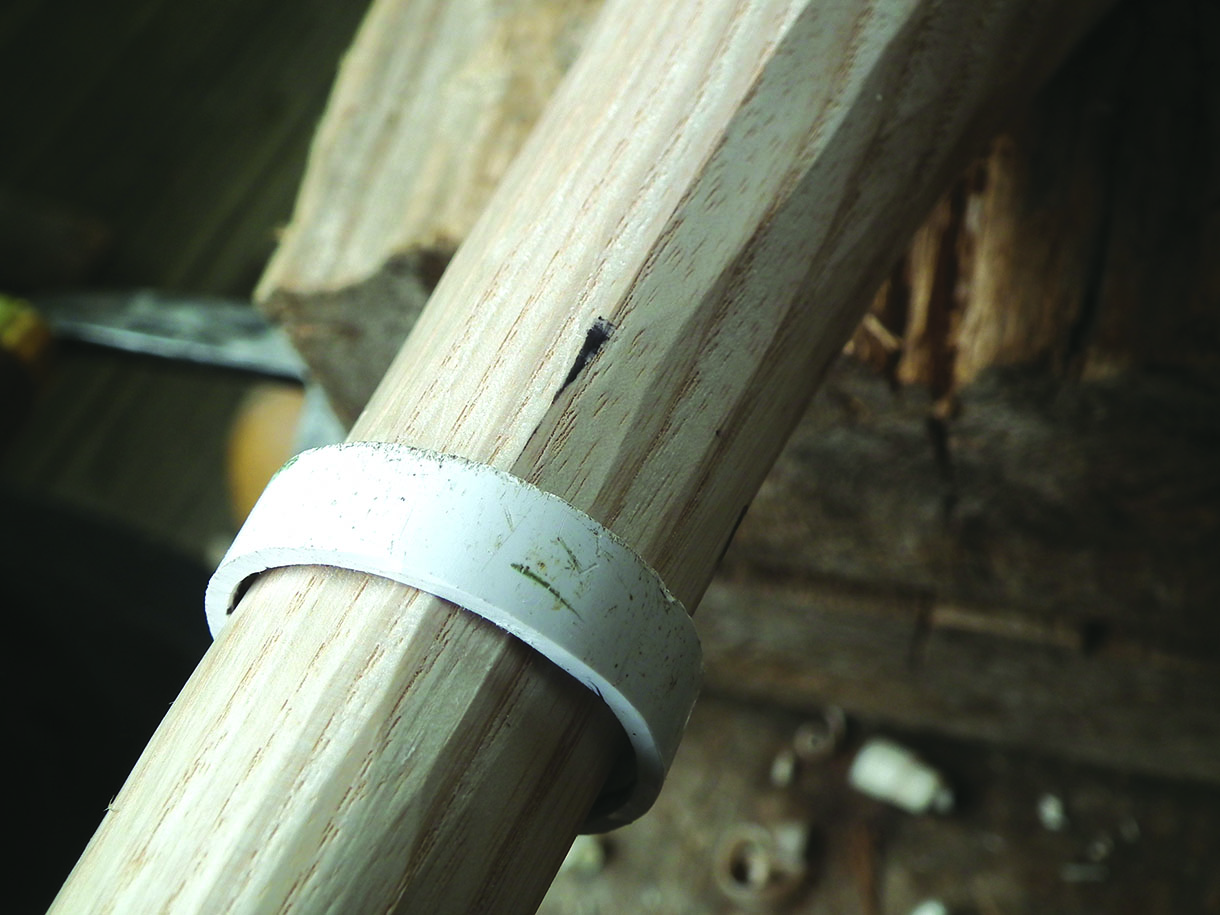
6. Shave down until you have tapered tenons around 100mm long and the slice of pipe fits down to about halfway. Rotate the pipe guide on the tenon to leave a witness mark where any high spots need to be removed. Don’t worry if there’s a little end grain checking in your tenons from drying
7. Clean up the rest of the legs with the drawknife to leave a reasonably smooth finish. This will reduce the chance of getting splinters when fitting and removing the legs later

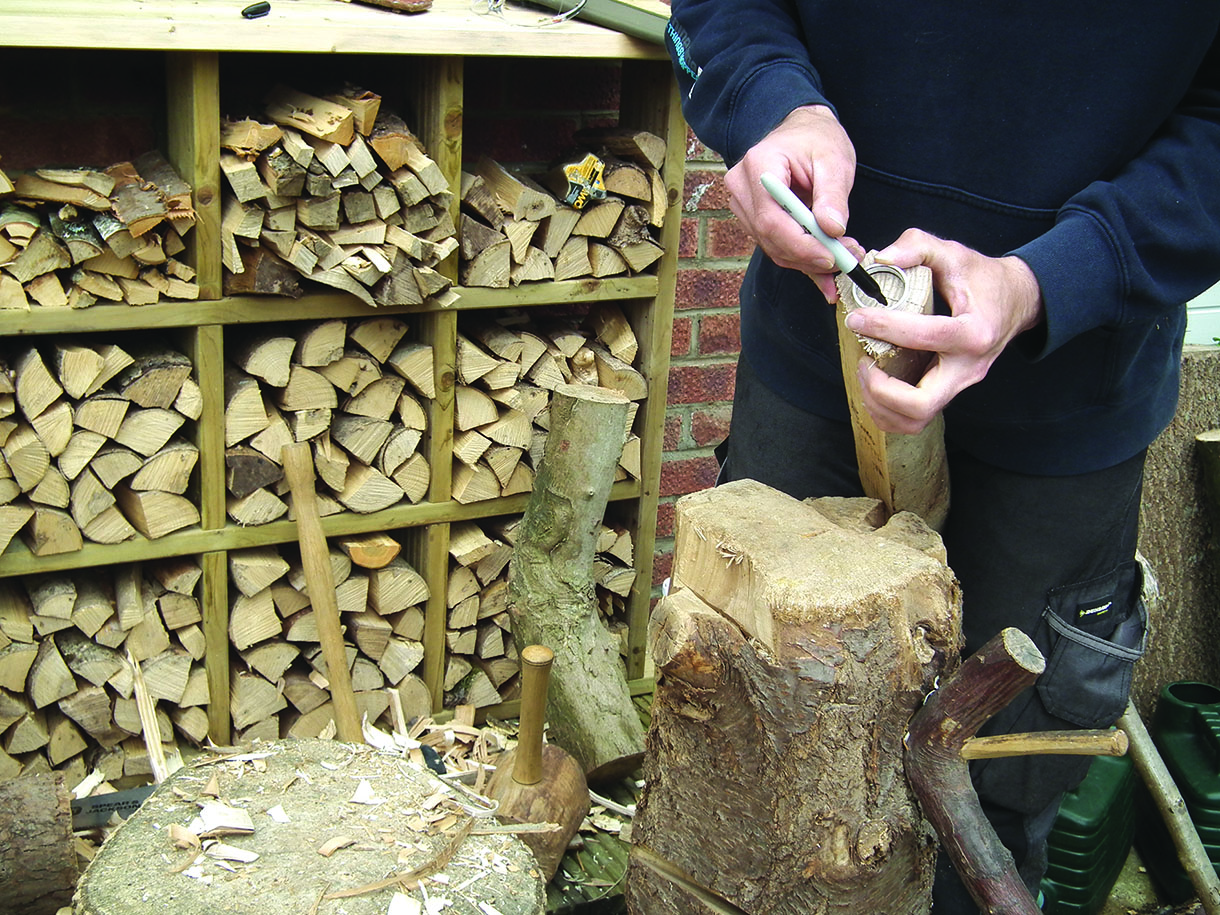
8. Now we can make the mortises for the legs in the larger log. I’ve made a simple jig from plywood to help with alignment. This consists of an equilateral triangle with a hole in the centre, with another triangle to indicate a splay angle of 20°
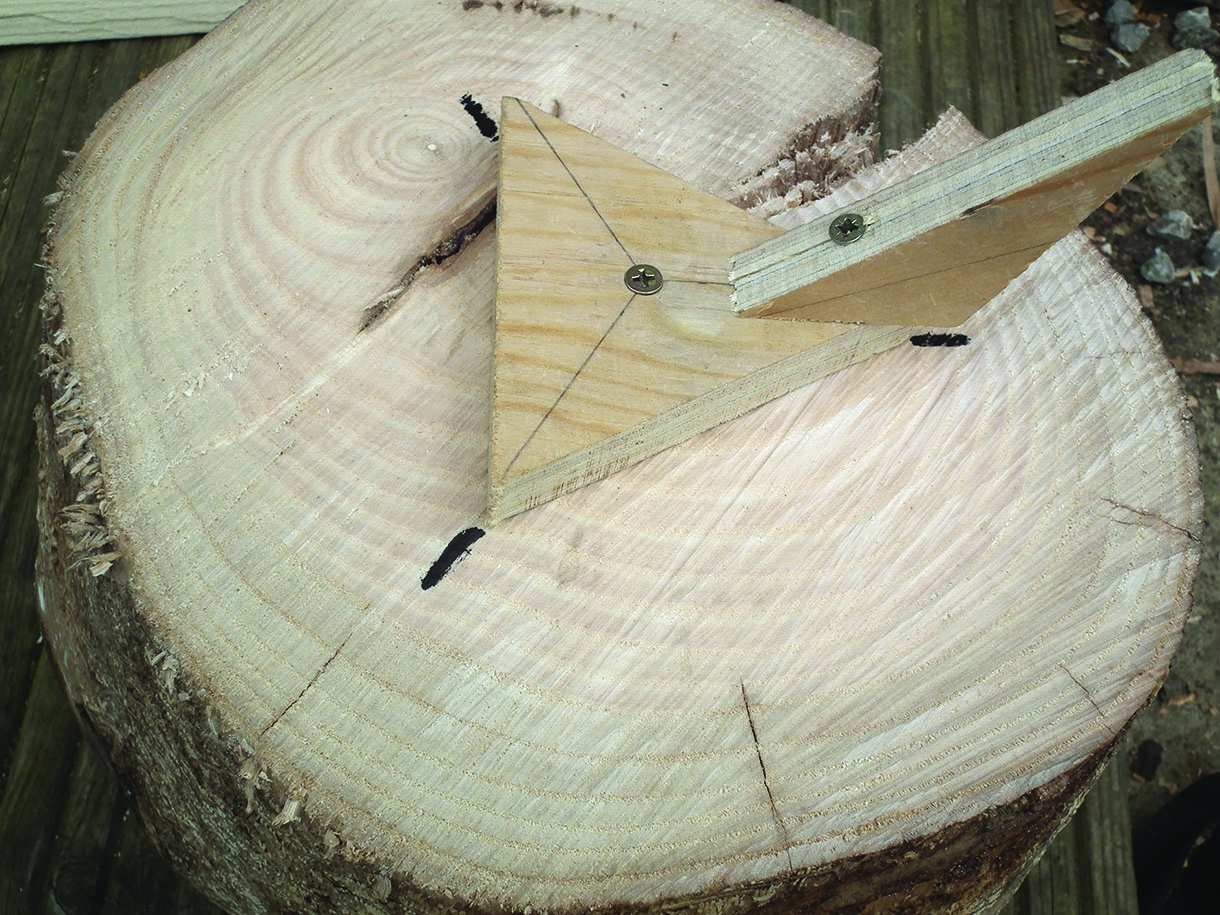
9. Loosely fix the jig to the centre of the log and rotate so that any radial cracks are away from the points of the base triangle. Tighten the screw and mark all three points onto the log
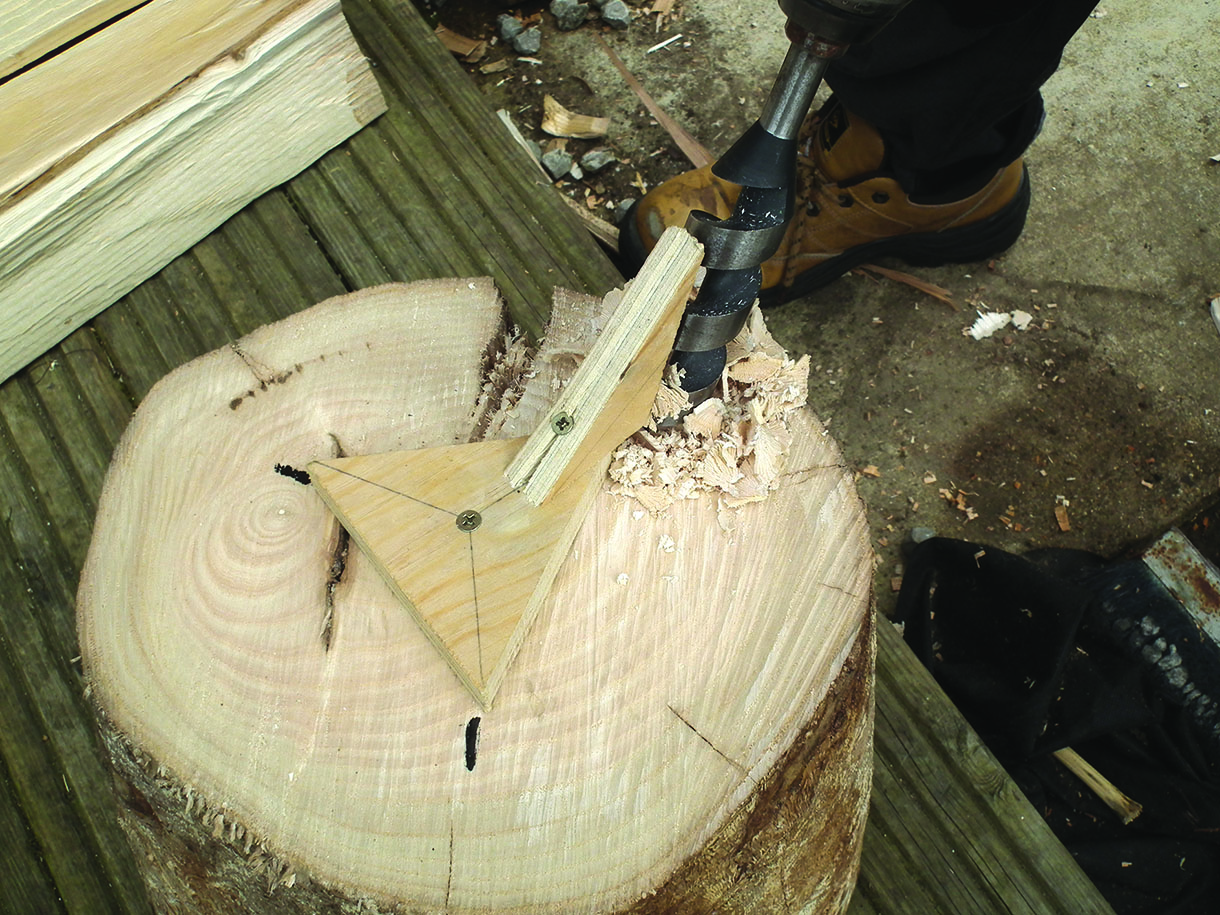
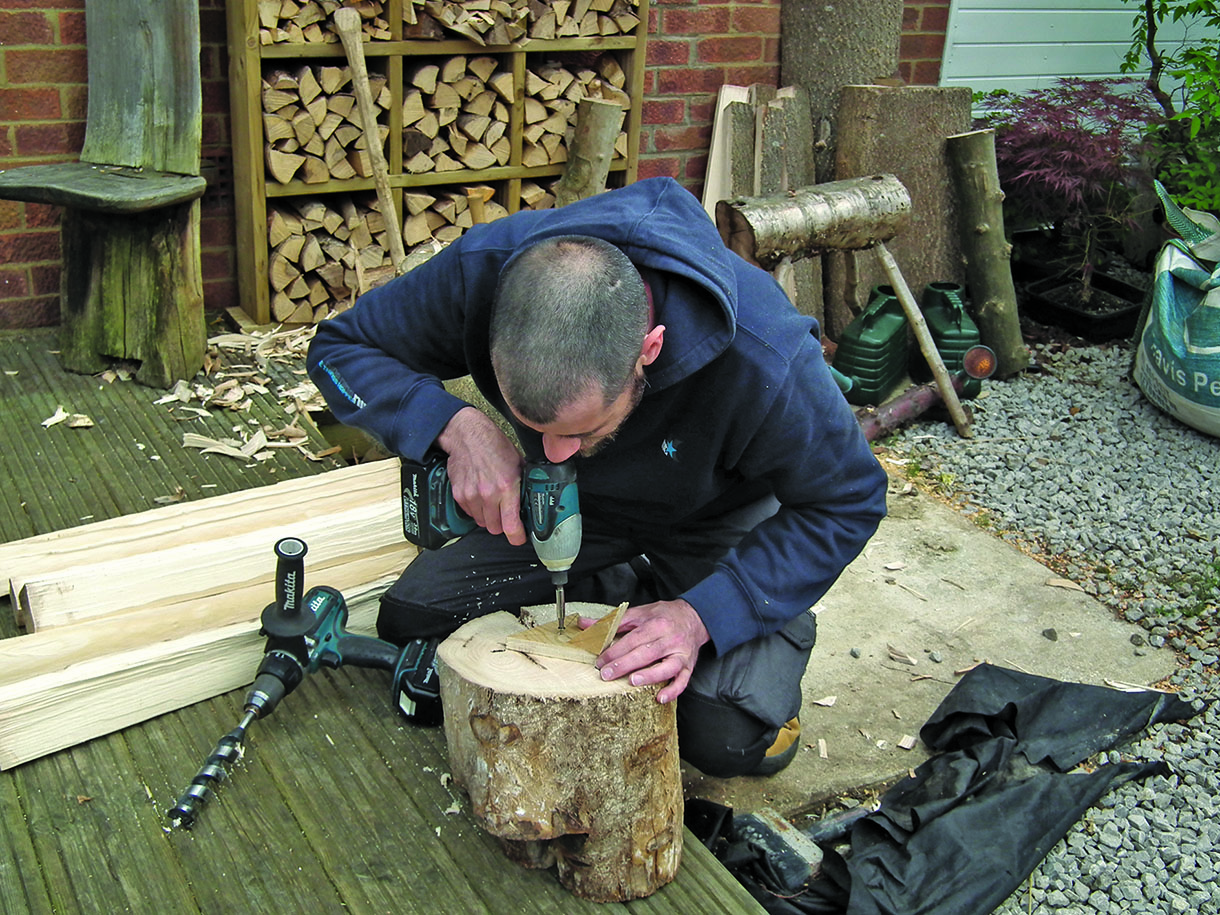
10. Drill the first mortise to a depth of around 75mm using a 32mm auger bit. Be sure to fit the side handle on your drill, brace yourself and the log, and take it slowly. If the auger bit jams, the torque generated can easily cause wrist injuries. Use an old bar auger instead if you have one or prefer not to use a power drill!
11. Loosen the screw and rotate the jig until the points align again; lock down and repeat the process for the remaining mortises
12. Now change to a 30mm bit and deepen the holes by another 25mm
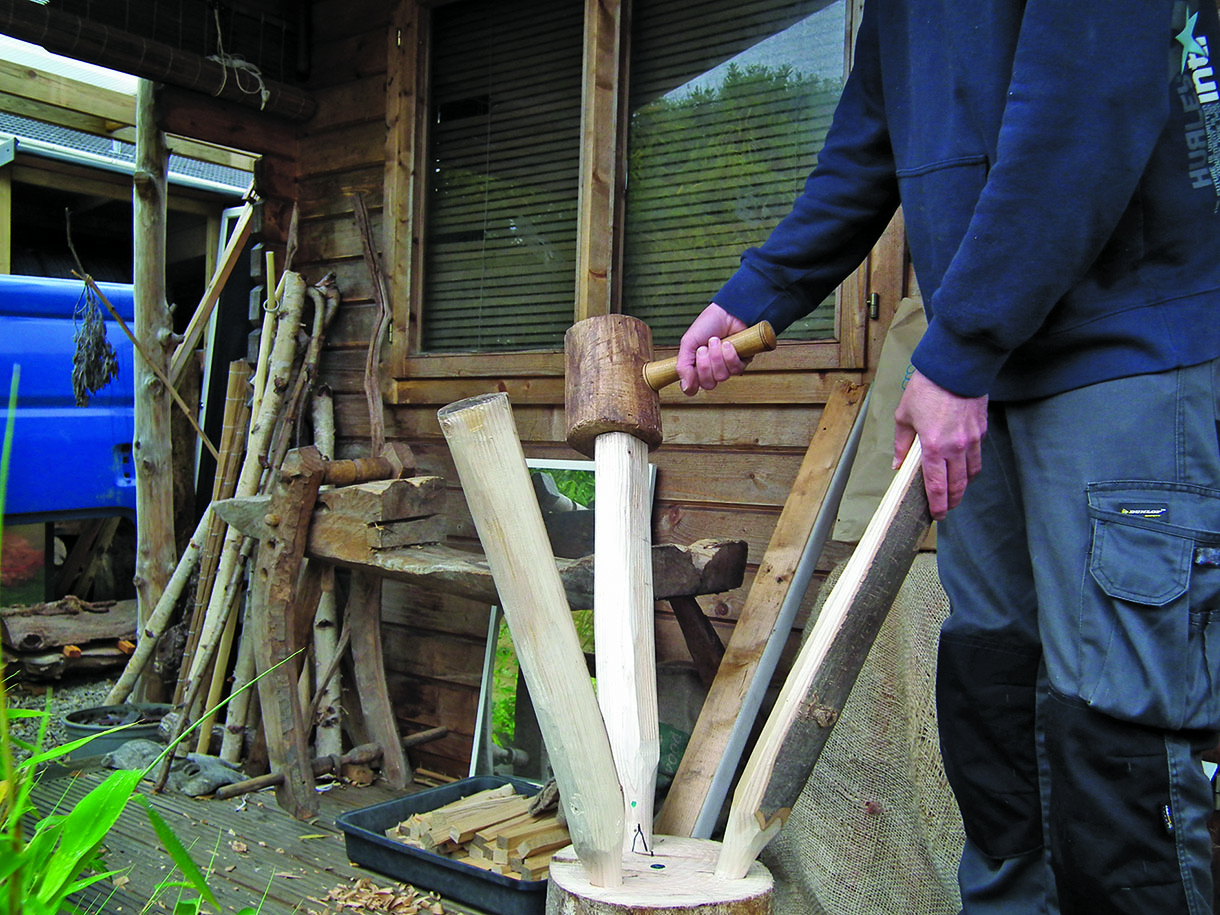
13. Test fit your legs. Ideally, you want the 30mm section of mortise to bite a little on the very end of the tenon and the taper to seat gently in the 32mm entrance to the mortise. Achieving a nice fit here by fine tuning the tenons, means that each leg can be removed for transport, with a couple of sideways taps and a twist. If you don’t intend to remove the legs then a tighter fit is fine
14. Stand the block on its feet and check the surface is reasonably level. Swapping or rotating the legs a little can often provide enough adjustment. If not, levelling usually only requires the trimming of one leg. Pack waste material (wood or cardboard) under two legs to level the block, then remove the thickness of the packing material from the third leg
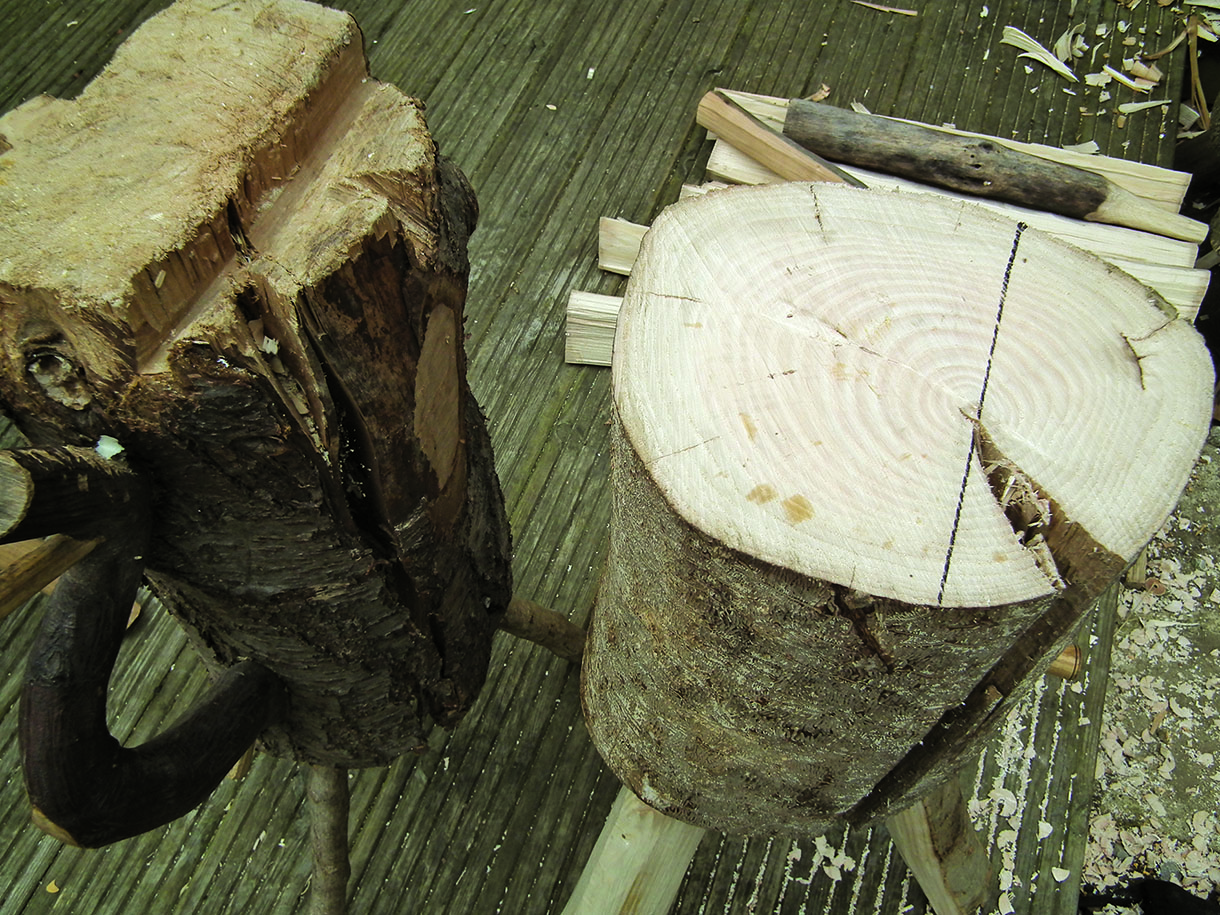
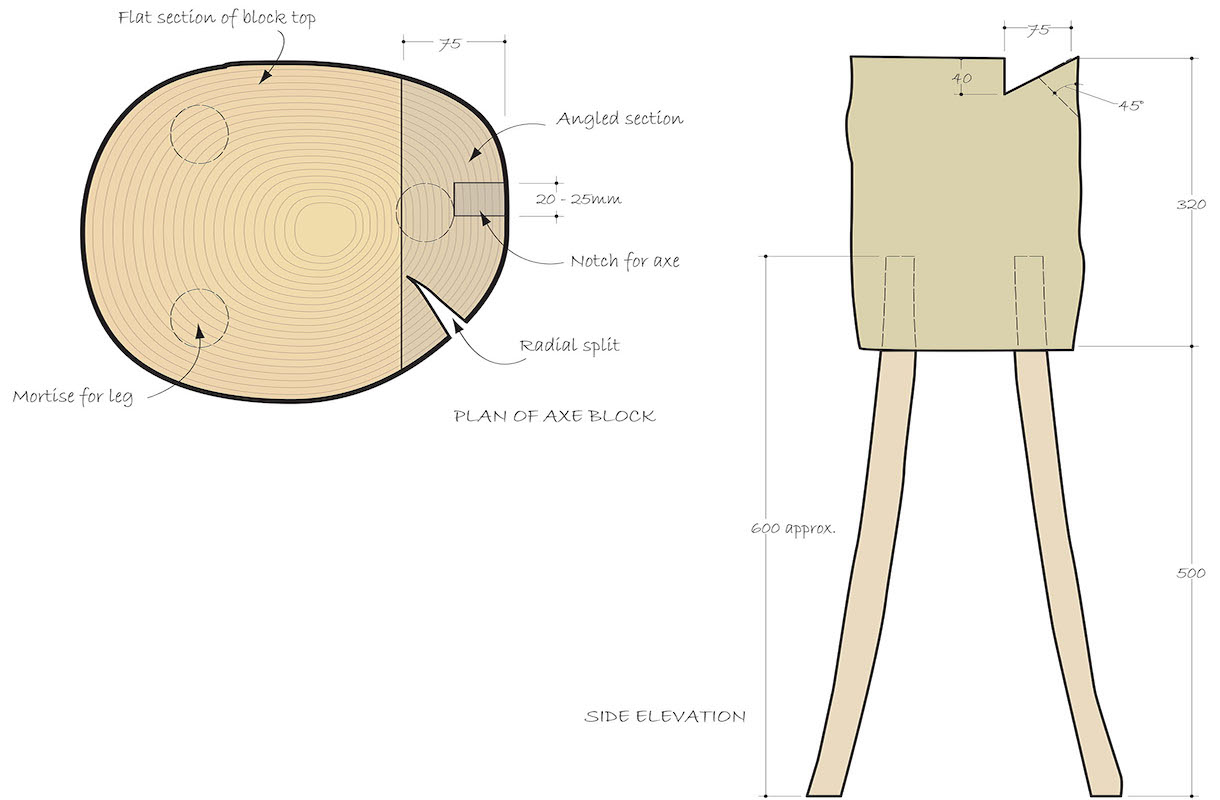
15. Now we have a nice solid surface to work on (the top of the block should be just below waist height). A bit of shaping of the surface and the use of a couple of notches will provide an advantage when carving spoon blanks. For one of the notches, we can utilise the radial crack that forms in most logs as they dry out. Cut a second notch to add further functionality
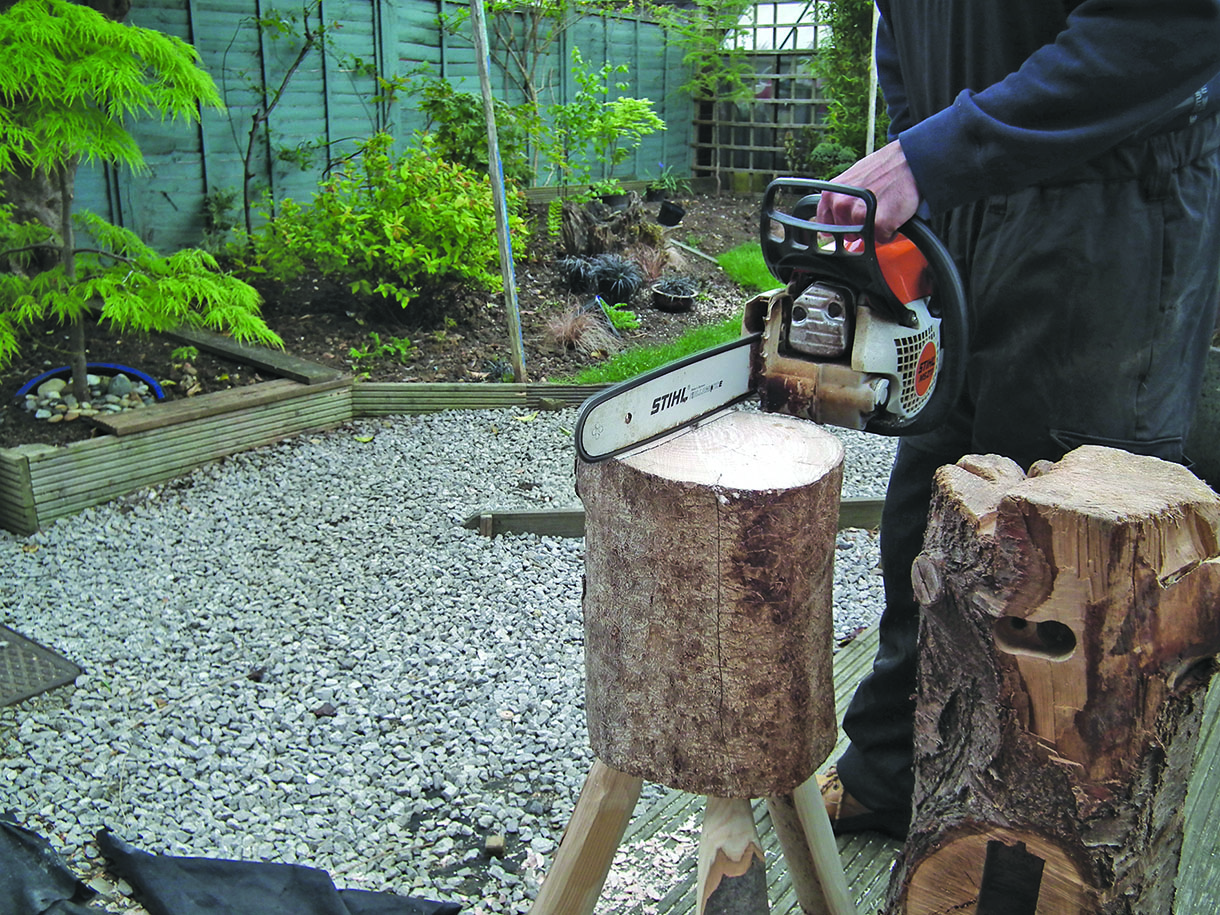
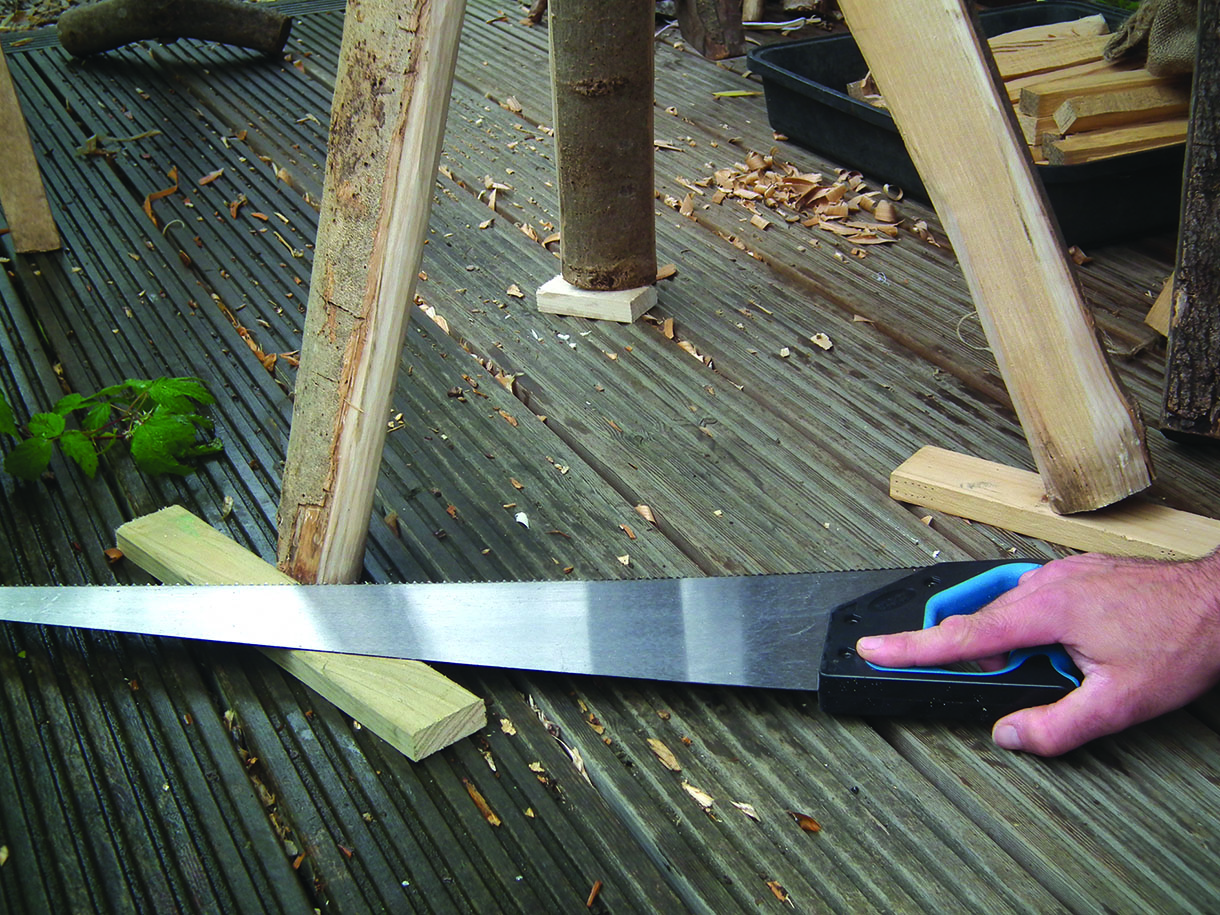
16. If you’re not confident using a chainsaw to make these cuts, or don’t have a chainsaw, then a handsaw and chisel could easily be used instead
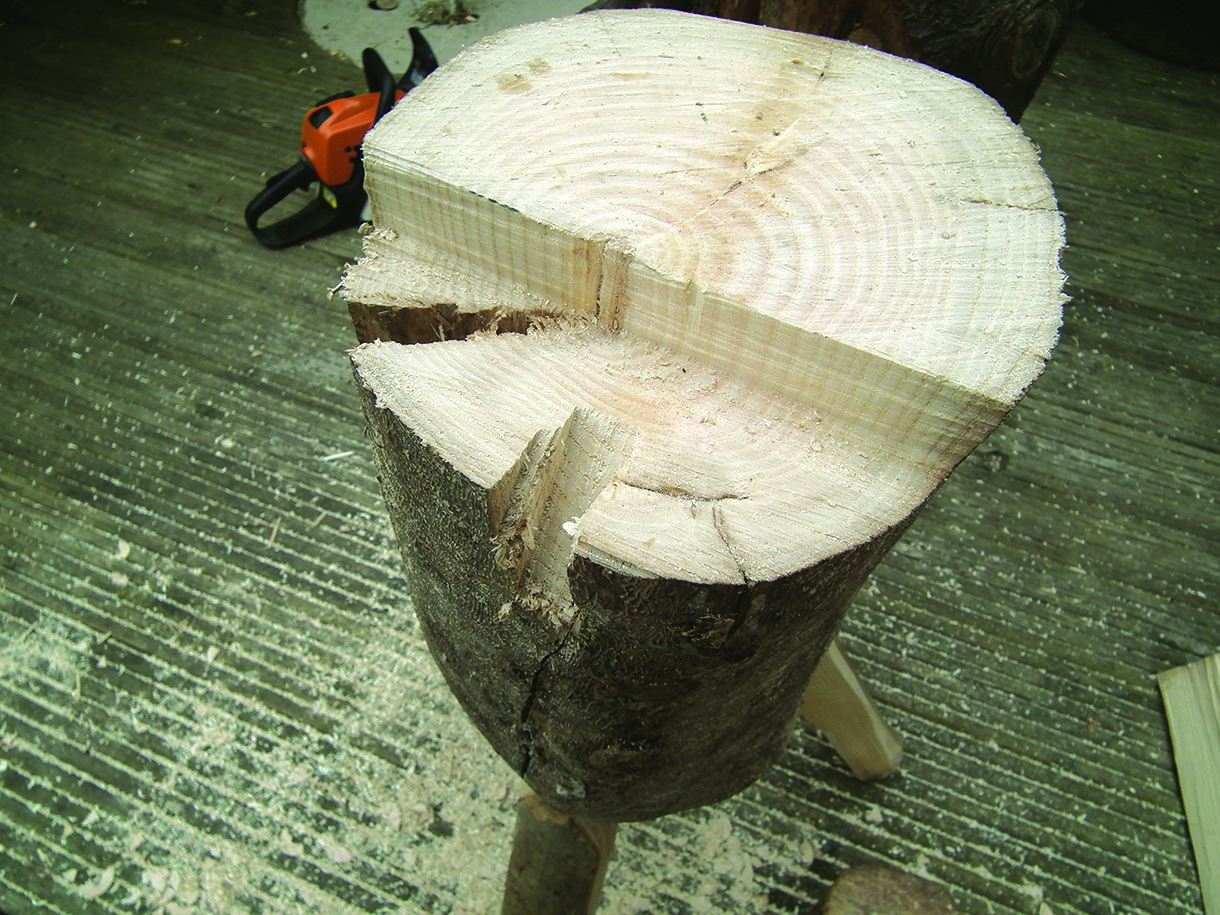
17. Make a vertical cut first about 40mm deep and 75mm back from the edge of the block, with the natural radial crack positioned between four and five o’clock to the cut (or one and two o’clock if you are left handed). Then cut back into the bottom of the vertical cut from the outside top edge of the log block
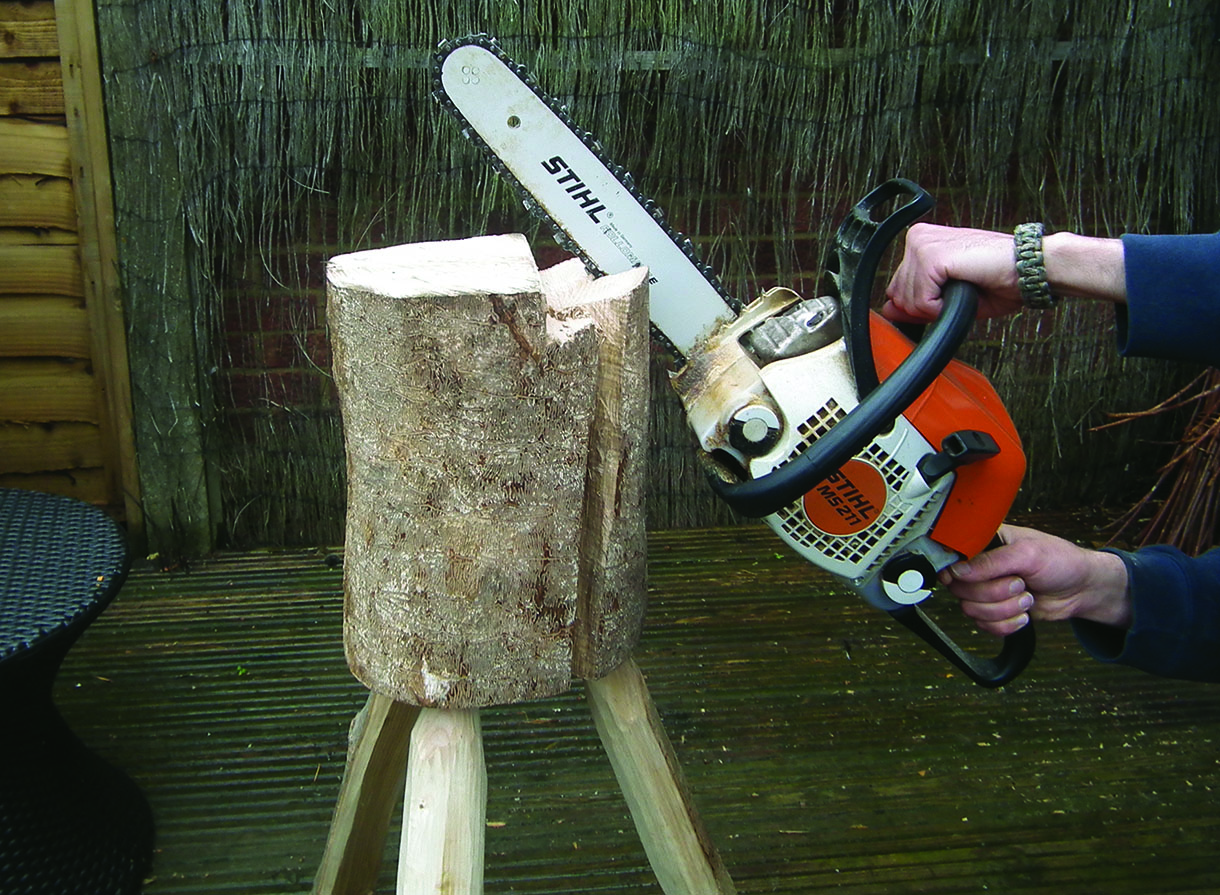
18. Cut in a notch between 20mm and 25mm wide, perpendicular to the first cut, at about 45° off vertical, back towards the centre of the block from the edge
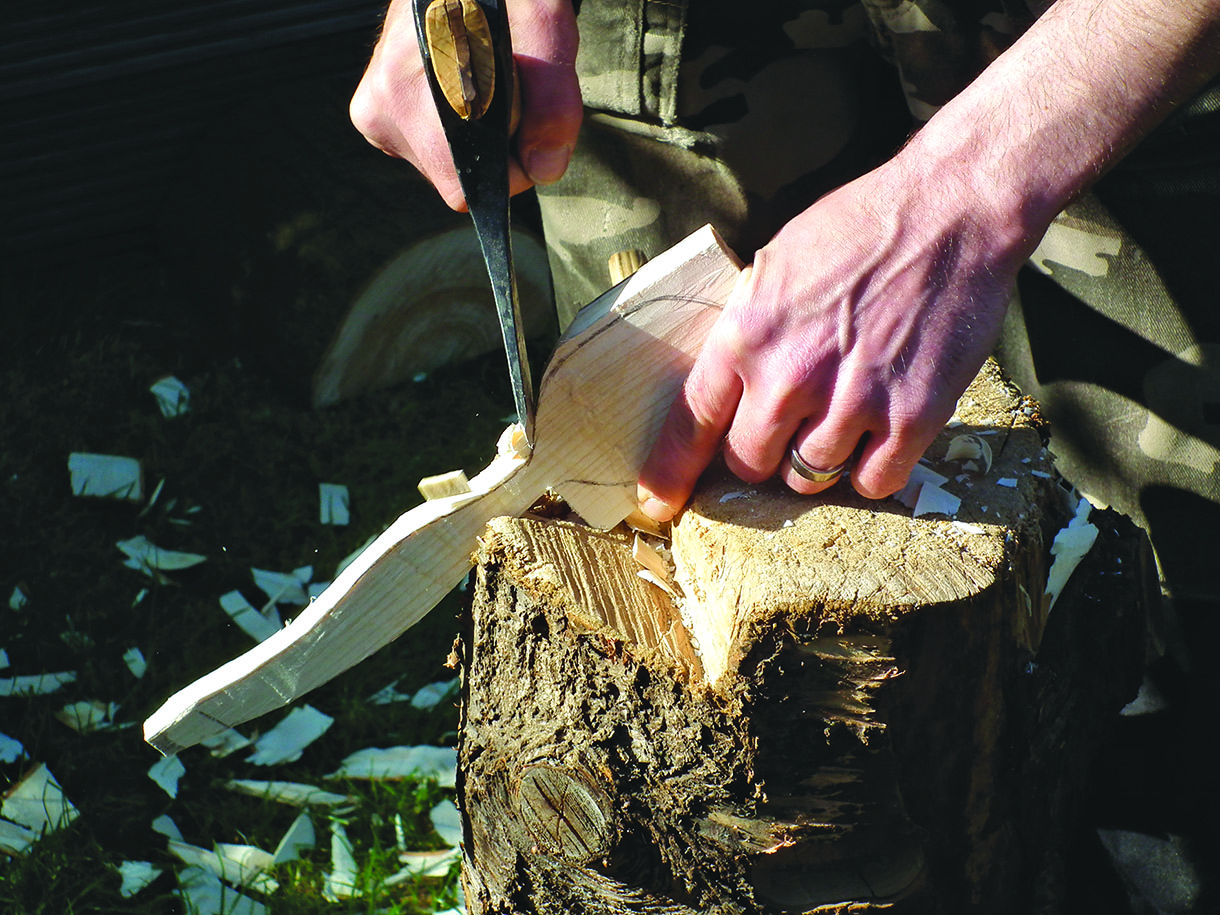
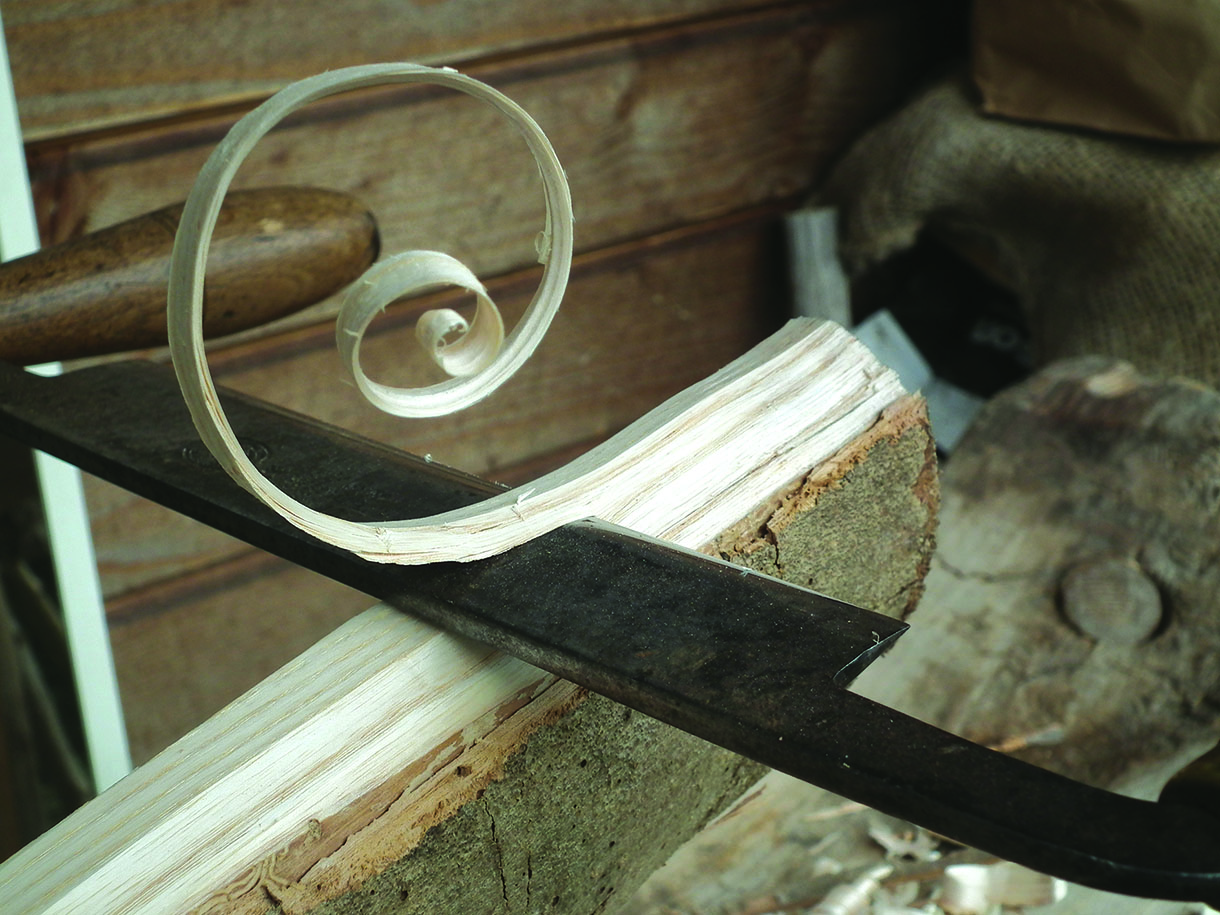
19. The cuts in the block provide a shelf on which to steady a blank when making stop cuts with a saw. The notches can be used to hold and protect the neck and handle when cutting the shoulders of a spoon
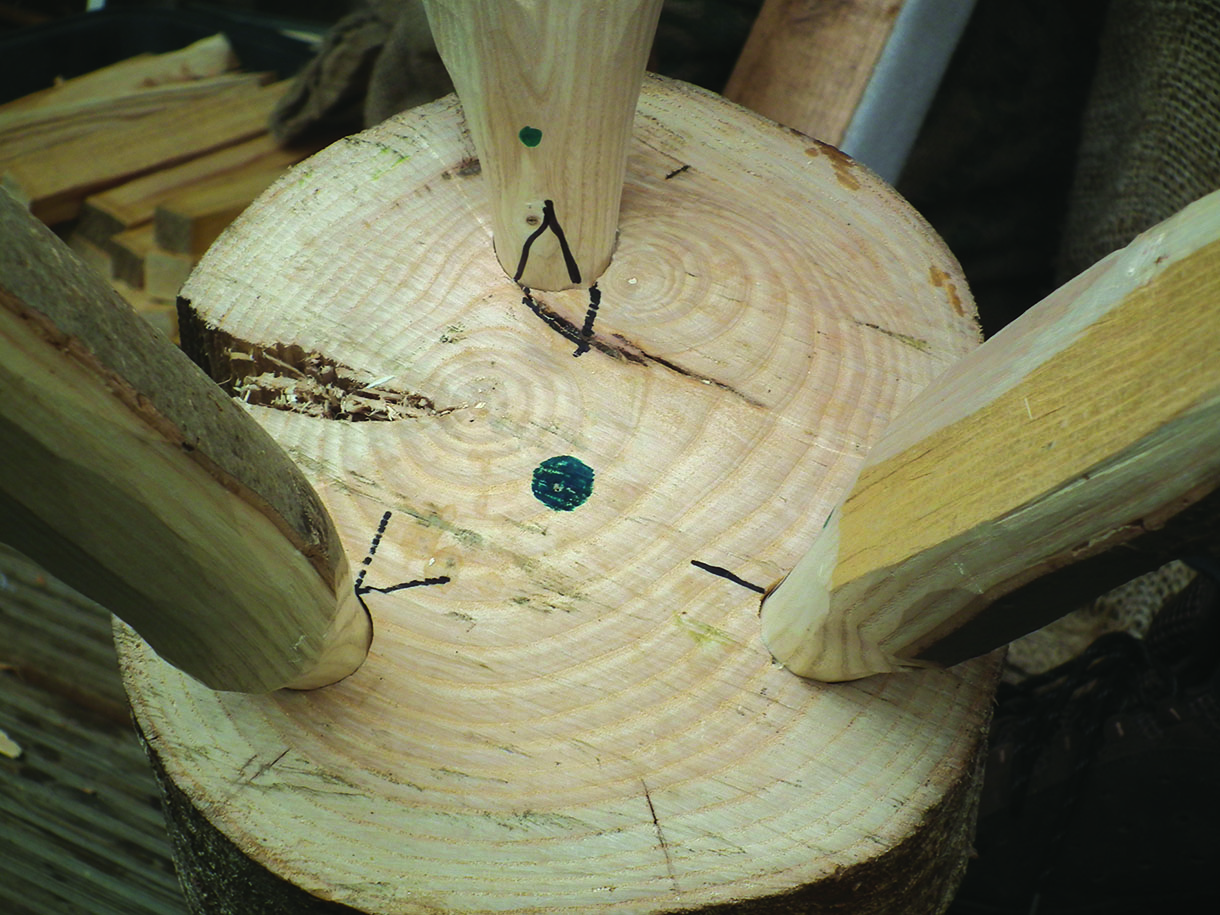
20. I have made several of these axe blocks for teaching, so after initial set up, I colour code and mark the positions for each leg to save confusion when they are broken down for storage or transport

21. You might want to consider adding a carrying handle: a crooked branch pegged to the main log works well. The top peg can be left long and used to hang a club or a saw, keeping them in easy reach. Some form of retainer for the axe itself is also useful. You can modify the design to suit your own needs. This is my old favourite that has been adapted over time. The log is cherry and is tall enough with legs removed to be used in a seated position. With the legs fitted, it brings it up to a nice height for using the axe in a standing position, which is my preferred and recommended way of working


